The first time I made these creamy no-bake peanut butter Easter eggs, it was one of those chaotic afternoons when I realized I forgot to pick up dessert for an Easter gathering. Honestly, I was skeptical—could something this quick and simple really satisfy a crowd? I rummaged through the pantry, grabbed peanut butter, cream cheese, and a few staples, and started mixing. The texture was silky, the flavor perfectly balanced between sweet and nutty, and the best part? No oven required. By the time I finished shaping those little eggs, the house was already filled with a cozy, inviting aroma that felt like the perfect spring reset. It wasn’t just a last-minute save; it became the treat everyone asked for again and again. Somehow, those creamy no-bake peanut butter Easter eggs managed to turn a hectic day into a small celebration, and they’ve stuck around in my recipe box ever since, quietly promising a fuss-free but festive delight every Easter season.
Why You’ll Love This Recipe
Making these no-bake peanut butter Easter eggs is honestly a little bit like magic—simple ingredients coming together into something unexpectedly indulgent. Here’s why this recipe has become a staple in my springtime celebrations:
- Quick & Easy: The whole recipe comes together in under 30 minutes, which is perfect for those busy days when you want a festive treat without fussing over the oven.
- Simple Ingredients: You probably have everything needed already: creamy peanut butter, powdered sugar, cream cheese, and a few other pantry basics.
- Perfect for Easter & Spring Gatherings: These eggs bring a cheerful, seasonal vibe to brunches, potlucks, or casual family get-togethers.
- Crowd-Pleaser: Kids love the creamy sweetness, and adults appreciate the nostalgic peanut butter flavor with a grown-up twist.
- Unbelievably Delicious Texture: The filling is ultra-smooth and melts in your mouth, making it feel like a fancy treat without the fuss.
What sets this recipe apart is the balance—it’s not overly sweet, and the cream cheese adds a subtle tang that keeps the peanut butter richness from feeling heavy. I’ve tried other peanut butter Easter egg recipes before, but this one’s combination of creamy texture and easy prep keeps it coming back to my kitchen year after year. Plus, if you’re into no-fuss desserts like the creamy no-bake loaded peanut butter pie, you’ll find this recipe fits right in with those easy, crowd-pleasing treats.
What Ingredients You Will Need
This recipe uses simple, wholesome ingredients to deliver that bold peanut butter flavor and smooth texture without any complicated steps. Most of these are pantry staples, making it easy to whip up these festive eggs whenever the mood strikes.
- Creamy Peanut Butter (1 cup / 240 ml) – I prefer a natural, smooth variety like Skippy or Jif for that classic flavor and easy mixing.
- Cream Cheese (4 oz / 115 g, softened) – Adds a luscious tang and creamy texture that balances the sweetness.
- Powdered Sugar (1 1/2 cups / 180 g) – For sweetness and structure, sifted to avoid lumps.
- Vanilla Extract (1 tsp / 5 ml) – Just a touch to deepen the flavor.
- Butter (2 tbsp / 28 g, softened) – Adds richness and smoothness to the filling.
- Chocolate Chips or Melting Chocolate (8 oz / 225 g) – For coating the eggs; semi-sweet or milk chocolate works best.
- Sprinkles or Colored Sugar (optional) – For decorating and adding a festive Easter touch.
For substitutions, if you want a dairy-free version, swap cream cheese and butter with plant-based alternatives, and use dairy-free chocolate. If you need gluten-free assurance, all these ingredients are naturally gluten-free, but always check your chocolate packaging to be sure.
Equipment Needed
- Mixing Bowls: One medium bowl for combining the filling ingredients.
- Electric Mixer or Hand Mixer: To get the peanut butter and cream cheese perfectly smooth and fluffy.
- Measuring Cups and Spoons: Essential for accuracy, especially with powdered sugar.
- Baking Sheet or Tray: To place the formed eggs for chilling.
- Parchment or Wax Paper: For lining the baking sheet to prevent sticking.
- Double Boiler or Microwave-Safe Bowl: For melting the chocolate coating carefully without scorching.
- Spoon or Small Cookie Scoop: To help form evenly sized peanut butter eggs.
If you don’t have an electric mixer, a sturdy whisk and a bit of elbow grease will do fine — just be patient getting the mixture smooth. For melting chocolate, I personally find a microwave works best in 20-second bursts, stirring in between to avoid overheating. If you don’t own a double boiler, you can make one by placing a heatproof bowl over simmering water.
Preparation Method

- Prepare the Filling: In a medium bowl, beat 1 cup (240 ml) of creamy peanut butter and 4 oz (115 g) softened cream cheese with 2 tbsp (28 g) softened butter until smooth and creamy—about 2-3 minutes. Using an electric mixer helps get that luscious texture quickly.
- Add Sweetness and Flavor: Gradually sift and add 1 1/2 cups (180 g) powdered sugar, mixing on low speed until fully incorporated. Stir in 1 tsp (5 ml) vanilla extract. The mixture should be thick but pliable, like a dough that sticks together but isn’t crumbly.
- Shape the Eggs: Line a baking sheet with parchment paper. Using a spoon or small cookie scoop, portion out the peanut butter mixture into egg shapes. You can make them any size you like, but about 1 1/2 inches (4 cm) long works well. Smooth the edges with your fingers for a neat look. Place them on the lined baking sheet.
- Chill the Eggs: Pop the shaped eggs into the refrigerator for at least 30 minutes. This step firms them up so they hold their shape when dipped in chocolate.
- Melt the Chocolate: While the eggs chill, melt 8 oz (225 g) chocolate chips or melting chocolate in a microwave-safe bowl in 20-second intervals, stirring well between each burst until fully smooth. Alternatively, use a double boiler over simmering water. Be careful not to overheat; chocolate can seize and become grainy.
- Coat the Eggs: Using a fork or dipping tool, dip each chilled egg into the melted chocolate, ensuring it’s fully covered. Let the excess chocolate drip off, then place the egg back on parchment paper.
- Add Decorations: Before the chocolate sets, sprinkle colored sugar or festive sprinkles on top if desired. This adds a fun, seasonal touch and a bit of crunch.
- Set the Chocolate: Let the coated eggs sit at room temperature or in the fridge until the chocolate is firm—about 20-30 minutes.
- Serve or Store: Once set, the eggs are ready to enjoy or store for later.
If you find your peanut butter mixture too sticky, add a little more powdered sugar, a tablespoon at a time. If it’s too dry, a teaspoon of milk or cream can soften it. When dipping, work quickly so the chocolate doesn’t start to harden prematurely. I’ve learned the hard way that patience during chilling really pays off for neat, professional-looking eggs!
Cooking Tips & Techniques
Getting these creamy no-bake peanut butter Easter eggs just right is about a few small tricks I’ve picked up over time:
- Softened Ingredients Matter: The cream cheese and butter should be softened but not melted. That’s key for a smooth filling. If they’re cold, the mixture gets lumpy and hard to shape.
- Sift Your Powdered Sugar: It prevents lumps and helps the filling mix smoothly—trust me, it makes a difference when you’re aiming for that silky texture.
- Chill Before Dipping: Don’t skip or rush the chilling step. It firms up the eggs so they hold shape and don’t crumble during dipping.
- Use a Fork or Dipping Tool: When coating with chocolate, this lets excess drip off easily for a clean shell without too thick a layer.
- Tempering Chocolate (Optional): If you want glossy, crisp chocolate shells, temper your chocolate by melting and cooling it carefully. But honestly, for casual treats, melted chocolate straight from the microwave works just fine.
- Work in Small Batches: If you’re making a large batch, keep the filling chilled as you work so it’s easier to handle.
I once tried skipping the chilling phase because I was in a rush—big mistake! The eggs fell apart during dipping and the chocolate clumped. Lesson learned: patience here saves a lot of frustration. Also, if your chocolate thickens during dipping, just warm it briefly again (but carefully) to keep it smooth.
Variations & Adaptations
One of the best things about this recipe is how easy it is to tweak for different tastes or dietary needs:
- Chocolate Peanut Butter Eggs: Mix mini chocolate chips right into the peanut butter filling for a delightful surprise inside each egg.
- White Chocolate Coating: Swap out semi-sweet chocolate for white chocolate for a sweet, creamy shell. You can even add a few drops of food coloring to make pastel Easter colors.
- Crunchy Peanut Butter: Use crunchy peanut butter to add texture inside the eggs, giving a nice contrast to the smooth chocolate coating.
- Dairy-Free Version: Use dairy-free cream cheese and butter alternatives, and choose vegan chocolate chips to keep it plant-based.
- Nut-Free Alternative: Substitute sunflower seed butter for peanut butter if you need a nut-free option—just make sure to check your ingredients for any hidden allergens.
I once tried mixing a bit of coconut flakes into the filling for some added chew and flavor—it was a hit with my family and gave the eggs a tropical twist. For different presentations, you can also shape the mixture into mini balls or use silicone candy molds for a neat professional look.
Serving & Storage Suggestions
These creamy no-bake peanut butter Easter eggs are best served chilled or at cool room temperature. They’re perfect little bites for a festive dessert platter or as treats tucked into Easter baskets.
- Serving Temperature: Keep them chilled until about 10 minutes before serving for the best melt-in-your-mouth texture.
- Presentation: Arrange on a decorative plate lined with pastel cupcake liners or place atop a bed of shredded paper grass for a festive look.
- Complementary Treats: Pair these with light, fruity desserts like the easy one-bowl loaded strawberry cake mix or a fresh fruit salad to balance the richness.
- Storage: Store leftovers in an airtight container in the refrigerator for up to 1 week.
- Freezing: These freeze well—just place them on a tray until firm, then transfer to a freezer bag for up to 2 months. Thaw in the fridge before serving.
- Reheating: No need to reheat, but if you want to soften them a bit, leave at room temperature for 10-15 minutes.
Flavors tend to deepen slightly after a day in the fridge, making these eggs even more satisfying if you can wait that long (though honestly, they rarely last!).
Nutritional Information & Benefits
Each peanut butter Easter egg (assuming 20 eggs total) roughly contains:
| Calories | 120-140 kcal |
|---|---|
| Fat | 8-10 g |
| Protein | 4-5 g |
| Carbohydrates | 10-12 g (mostly from sugar) |
| Sugar | 8-9 g |
Key ingredients like peanut butter provide healthy fats and protein, making these treats a little more satisfying than your average candy. The cream cheese contributes calcium and adds richness without overwhelming sweetness. For those watching sugar intake, you can experiment with powdered sugar substitutes or reduce quantity, though it will affect texture.
These eggs are naturally gluten-free and can be made dairy-free with suitable swaps, so they suit a range of dietary needs. I always appreciate having a treat that feels indulgent but also offers some nutritional value compared to processed candies.
Conclusion
All things considered, these creamy no-bake peanut butter Easter eggs are a no-fuss way to bring a little homemade magic to your spring celebrations. They combine familiar flavors with an easy prep that fits even the busiest schedules. Whether you’re putting together a last-minute treat or planning a festive dessert table, this recipe offers a reliable crowd-pleaser that’s both nostalgic and fresh.
Feel free to customize the decorations, mix-ins, or coatings to fit your family’s taste—there’s plenty of room to make it your own. Personally, I’ve found that the simple act of mixing these up always brings a little calm and joy to my holiday prep, which is reason enough to keep making them every year.
Don’t hesitate to share your own twists or questions below—I love hearing how you make these peanut butter Easter eggs uniquely yours. Here’s to sweet, creamy, and stress-free festive treats!
Frequently Asked Questions (FAQs)
Can I use natural peanut butter for this recipe?
Yes, but natural peanut butter tends to be thinner and oilier, which might affect the texture. You may need to chill the filling longer or add a bit more powdered sugar to get the right consistency.
How long do these peanut butter eggs keep?
Stored in an airtight container in the fridge, they stay fresh for up to one week. They also freeze well for up to two months.
Can I make these eggs ahead of time?
Absolutely! They’re perfect for making a day or two in advance. Just keep them refrigerated until serving.
What’s the best way to melt the chocolate coating?
The microwave in short bursts with stirring works well, or gently melt using a double boiler. Avoid overheating to prevent the chocolate from seizing.
Can I add other flavors to the filling?
Yes! A pinch of cinnamon, a splash of almond extract, or mini chocolate chips mixed in can add fun variations. Just be sure not to change the texture too much.
Pin This Recipe!
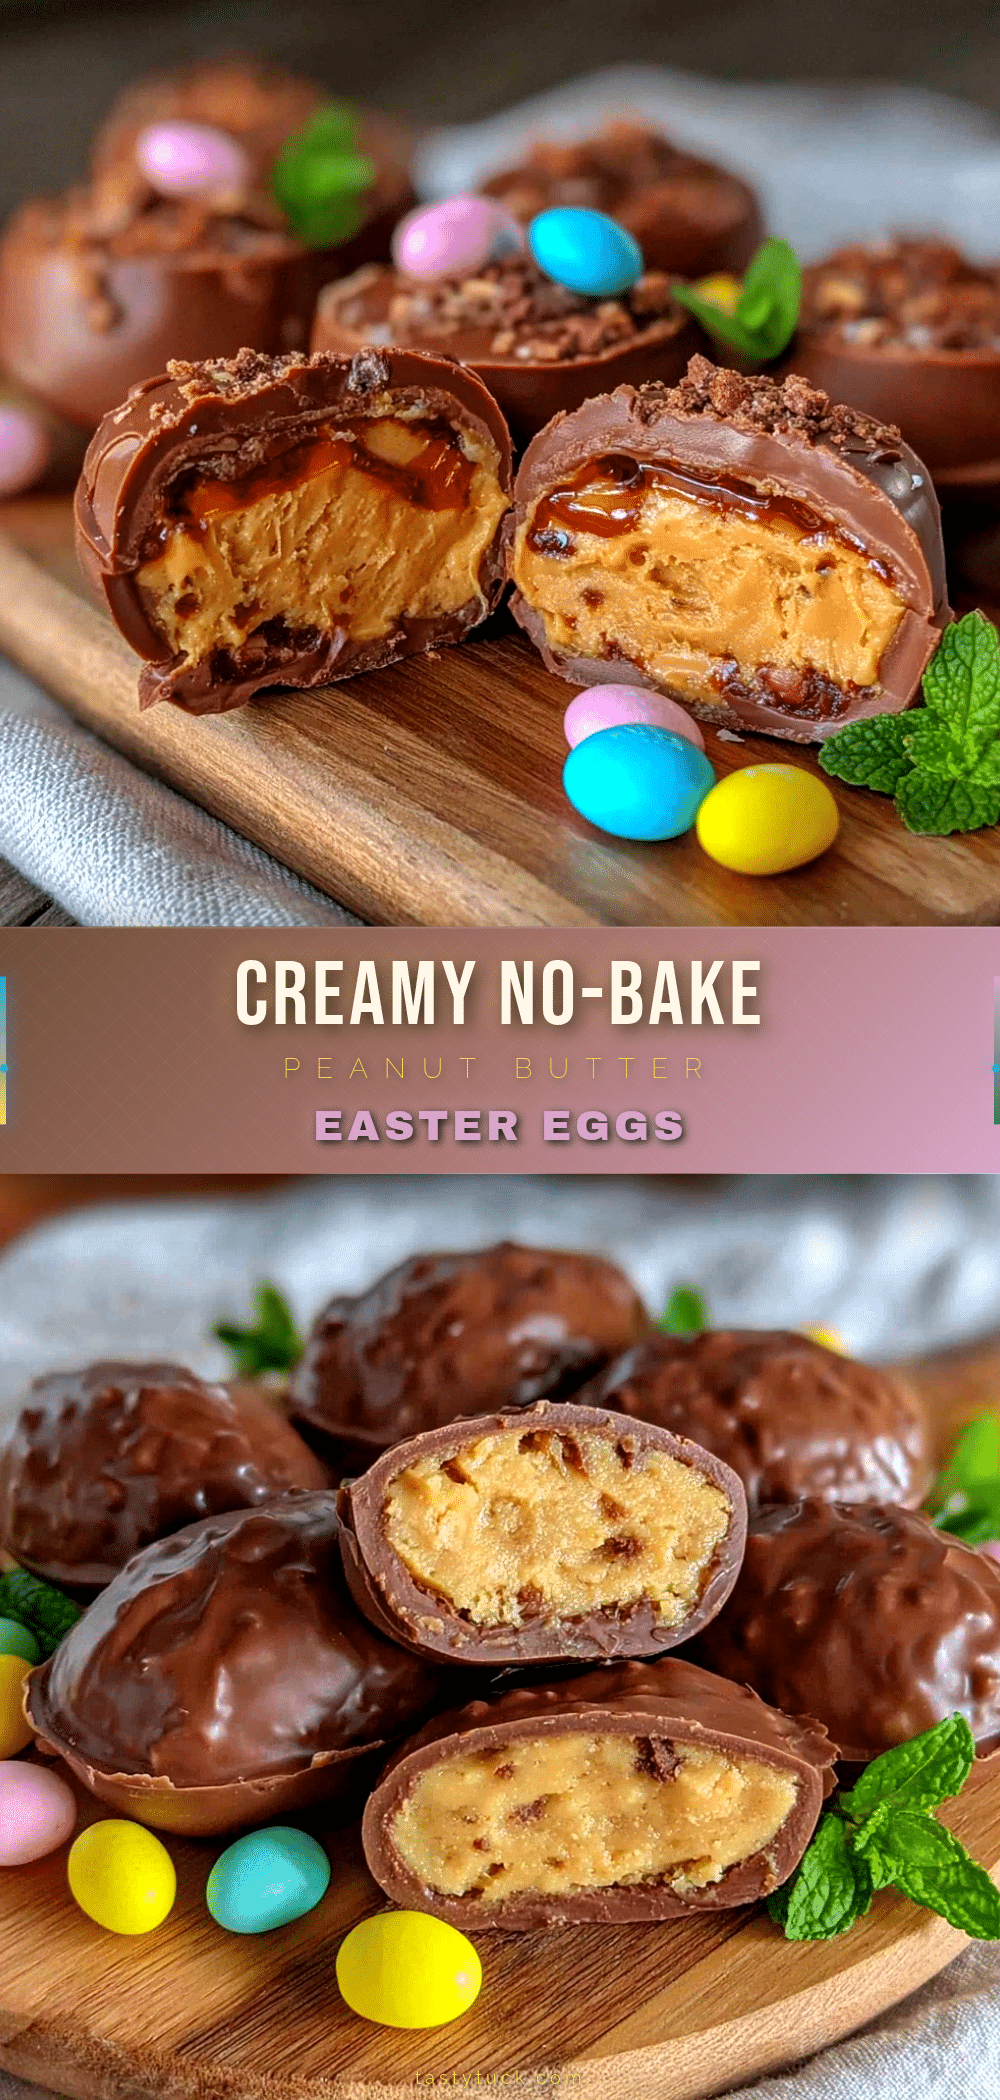
Creamy No-Bake Peanut Butter Easter Eggs

These creamy no-bake peanut butter Easter eggs are a quick, easy, and festive treat with a smooth, indulgent texture and balanced sweet and nutty flavor, perfect for spring gatherings.
- Prep Time: 15 minutes
- Cook Time: 15 minutes
- Total Time: 30 minutes
- Yield: 20 eggs 1x
- Category: Dessert
- Cuisine: American
Ingredients
- 1 cup creamy peanut butter (240 ml)
- 4 oz cream cheese, softened (115 g)
- 1 1/2 cups powdered sugar, sifted (180 g)
- 1 tsp vanilla extract (5 ml)
- 2 tbsp butter, softened (28 g)
- 8 oz chocolate chips or melting chocolate (225 g), semi-sweet or milk chocolate
- Sprinkles or colored sugar (optional)
Instructions
- In a medium bowl, beat 1 cup creamy peanut butter and 4 oz softened cream cheese with 2 tbsp softened butter until smooth and creamy, about 2-3 minutes.
- Gradually sift and add 1 1/2 cups powdered sugar, mixing on low speed until fully incorporated. Stir in 1 tsp vanilla extract. The mixture should be thick but pliable.
- Line a baking sheet with parchment paper. Using a spoon or small cookie scoop, portion out the peanut butter mixture into egg shapes about 1 1/2 inches long. Smooth edges with fingers and place on the baking sheet.
- Refrigerate the shaped eggs for at least 30 minutes to firm up.
- Melt 8 oz chocolate chips or melting chocolate in a microwave-safe bowl in 20-second intervals, stirring between bursts until smooth, or use a double boiler over simmering water.
- Dip each chilled egg into the melted chocolate, ensuring full coverage. Let excess chocolate drip off and place back on parchment paper.
- Before the chocolate sets, sprinkle colored sugar or festive sprinkles if desired.
- Let the coated eggs sit at room temperature or in the fridge until the chocolate is firm, about 20-30 minutes.
- Serve immediately or store in an airtight container in the refrigerator.
Notes
Use softened cream cheese and butter for smooth filling. Sift powdered sugar to avoid lumps. Chill eggs before dipping to prevent crumbling. Work quickly when dipping to avoid chocolate hardening prematurely. Temper chocolate optionally for glossy finish. For dairy-free, use plant-based cream cheese, butter, and chocolate. If peanut butter mixture is too sticky, add more powdered sugar; if too dry, add a teaspoon of milk or cream.
Nutrition
- Serving Size: 1 egg
- Calories: 130
- Sugar: 8.5
- Sodium: 90
- Fat: 9
- Saturated Fat: 3
- Carbohydrates: 11
- Fiber: 1
- Protein: 4.5
Keywords: no-bake, peanut butter, Easter eggs, festive treats, easy dessert, spring dessert, creamy, chocolate coated