“You really have to try this no-churn ice cream,” my friend texted me last summer after I confessed I didn’t have an ice cream maker. Honestly, I was skeptical—no-churn? Cookies and cream? Could something that simple actually taste homemade and creamy? The first time I made this easy creamy no-churn cookies and cream ice cream, I was in the middle of a chaotic week. The freezer was half-empty, the kids were demanding dessert, and honestly, I just wanted something quick and fuss-free.
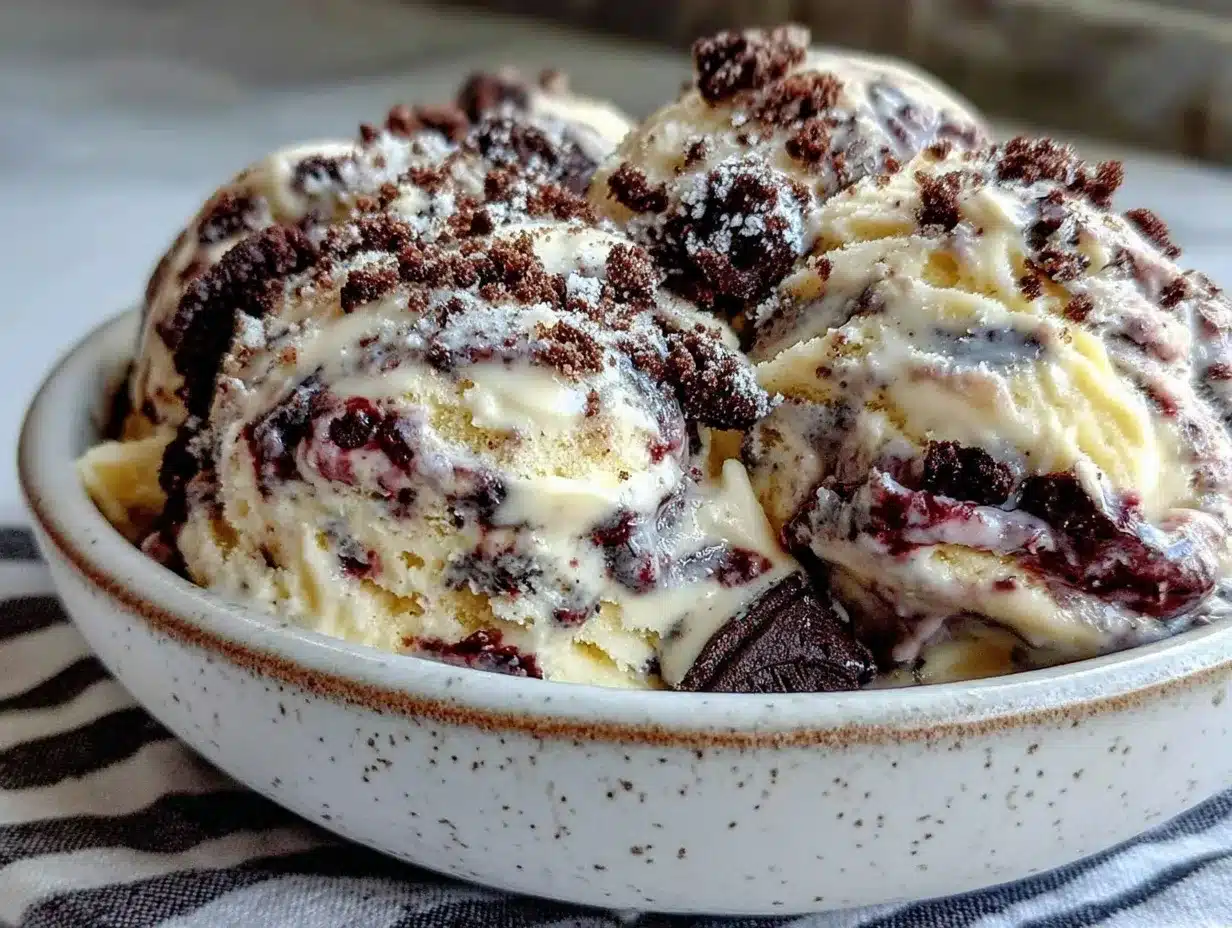
What surprised me was how smooth and luscious it turned out without a single churn or machine involved. The crushed chocolate sandwich cookies scattered throughout gave just the right crunch and nostalgia. Since then, I’ve made it multiple times—sometimes as a last-minute treat, other times to bring along for casual get-togethers. It’s become my go-to when I want homemade ice cream without the mess or wait.
There’s something quietly satisfying about spooning this creamy, cool dessert straight from the freezer, knowing it took just minutes to whip up. It’s not fancy, but it’s reliable comfort food that always hits the spot. And really, isn’t that the point of homemade treats? This recipe stuck with me because it’s simple, forgiving, and honestly, delicious enough to make me close my eyes and savor every bite.
Why You’ll Love This Recipe
I’ve tested this easy creamy no-churn cookies and cream ice cream so many times that I can say with confidence it’s foolproof and crowd-pleasing. Here’s why it earns a permanent spot in my dessert rotation:
- Quick & Easy: Ready to eat in about 4 hours with only 10 minutes of prep — perfect when you need a fast homemade treat.
- Simple Ingredients: No need for fancy items; just heavy cream, sweetened condensed milk, vanilla, and your favorite cookies.
- Perfect for Any Occasion: Whether it’s a casual family night, a summer BBQ, or a casual birthday celebration, it fits right in.
- Crowd-Pleaser: Everyone—from kids to adults—always raves about the creamy texture and cookie crunch.
- Unbelievably Delicious: The cookies absorb just enough creaminess to stay soft but retain a satisfying crunch.
This isn’t just any cookies and cream ice cream; it’s the kind that feels homemade without the fuss. The trick is folding the whipped cream gently into sweetened condensed milk and vanilla for that ultra-smooth texture (no ice crystals!). And smashing the cookies by hand keeps bigger chunks intact for maximum flavor impact. It’s a recipe I trust to deliver every time, unlike some store-bought versions that feel artificial or icy.
Honestly, it’s the kind of treat that makes you pause and appreciate the simple joy of ice cream done right—without turning your kitchen into a science lab.
What Ingredients You Will Need
This recipe uses simple, wholesome ingredients to deliver bold flavor and satisfying texture without the fuss. Most of these are pantry staples, and the cookies you choose really make a difference.
- Heavy whipping cream (1 ½ cups / 360 ml) – This is the base for the creaminess. I recommend using a brand like Land O’Lakes for best results.
- Sweetened condensed milk (1 can, 14 oz / 396 g) – Adds sweetness and body; this is the magic ingredient that thickens the ice cream without churning.
- Vanilla extract (1 teaspoon) – Use pure vanilla extract for the best flavor. It adds warmth and depth.
- Chocolate sandwich cookies (about 20 cookies, crushed) – Classic Oreos or any similar cookies work perfectly. I like to crush them by hand for chunkier bites.
Optional Additions:
- Pinch of salt (balances sweetness)
- Mini chocolate chips or chunks for extra texture
- For a dairy-free option, swap heavy cream with full-fat coconut cream and use sweetened condensed coconut milk.
For the cookies, I’ve found that small-curd sandwich cookies hold up well and don’t get soggy too fast. When fresh cookies are in season or on sale, I stock up. If you want to add a seasonal twist, try swapping some cookies with chopped peppermint bark around the holidays.
Equipment Needed
- Mixing bowl: A large bowl for whipping the cream. Glass or metal works best.
- Electric mixer or hand whisk: An electric hand mixer makes whipping cream a breeze, but a sturdy whisk can work if you’re up for a little arm workout.
- Spatula: For folding the whipped cream and cookies gently without deflating the mixture.
- Freezer-safe container: A loaf pan or an airtight plastic container works well for freezing. I personally like using a metal loaf pan—it helps the ice cream freeze faster and more evenly.
- Measuring cups and spoons: For precise ingredient amounts.
If you don’t have an electric mixer, you can check out my one-bowl strawberry cake mix recipe for tips on manual mixing techniques that work well without fancy tools.
Preparation Method
- Chill your bowl and beaters: Pop your mixing bowl and beaters in the fridge for 15-20 minutes before starting. Cold utensils help the cream whip faster and fluffier.
- Whip the heavy cream: Pour the 1 ½ cups (360 ml) of heavy whipping cream into the chilled bowl. Beat on medium-high speed until stiff peaks form. This usually takes about 3-5 minutes. Watch carefully—it should be fluffy but not grainy or overwhipped.
- Mix sweetened condensed milk and vanilla: In a separate bowl, stir together the 14 oz (396 g) can of sweetened condensed milk and 1 teaspoon of vanilla extract until smooth. Add a pinch of salt if desired to balance the sweetness.
- Fold whipped cream into condensed milk: Gently fold about a third of the whipped cream into the condensed milk mixture to lighten it. Then carefully fold in the remaining whipped cream until just combined. The goal is to keep the mixture airy and creamy.
- Crush the cookies: Place the chocolate sandwich cookies in a plastic bag and crush them by hand or with a rolling pin. Aim for a mix of chunks and smaller crumbs for texture. Avoid pulverizing them to dust.
- Fold cookies into the ice cream base: Gently fold the crushed cookies into the mixture, distributing evenly but not overmixing. You want visible cookie pieces throughout.
- Transfer to container and freeze: Pour the mixture into your freezer-safe container and smooth the top. Cover tightly with a lid or plastic wrap.
- Freeze for at least 4 hours: Let it set in the freezer until firm, ideally overnight. For best texture, remove from the freezer 5-10 minutes before scooping to soften slightly.
Watch out for common pitfalls like overwhipping the cream, which can turn it grainy, or folding too aggressively and losing volume. The texture should be light, creamy, and well-mixed with cookie chunks.
Cooking Tips & Techniques
Here’s what I’ve learned after making this no-churn ice cream dozens of times:
- Whip cream just right: Stop whipping when stiff peaks form—if you go too far, it gets clumpy and won’t blend well.
- Use room temperature vanilla: It blends better into the condensed milk and enhances flavor more evenly.
- Crush cookies by hand: Using your hands to crush the cookies gives better control over chunk size versus pulverizing in a food processor.
- Fold gently: Keep the mixture airy by folding the whipped cream in slowly. Think of it like folding egg whites into batter.
- Freezing container matters: Metal pans freeze faster and more evenly, reducing ice crystals. Plastic containers work fine but may take longer.
- Multitask during freezing: This recipe frees you to prep other dishes while the ice cream sets—great for busy weeknights or hosting.
One time, I accidentally whipped the cream too long and ended up with butter. It made me realize why timing is everything. Now I set a timer and watch the peaks carefully. Also, if you’re in a rush, you can try freezing in smaller containers to speed up the firming process.
Variations & Adaptations
While the classic cookies and cream version is my favorite, here are a few ways to switch it up:
- Mint Cookies and Cream: Add ½ teaspoon peppermint extract and swap regular sandwich cookies for mint-flavored ones.
- Peanut Butter Swirl: Fold in ¼ cup peanut butter into the base before adding cookies for a nutty twist.
- Gluten-Free Option: Use gluten-free chocolate sandwich cookies or substitute with chopped gluten-free chocolate chip cookies.
- Chocolate Chip Cookie Dough: Swap the cookies for small chunks of edible cookie dough for a double cookie effect.
- Fruit Mix-In: Toss in a handful of fresh strawberries or raspberries for a bit of freshness—just be aware it may soften the ice cream slightly.
Personally, I tried adding some chopped salted caramel candies once, and it was a hit at a party. Just be mindful that mix-ins with moisture can affect freezing time and texture.
Serving & Storage Suggestions
Serve this ice cream straight from the freezer, letting it sit for 5-10 minutes to soften slightly for easier scooping. It pairs wonderfully with warm desserts like a skillet peach cobbler—similar to the cozy Cracker Barrel peach cobbler I love making on weekends.
For storage, keep it tightly covered in the freezer to prevent ice crystals and freezer burn. It will stay fresh for up to 2 weeks. When reheating other desserts like the apple pie skillet, this ice cream is a perfect cool complement.
Flavors tend to mellow and meld over time, so sometimes I let it sit overnight in the freezer before serving. It keeps that creamy texture without becoming icy. Avoid refreezing once thawed to keep the best consistency.
Nutritional Information & Benefits
| Serving Size | ½ cup (approx. 120 g) |
|---|---|
| Calories | 220 kcal |
| Fat | 14 g (mostly from heavy cream) |
| Sugar | 20 g (from sweetened condensed milk and cookies) |
| Protein | 3 g |
This ice cream is rich and indulgent, so it’s best enjoyed as an occasional treat. The heavy cream provides fat that helps with the creamy texture, while the sweetened condensed milk adds sweetness and body. If you’re watching carbs, swapping cookies for low-carb alternatives can help reduce sugar.
Keep in mind this recipe contains dairy and gluten (from cookies), so it’s not suitable for those with allergies unless adapted. Personally, I appreciate this ice cream as a comforting dessert that satisfies cravings without complicated prep or additives.
Conclusion
This easy creamy no-churn cookies and cream ice cream is a simple recipe that delivers rich flavor and smooth texture every single time. It’s perfect for anyone who wants homemade ice cream without special equipment or fuss. Whether you’re surprising friends or treating your family on a weeknight, it’s a reliable winner.
Feel free to customize the cookie mix-ins or add your own twists to make it uniquely yours. I love how quickly it comes together and how many smiles it brings around our kitchen table. It’s proof that sometimes the simplest recipes make the sweetest memories.
If you give it a try, I’d love to hear how it turned out or what variations you came up with. There’s something special about sharing homemade treats that bring a little joy to everyday moments.
Frequently Asked Questions
Can I use low-fat cream or milk instead of heavy cream?
For best results, use heavy whipping cream. Lower fat creams won’t whip properly and can result in icy texture.
How long does this ice cream need to freeze before serving?
At least 4 hours, but overnight freezing is ideal for firm scoops.
Can I store leftover ice cream in the freezer?
Yes, keep it tightly covered and consume within 2 weeks for best flavor and texture.
Is this recipe gluten-free?
Not if using regular sandwich cookies. Swap for gluten-free cookies to make it gluten-free.
Can I add mix-ins like nuts or candy?
Absolutely! Just fold them in with the crushed cookies before freezing for extra texture and flavor.
Pin This Recipe!
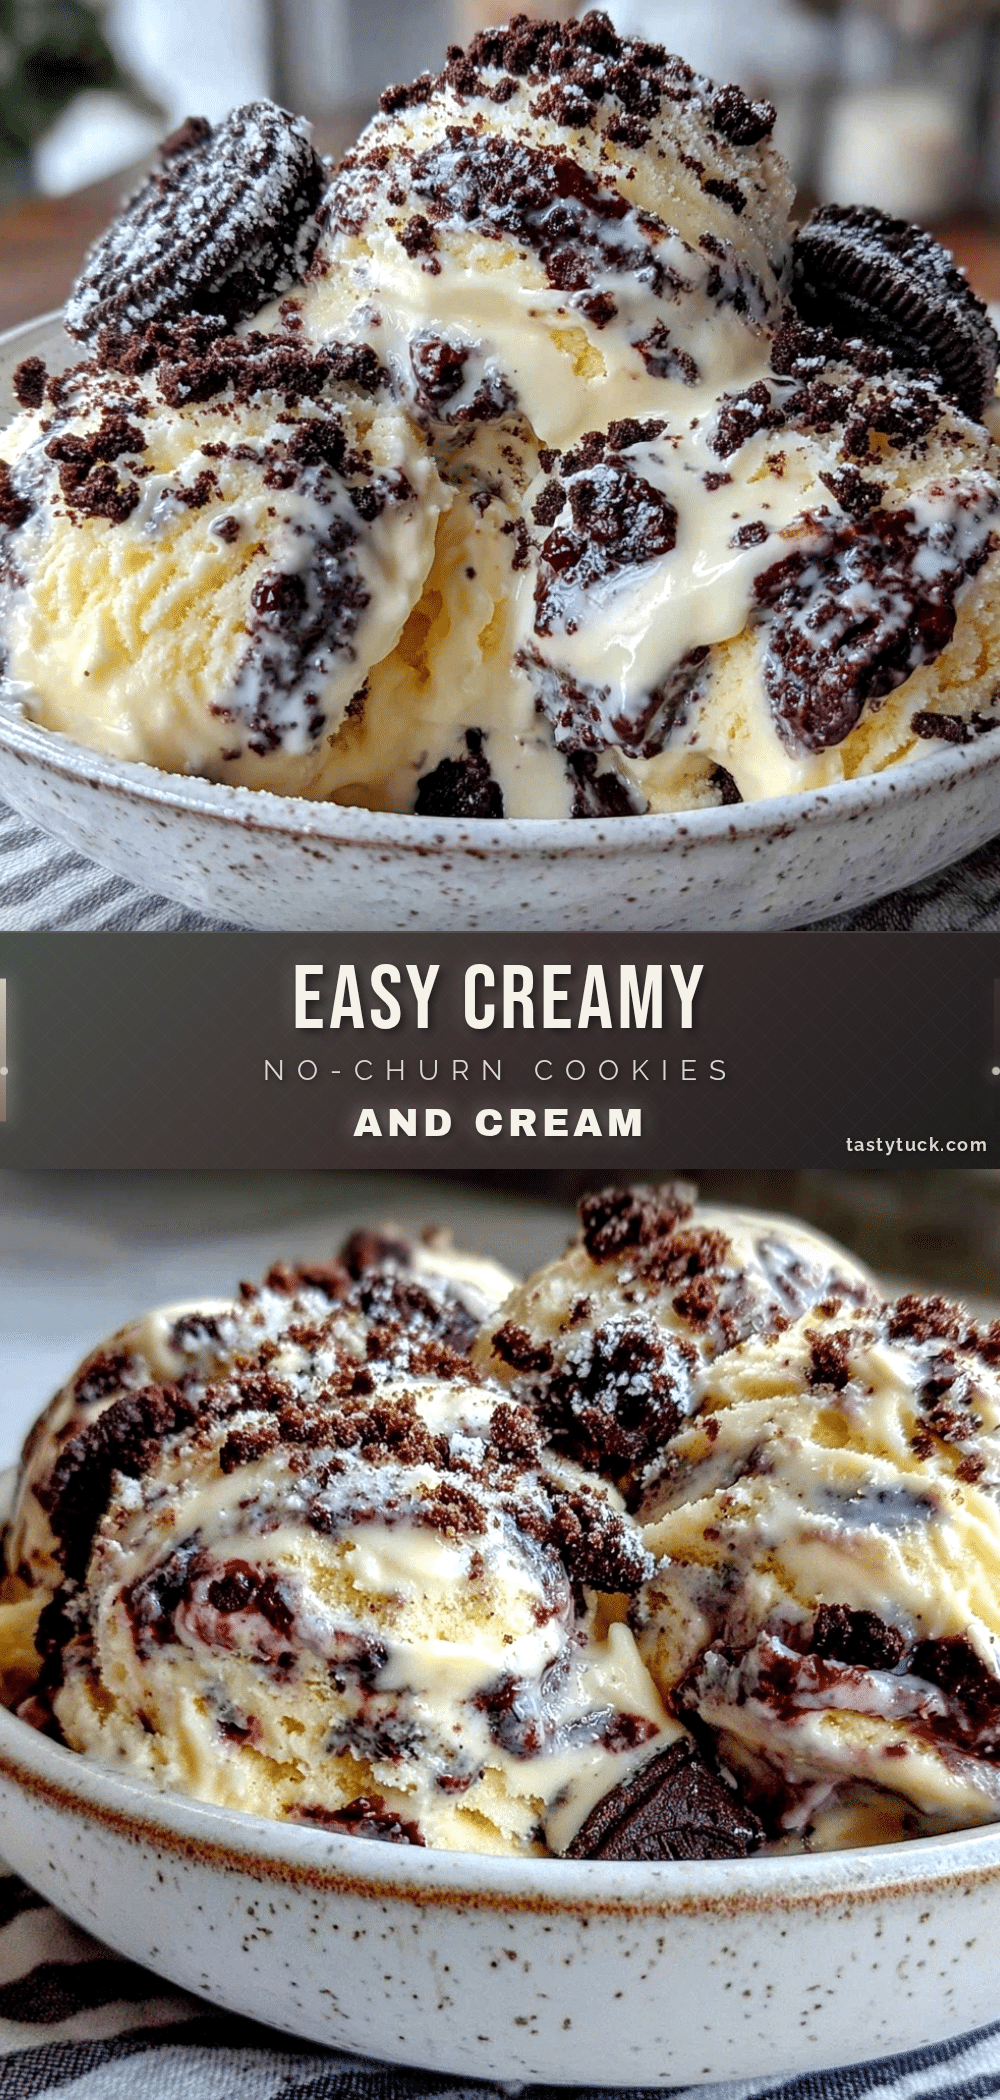
Easy Creamy No-Churn Cookies and Cream Ice Cream

A quick and easy no-churn ice cream recipe featuring creamy texture and crunchy chocolate sandwich cookies, perfect for homemade treats without an ice cream maker.
- Prep Time: 10 minutes
- Cook Time: 0 minutes
- Total Time: 4 hours 10 minutes
- Yield: 8 servings 1x
- Category: Dessert
- Cuisine: American
Ingredients
- 1 ½ cups (360 ml) heavy whipping cream
- 1 can (14 oz / 396 g) sweetened condensed milk
- 1 teaspoon vanilla extract
- About 20 chocolate sandwich cookies, crushed
- Optional: pinch of salt
- Optional: mini chocolate chips or chunks
- Optional dairy-free substitution: full-fat coconut cream and sweetened condensed coconut milk
Instructions
- Chill your mixing bowl and beaters in the fridge for 15-20 minutes.
- Pour heavy whipping cream into the chilled bowl and beat on medium-high speed until stiff peaks form, about 3-5 minutes.
- In a separate bowl, stir together sweetened condensed milk and vanilla extract until smooth. Add a pinch of salt if desired.
- Gently fold about a third of the whipped cream into the condensed milk mixture to lighten it, then fold in the remaining whipped cream until just combined.
- Crush the chocolate sandwich cookies by hand or with a rolling pin, aiming for chunks and smaller crumbs.
- Fold the crushed cookies gently into the ice cream base, distributing evenly.
- Transfer the mixture into a freezer-safe container and smooth the top. Cover tightly with a lid or plastic wrap.
- Freeze for at least 4 hours or ideally overnight. Remove from freezer 5-10 minutes before serving to soften slightly.
Notes
Chill bowl and beaters before whipping cream for better volume. Fold whipped cream gently to keep mixture airy. Use metal pans to freeze faster and reduce ice crystals. Avoid overwhipping cream to prevent grainy texture. Remove ice cream from freezer 5-10 minutes before serving for easier scooping.
Nutrition
- Serving Size: ½ cup (approx. 120 g
- Calories: 220
- Sugar: 20
- Fat: 14
- Protein: 3
Keywords: no-churn ice cream, cookies and cream, easy ice cream recipe, homemade ice cream, no ice cream maker, quick dessert


