“I don’t have time for this,” I muttered, staring down at a kitchen counter cluttered with half-opened snack bags and a very impatient toddler tugging at my leg. Honestly, the usual granola bar brands just weren’t cutting it—too much sugar, too many weird ingredients, and not enough oomph. That’s when I grabbed a jar of peanut butter and a few pantry staples and threw something together with zero baking involved. The result? These easy no-bake peanut butter granola bars that quickly became my go-to quick snack, especially on those chaotic afternoons when a little energy boost feels like a lifesaver.
What surprised me the most was how simple the recipe was, and yet it packed a punch of flavor and texture that felt anything but basic. The bars were chewy, nutty, just the right touch of sweetness, and didn’t crumble into a mess after one bite. I found myself making batch after batch—sometimes multiple times a week. They’re the kind of snack that’s perfect for those “grab and go” moments or even as a little homemade treat for unexpected guests.
It’s funny how the simplest recipes often stick around the longest, isn’t it? These no-bake peanut butter granola bars hit that sweet spot between convenience and comfort, and they’ve quietly become a staple in my kitchen. I think once you try them, you’ll get why they’ve won over my snack drawer—and maybe yours too.
Why You’ll Love This Recipe
After making these easy no-bake peanut butter granola bars more times than I can count, I can honestly say they check all the boxes when you’re after a quick yet satisfying snack. Here’s what makes them stand out:
- Quick & Easy: Ready in just about 15 minutes—no oven required—perfect for busy mornings or last-minute cravings.
- Simple Ingredients: You probably already have everything in your pantry, from creamy peanut butter to rolled oats.
- Perfect for Any Occasion: Whether it’s a kid’s lunchbox, a midday pick-me-up at work, or a trail snack, these bars fit right in.
- Crowd-Pleaser: I’ve made these for casual get-togethers, and they disappear fast—everyone loves that peanut butter goodness.
- Unbelievably Delicious: The chewy texture combined with a hint of honey and a touch of vanilla makes these bars irresistibly comforting.
What sets this recipe apart? I blend a little coconut oil with the peanut butter to keep the bars from being too sticky, and I like to toast the oats lightly beforehand for a deeper, nuttier flavor. Plus, adding a pinch of sea salt on top before chilling really balances the sweetness, giving the bars a grown-up edge.
Honestly, this isn’t just a snack; it’s a little pocket of calm in a busy day. I trust these bars to keep me fueled without the sugar crash, and I’m pretty sure you’ll feel the same way once you make them your own.
What Ingredients You Will Need
This easy no-bake peanut butter granola bars recipe uses simple, wholesome ingredients to deliver bold flavor and satisfying texture without the fuss. Most of these are pantry staples, and substitutions are easy if you want to tweak it to your taste or dietary needs.
- Rolled oats (2 cups / 180g) – Use old-fashioned oats for best chewiness; quick oats work but yield a softer texture.
- Natural creamy peanut butter (1 cup / 250g) – I like Smucker’s Natural for that perfect balance of creaminess and flavor.
- Honey (1/3 cup / 113g) – Acts as the natural sweetener and binder; maple syrup works well for a vegan option.
- Coconut oil (2 tablespoons / 30ml), melted – Adds richness and helps keep bars from sticking together.
- Vanilla extract (1 teaspoon) – For that warm, inviting flavor note.
- Chia seeds (2 tablespoons) – Optional, but adds a nice crunch and extra fiber.
- Mini chocolate chips (1/4 cup / 45g) – Optional, but trust me, this little addition takes these bars to a whole new level.
- Sea salt (a pinch) – Sprinkled on top before chilling to balance the sweetness.
Substitution tips: If you’re allergic to peanuts, almond or sunflower seed butter work great here. For gluten-free options, be sure to use certified gluten-free oats. I’ve also swapped honey for agave syrup when needed, and it still tastes just as good.
Equipment Needed
Making these no-bake peanut butter granola bars requires minimal equipment, which is part of the charm:
- Mixing bowl: A medium to large bowl to combine your ingredients easily.
- Wooden spoon or spatula: For stirring the sticky mixture without scratching your bowl.
- Measuring cups and spoons: For accurate ingredient portions.
- 8×8-inch baking pan or similar: Lined with parchment paper to press the mixture evenly.
- Microwave-safe bowl or small pot: To gently melt the coconut oil if it’s solid.
If you don’t have a baking pan, you can use any shallow container with straight sides. I often use a glass dish because it’s easy to press the bars evenly and clean up afterward. Cleaning parchment paper is a breeze, and it helps the bars release without crumbling.
Preparation Method
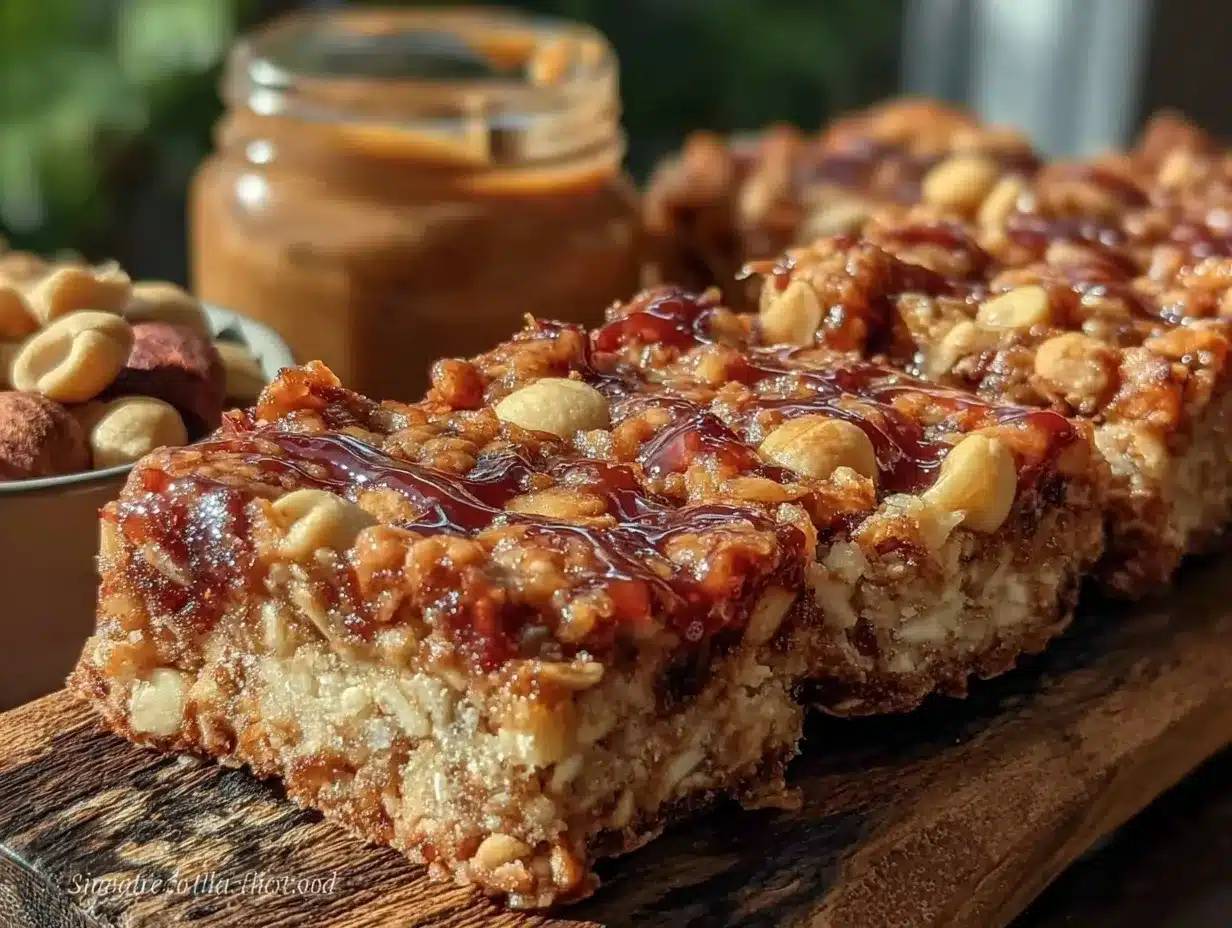
- Toast the oats (optional but recommended): Preheat a skillet over medium heat. Add the rolled oats and stir frequently for about 5 minutes until they turn golden and smell nutty. This step adds a lovely depth to the bars.
- Mix wet ingredients: In your mixing bowl, combine 1 cup creamy peanut butter, 1/3 cup honey, 2 tablespoons melted coconut oil, and 1 teaspoon vanilla extract. Stir until smooth and fully blended.
- Add dry ingredients: Stir in the toasted oats and 2 tablespoons chia seeds (if using). Mix until everything is evenly coated in the peanut butter mixture.
- Optional chocolate chips: Fold in 1/4 cup mini chocolate chips gently, saving a few to sprinkle on top if you like.
- Press into pan: Line an 8×8-inch pan with parchment paper. Transfer the mixture and press it firmly and evenly into the pan using a spatula or your hands (lightly oiled) to compact it well. This helps the bars stick together and hold their shape.
- Sprinkle sea salt: Lightly sprinkle a pinch of sea salt over the top for that perfect sweet-salty balance.
- Chill: Place the pan in the refrigerator for at least 2 hours or until the bars are firm enough to cut. If you’re in a hurry, popping them in the freezer for 30-40 minutes works too.
- Cut and store: Once set, lift the mixture out using the parchment paper edges and place on a cutting board. Cut into 10-12 bars or squares. Store in an airtight container in the fridge for up to a week.
Tip: If the bars crumble a bit when cutting, let them chill a little longer. Also, pressing firmly is key—don’t be shy about it!
Cooking Tips & Techniques
Making no-bake bars sounds easy, but a few tricks can make a big difference:
- Toasting oats: This step isn’t mandatory but trust me, it takes the flavor from “meh” to “wow.” Keep an eye so they don’t burn.
- Use natural peanut butter: The kind with just peanuts (and maybe a pinch of salt) works best. Too processed or sweetened peanut butter can make your bars overly sticky or sweet.
- Press firmly: The more compact your mixture, the less crumbly your bars will be. I sometimes press for a couple of minutes to get it just right.
- Chilling time: Don’t rush this part. The bars need to set firmly, or they’ll fall apart. If you’re short on time, the freezer helps speed this up.
- Multitasking: While your bars chill, you can prep other snacks or even bake a dessert like this one-bowl strawberry cake mix that’s just as fuss-free but indulgent.
Once, I underestimated the pressing step and ended up with bars that looked more like granola crumble. Lesson learned: firm hands and a bit of patience go a long way.
Variations & Adaptations
These bars are a great base for customization. Here are a few ways I’ve adapted the recipe:
- Nut-free version: Use sunflower seed butter instead of peanut butter and pumpkin seeds for crunch.
- Chocolate lover’s twist: Add 2 tablespoons cocoa powder to the wet ingredients and increase chocolate chips to 1/2 cup.
- Seasonal fruit boost: Toss in 1/4 cup dried cranberries or chopped dried apricots for a chewy fruit surprise.
- Protein-packed: Stir in 1/4 cup protein powder (vanilla or unflavored) to boost your snack’s staying power.
- Lower sugar: Reduce honey to 1/4 cup and add a little mashed banana for natural sweetness.
For a fun spin, I once swapped oats for puffed quinoa, which made the bars lighter and added a nice pop. Also, if you want a bit of crunch, try folding in chopped nuts or seeds before pressing the mixture.
Serving & Storage Suggestions
These no-bake peanut butter granola bars are best served chilled or at room temperature. I like to let them sit out for a few minutes before eating so they soften just enough without losing their shape.
Pair them with a hot cup of coffee or tea for a cozy afternoon snack, or pack them alongside fresh fruit for a wholesome lunchbox addition. I’ve even seen friends enjoy them crumbled over vanilla yogurt for a quick parfait.
Store leftovers in an airtight container in the fridge for up to a week. You can also freeze the bars wrapped individually in plastic wrap and then stored in a freezer-safe bag for up to 3 months. To thaw, just leave them at room temperature for 30 minutes or heat gently in the microwave for 15 seconds.
Interestingly, the flavors tend to meld and deepen after a day in the fridge, so if you can wait, the bars actually taste better after resting overnight.
Nutritional Information & Benefits
Each bar (assuming 12 bars per batch) contains approximately:
| Calories | Protein | Fat | Carbohydrates | Fiber |
|---|---|---|---|---|
| 180 kcal | 5g | 9g | 20g | 3g |
The combination of oats and peanut butter provides a nice balance of complex carbs, healthy fats, and protein. Chia seeds add extra fiber and omega-3s, making these bars a filling and nourishing snack.
People with gluten sensitivities can enjoy these if using certified gluten-free oats. And if you’re watching sugar intake, adjusting the honey and adding fruit can keep sweetness natural and moderate.
From a wellness perspective, these bars offer sustained energy without the sugar spikes typical of store-bought snacks. Plus, knowing exactly what’s inside gives peace of mind.
Conclusion
These easy no-bake peanut butter granola bars have quietly become one of my favorite snacks to whip up when life gets hectic. They’re simple, dependable, and hit that perfect balance between sweet and salty, chewy and crunchy.
Feel free to tweak the ingredients to match your pantry and preferences—this recipe loves a little improvisation. Whether you’re packing for school, work, or just need a quick bite between errands, these bars won’t let you down.
Honestly, making them feels like a small win in a busy day—and that’s why I keep coming back to this recipe. If you give it a try, I’d love to hear how you make it your own or what little twists you add to keep things interesting.
Happy snacking!
FAQs
Can I use crunchy peanut butter instead of creamy?
Yes! Crunchy peanut butter adds extra texture to the bars, but the bars may be slightly less uniform. Either works well.
How long do these granola bars last?
Stored in an airtight container in the fridge, they last about one week. You can freeze them for up to 3 months.
Can I substitute honey for another sweetener?
Absolutely. Maple syrup or agave syrup are great vegan alternatives. Just keep an eye on the texture since liquid consistency varies.
Is it necessary to toast the oats?
Not necessary, but toasting adds a lovely nutty flavor and better chew. If you’re short on time, you can skip it.
Can I make these bars nut-free?
Yes, swap peanut butter for sunflower seed butter or soy nut butter and consider adding seeds like pumpkin or sunflower for crunch.
For more easy, comforting recipes that come together without fuss, you might enjoy the perfect no-bake loaded chocolate delight or a cozy one-bowl strawberry cake mix recipe. Both are fantastic for quick treats when time’s tight but you want something homemade.
Pin This Recipe!
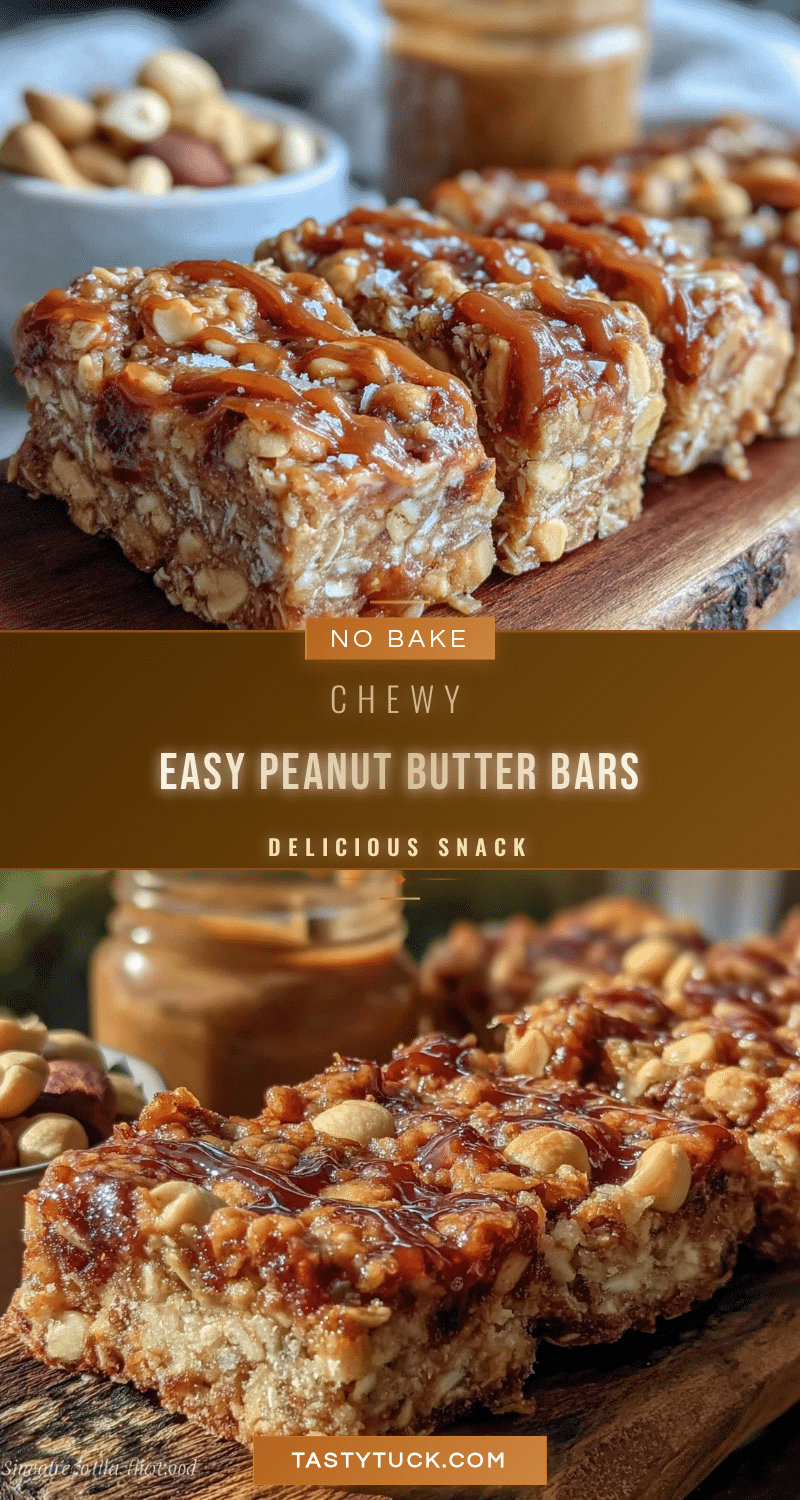
Easy No-Bake Peanut Butter Granola Bars
These easy no-bake peanut butter granola bars are a quick, healthy snack with a chewy texture, nutty flavor, and just the right touch of sweetness. Perfect for busy days and grab-and-go moments.
- Prep Time: 10 minutes
- Cook Time: 5 minutes (toasting oats, optional)
- Total Time: 2 hours 15 minutes (including chilling time)
- Yield: 10-12 bars 1x
- Category: Snack
- Cuisine: American
Ingredients
- 2 cups rolled oats (180g)
- 1 cup natural creamy peanut butter (250g)
- 1/3 cup honey (113g)
- 2 tablespoons coconut oil, melted (30ml)
- 1 teaspoon vanilla extract
- 2 tablespoons chia seeds (optional)
- 1/4 cup mini chocolate chips (45g, optional)
- Pinch of sea salt
Instructions
- Toast the oats (optional): Preheat a skillet over medium heat. Add the rolled oats and stir frequently for about 5 minutes until golden and nutty.
- Mix wet ingredients: In a mixing bowl, combine peanut butter, honey, melted coconut oil, and vanilla extract. Stir until smooth.
- Add dry ingredients: Stir in toasted oats and chia seeds if using. Mix until evenly coated.
- Optional chocolate chips: Fold in mini chocolate chips gently, reserving a few to sprinkle on top.
- Press into pan: Line an 8×8-inch pan with parchment paper. Transfer mixture and press firmly and evenly into the pan.
- Sprinkle sea salt: Lightly sprinkle a pinch of sea salt over the top.
- Chill: Refrigerate for at least 2 hours or until firm. Alternatively, freeze for 30-40 minutes to speed up setting.
- Cut and store: Lift mixture out using parchment edges, cut into 10-12 bars, and store in an airtight container in the fridge for up to a week.
Notes
Toasting oats is optional but enhances flavor. Press mixture firmly to avoid crumbly bars. Chilling time is important for bars to set properly. Use natural peanut butter for best results. Substitute maple syrup or agave syrup for honey for a vegan option. Nut-free versions can use sunflower seed butter.
Nutrition
- Serving Size: 1 bar (if 12 bars pe
- Calories: 180
- Sugar: 810
- Sodium: 70
- Fat: 9
- Saturated Fat: 3
- Carbohydrates: 20
- Fiber: 3
- Protein: 5
Keywords: no-bake, peanut butter, granola bars, healthy snack, quick snack, easy recipe, homemade granola bars


