The plate was wiped clean before I even had a chance to sit down. Third night this week. Honestly, it’s a bit surprising how quickly these crispy garlic parmesan chicken thighs vanish around here. One minute, they’re hot and golden, the next, all that garlicky, cheesy crust is history—and the texts start rolling in, “Can you share that recipe again?” I didn’t expect this air fryer recipe to get such a quiet but serious fan club, but here we are.
It all started when I was trying to make weeknight dinners less of a drag. I wanted something fuss-free but still worthy of a little kitchen pride. Chicken thighs seemed promising—they’re forgiving, juicy, and affordable—but the trick was getting them crispy without turning on the oven for an hour. The air fryer seemed like a good bet, so I tinkered with garlic, parmesan, and a few seasonings until the crust was just right: crunchy, flavorful, and a little salty with that nutty cheese punch. The first time I made it, I wasn’t really sure if it would wow anyone—but the empty plate and the immediate requests said otherwise.
What stuck with me is how this recipe balances comfort and convenience without feeling like a shortcut. The garlic parmesan crust isn’t just a sprinkle thrown on top; it’s a carefully mixed blend that toasts perfectly in the air fryer, locking in flavor and texture. You know when you get that perfect bite—the crispy skin crackles, the cheese melts, and the garlic just lingers? That’s what makes this one memorable. It’s not flashy, but it earns its spot on the dinner table night after night.
So, if you’re on the hunt for a simple but seriously tasty chicken thigh recipe that’s quick enough for weeknights but impressive enough to serve guests, this might just be your new go-to. I trust it’ll earn a place in your rotation like it did in mine. Let’s just say, this recipe has quietly become one of those dishes I’m happy to make again and again, no fanfare needed.
Why You’ll Love This Crispy Garlic Parmesan Chicken Thighs Recipe
Honestly, there are plenty of chicken recipes out there, but this one stands out because it’s truly tested and loved by busy cooks like me who want flavor without fuss. I’ve made this recipe multiple times, tweaking the seasoning and cooking time until it’s foolproof every time. It’s the kind of dish that makes your kitchen smell like dinner without keeping you stuck at the stove.
- Quick & Easy: Ready in under 30 minutes, perfect for those nights when you want dinner without the drama.
- Simple Ingredients: No surprise specialty items—just garlic, parmesan, chicken thighs, and a handful of pantry staples you probably have on hand.
- Perfect for Weeknights or Casual Dinners: Whether it’s a family meal or a casual get-together, this recipe fits right in.
- Crowd-Pleaser: The crispy, garlicky coating consistently wins over both kids and adults. I’ve had friends text me weeks later asking for the recipe again.
- Unbelievably Delicious: The texture contrast between the juicy thighs and crunchy parmesan crust is next-level comfort food.
This isn’t just another air fryer chicken recipe. The secret is in the garlic parmesan blend, which I mix fresh each time to keep the cheese from clumping and the garlic from overpowering. Plus, cooking thighs skin-on locks in moisture while the air fryer crisps everything up beautifully. I’ve also swapped in different seasonings from my grilled chicken meal prep when I want a little variety—it works like a charm.
At its core, this recipe is about reliable, tasty results that don’t make you feel like you’re sacrificing time or flavor. The kind of dish that makes you pause, close your eyes after one bite, and quietly appreciate a good dinner well made.
What Ingredients You Will Need
This recipe uses simple, wholesome ingredients that come together to deliver bold flavor and that crave-worthy crispy texture without any fuss. You’ll find most of these in your pantry or fridge already, which makes it even easier to whip up on a busy day.
- Chicken Thighs, bone-in, skin-on (about 4 thighs; around 1.5 lbs / 700g) – skin is key for crispiness and flavor
- Garlic Powder (1 tsp) – the backbone of that savory, garlicky punch
- Parmesan Cheese, finely grated (½ cup / 50g) – fresh parmesan works best for a crispy, nutty crust; I recommend brands like BelGioioso for texture
- Panko Breadcrumbs (¼ cup / 30g) – adds extra crunch without heaviness
- Italian Seasoning (1 tsp) – a blend of herbs that complements the garlic and cheese perfectly
- Salt (1 tsp) – balances the flavors
- Black Pepper (½ tsp) – freshly cracked if possible for flavor depth
- Olive Oil (2 tbsp) – for coating the chicken and helping the crust crisp up; extra virgin works well here
- Fresh Garlic, minced (2 cloves) – optional but highly recommended for an extra layer of garlic flavor
Optional Add-Ons:
- Red Pepper Flakes (¼ tsp) – for a subtle heat kick if you like it spicy
- Lemon Zest (1 tsp) – adds a fresh brightness to the parmesan coating
Feel free to swap the panko for gluten-free breadcrumbs if needed. For a dairy-free twist, use nutritional yeast in place of parmesan, though it won’t crisp quite the same. The beauty of this recipe is that it’s forgiving, so you can experiment a bit without losing that crispy garlic parmesan magic.
Equipment Needed
- Air Fryer: Essential for getting that crispy skin without deep frying. I use a 5.8-quart model, but most standard air fryers work fine.
- Mixing Bowl: For tossing the chicken with the garlic parmesan coating. A medium-sized bowl works best.
- Measuring Spoons and Cups: For precise seasoning and cheese measurements.
- Tongs or Fork: To handle the chicken safely and evenly coat it.
- Baking Sheet or Plate: To place the coated chicken before air frying.
If you don’t have an air fryer, you can use a conventional oven with a wire rack on a baking sheet set at 425°F (220°C), but the cooking time will be longer, and the texture might not be quite as crispy. For those on a budget, smaller air fryers (about 3.5 quarts) are perfectly fine—just cook in batches.
Keeping your air fryer basket clean and dry helps maintain crispiness, and occasionally wiping the basket with a paper towel between batches can prevent sticking. A silicone basting brush is handy if you want to brush on olive oil instead of tossing.
Preparation Method
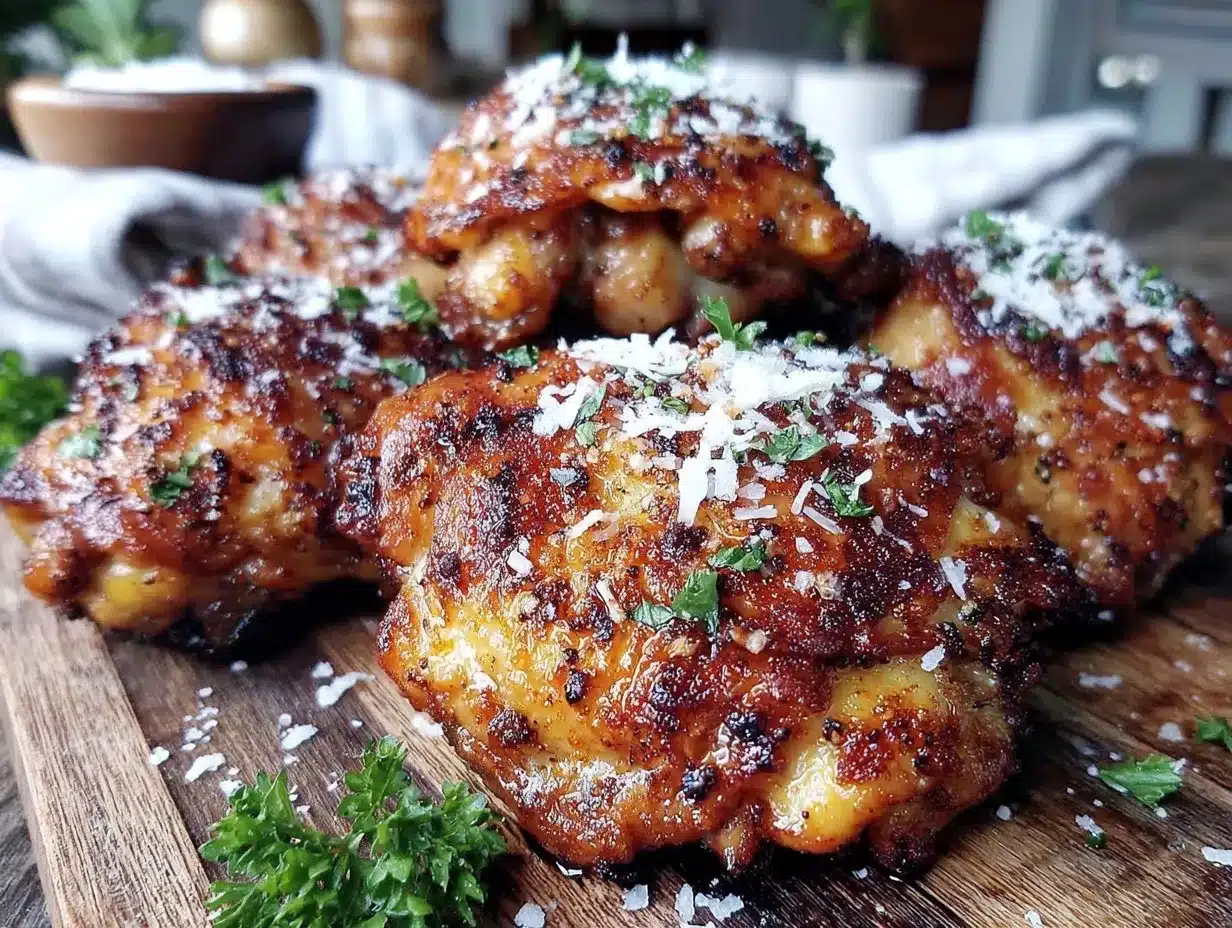
- Prepare the Chicken: Pat the chicken thighs dry with paper towels. Removing moisture is crucial for crispy skin. (5 minutes)
- Mix the Coating: In a medium bowl, combine the finely grated parmesan, panko breadcrumbs, garlic powder, Italian seasoning, salt, black pepper, and optional red pepper flakes and lemon zest. Stir well to blend evenly. (3 minutes)
- Add Fresh Garlic and Oil: Mix in the minced fresh garlic and olive oil to the dry mix. The olive oil helps bind the coating and promotes golden crispiness in the air fryer. (2 minutes)
- Coat the Chicken: Toss each chicken thigh in the garlic parmesan mixture, pressing gently to ensure the coating sticks well to the skin. Use tongs for easy handling and to keep your hands clean. (5 minutes)
- Preheat the Air Fryer: Set your air fryer to 400°F (200°C) and let it preheat for about 3 minutes. This step helps jumpstart the crisping process. (3 minutes)
- Arrange Chicken in Basket: Place the thighs skin side down in the air fryer basket without overcrowding to allow even air circulation. You may need to cook in batches depending on your air fryer size. (2 minutes)
- Cook First Side: Air fry at 400°F (200°C) for 12 minutes. You should see the skin turning golden and the parmesan crust firming up. (12 minutes)
- Flip and Cook Second Side: Carefully flip the thighs skin side up and cook for another 8-10 minutes until the internal temperature reaches 165°F (74°C) and the crust is crispy and golden. (8-10 minutes)
- Rest the Chicken: Let the thighs rest for 5 minutes before serving. This helps the juices redistribute and the crust to set perfectly. (5 minutes)
Troubleshooting Tips: If the coating seems to burn before the chicken is cooked, lower the temperature to 375°F (190°C) and add a few extra minutes to the cooking time. If the skin isn’t crispy enough, try patting the chicken even drier next time or increasing the preheat time.
Once, I accidentally skipped the olive oil and the crust didn’t crisp up as nicely—lesson learned! The oil really makes a big difference in that golden crust. Also, flipping the chicken is key; otherwise, the bottom side can get soggy from the juices.
Cooking Tips & Techniques
Getting perfectly crispy garlic parmesan chicken thighs isn’t rocket science, but a few tricks go a long way. First, start with dry chicken skin. I always pat the thighs with paper towels, sometimes even letting them air-dry in the fridge for 30 minutes if I plan ahead. This step helps the skin crisp up rather than steam.
Using bone-in, skin-on thighs is a must. The bones keep the meat juicy, while the skin crisps beautifully in the air fryer’s hot circulating air. Boneless or skinless thighs won’t get the same satisfying crunch.
Don’t overload the air fryer basket. Crowding traps moisture and prevents even cooking. I usually cook in batches if I have more than four thighs. This also helps prevent the garlic parmesan coating from falling off or getting soggy.
When mixing the parmesan and panko, I suggest grating the cheese finely. Pre-grated bags often clump and don’t crisp as well. Freshly grated cheese gives a better crust and flavor. If you want an extra touch, sprinkle a little more parmesan halfway through cooking for a cheesier crust.
Flipping the chicken halfway through cooking is non-negotiable for even crispiness. I’ve found that cooking skin side down first locks in moisture, then flipping skin side up finishes off the crisping. If you’re feeling fancy, brushing a little extra olive oil or melted butter after flipping amps up the golden color.
Timing is key: trust your air fryer’s temperature, but always check internal temperature with a meat thermometer to make sure the chicken is perfectly cooked but not dried out.
Variations & Adaptations
This recipe is a great base for tweaks depending on what you have or your dietary needs.
- Spicy Garlic Parmesan: Add ½ tsp smoked paprika and ½ tsp cayenne pepper to the coating for a smoky, spicy kick.
- Herb Lovers’ Version: Swap Italian seasoning with fresh chopped rosemary, thyme, and parsley mixed into the parmesan coating for a fresh-herb punch.
- Gluten-Free: Use gluten-free panko or crushed gluten-free crackers instead of regular panko breadcrumbs to keep it crispy without gluten.
- Dairy-Free: Replace parmesan with nutritional yeast and add a pinch of garlic salt for flavor, though the crust won’t be quite as crispy.
For alternative cooking methods, you can pan-sear the thighs in a cast iron skillet to develop a crust, then finish in the oven at 425°F (220°C) for 15 minutes. Just keep an eye on the garlic parmesan coating to avoid burning.
Personally, I once tried adding a bit of lemon juice into the olive oil mix before coating, which gave a subtle tang that brightened the flavors nicely. It’s a nice twist when you want something a little fresher without losing that crispiness.
Serving & Storage Suggestions
Serve these chicken thighs hot right out of the air fryer with a sprinkle of fresh parsley for color and a wedge of lemon on the side. They pair wonderfully with simple sides like roasted veggies, garlic mashed potatoes, or even a fresh strawberry poppyseed salad to balance the richness.
Leftovers keep well in an airtight container in the fridge for up to 3 days. Reheat in the air fryer at 350°F (175°C) for 5-7 minutes to bring back that crispy crust. Avoid the microwave if you want to keep the texture intact.
Freezing is also an option—wrap each thigh individually in foil and store in a freezer-safe bag up to 3 months. Thaw overnight in the fridge and reheat in the air fryer as above.
Flavors deepen a bit after resting, so if you’re making ahead, the garlic and parmesan meld together nicely overnight, making this a great make-ahead dinner option.
Nutritional Information & Benefits
Each serving (1 chicken thigh) offers roughly:
| Calories | 320 kcal |
|---|---|
| Protein | 28g |
| Fat | 22g |
| Carbohydrates | 2g |
Chicken thighs are a great source of protein and provide essential nutrients like iron and zinc. The skin adds healthy fats that help with satiety and flavor, while parmesan cheese contributes a good amount of calcium. Using the air fryer cuts down on added oils compared to traditional frying, making this a lighter option without sacrificing taste.
For those watching carbs, this recipe fits well into low-carb or keto meal plans, especially with the panko breadcrumbs used sparingly. Just swap for almond flour or crushed pork rinds for a stricter keto version.
Note that this recipe contains dairy and gluten (from panko), so substitutions may be needed for allergies or intolerances.
Conclusion
If you’re after a quick, fuss-free dinner that delivers crispy, garlicky goodness with every bite, these crispy garlic parmesan chicken thighs are worth making. I love how straightforward the recipe is—no complicated steps, just solid flavor and texture that impresses quietly but surely.
Feel free to tweak the seasoning or try one of the variations to make it your own. This recipe sticks with me because it’s reliable and satisfying without much effort. It’s the kind of dish that turns a simple chicken dinner into something memorable, week after week.
Let me know how your batch turns out or if you’ve given it your own spin—I always enjoy hearing from fellow cooks who’ve made it their own. Here’s to delicious dinners without the hassle!
FAQs
Can I use boneless chicken thighs for this recipe?
Yes, but boneless thighs may cook faster and won’t have the same crispy skin texture. Adjust cooking time accordingly and keep an eye on them to avoid drying out.
How do I know when the chicken is fully cooked?
Use a meat thermometer to check the internal temperature—it should read 165°F (74°C) at the thickest part of the thigh.
Can I prepare the coating in advance?
Absolutely! Mix the parmesan, panko, and seasonings ahead and store in an airtight container for up to 3 days. Add fresh garlic and olive oil just before coating the chicken.
What if I don’t have an air fryer?
You can bake the coated chicken thighs in a preheated oven at 425°F (220°C) on a wire rack for about 35-40 minutes, flipping halfway through.
Is it possible to make this recipe dairy-free?
Yes. Substitute parmesan with nutritional yeast, though the crispiness and flavor will be a bit different. Use a dairy-free oil like avocado oil to keep the coating moist.
Pin This Recipe!
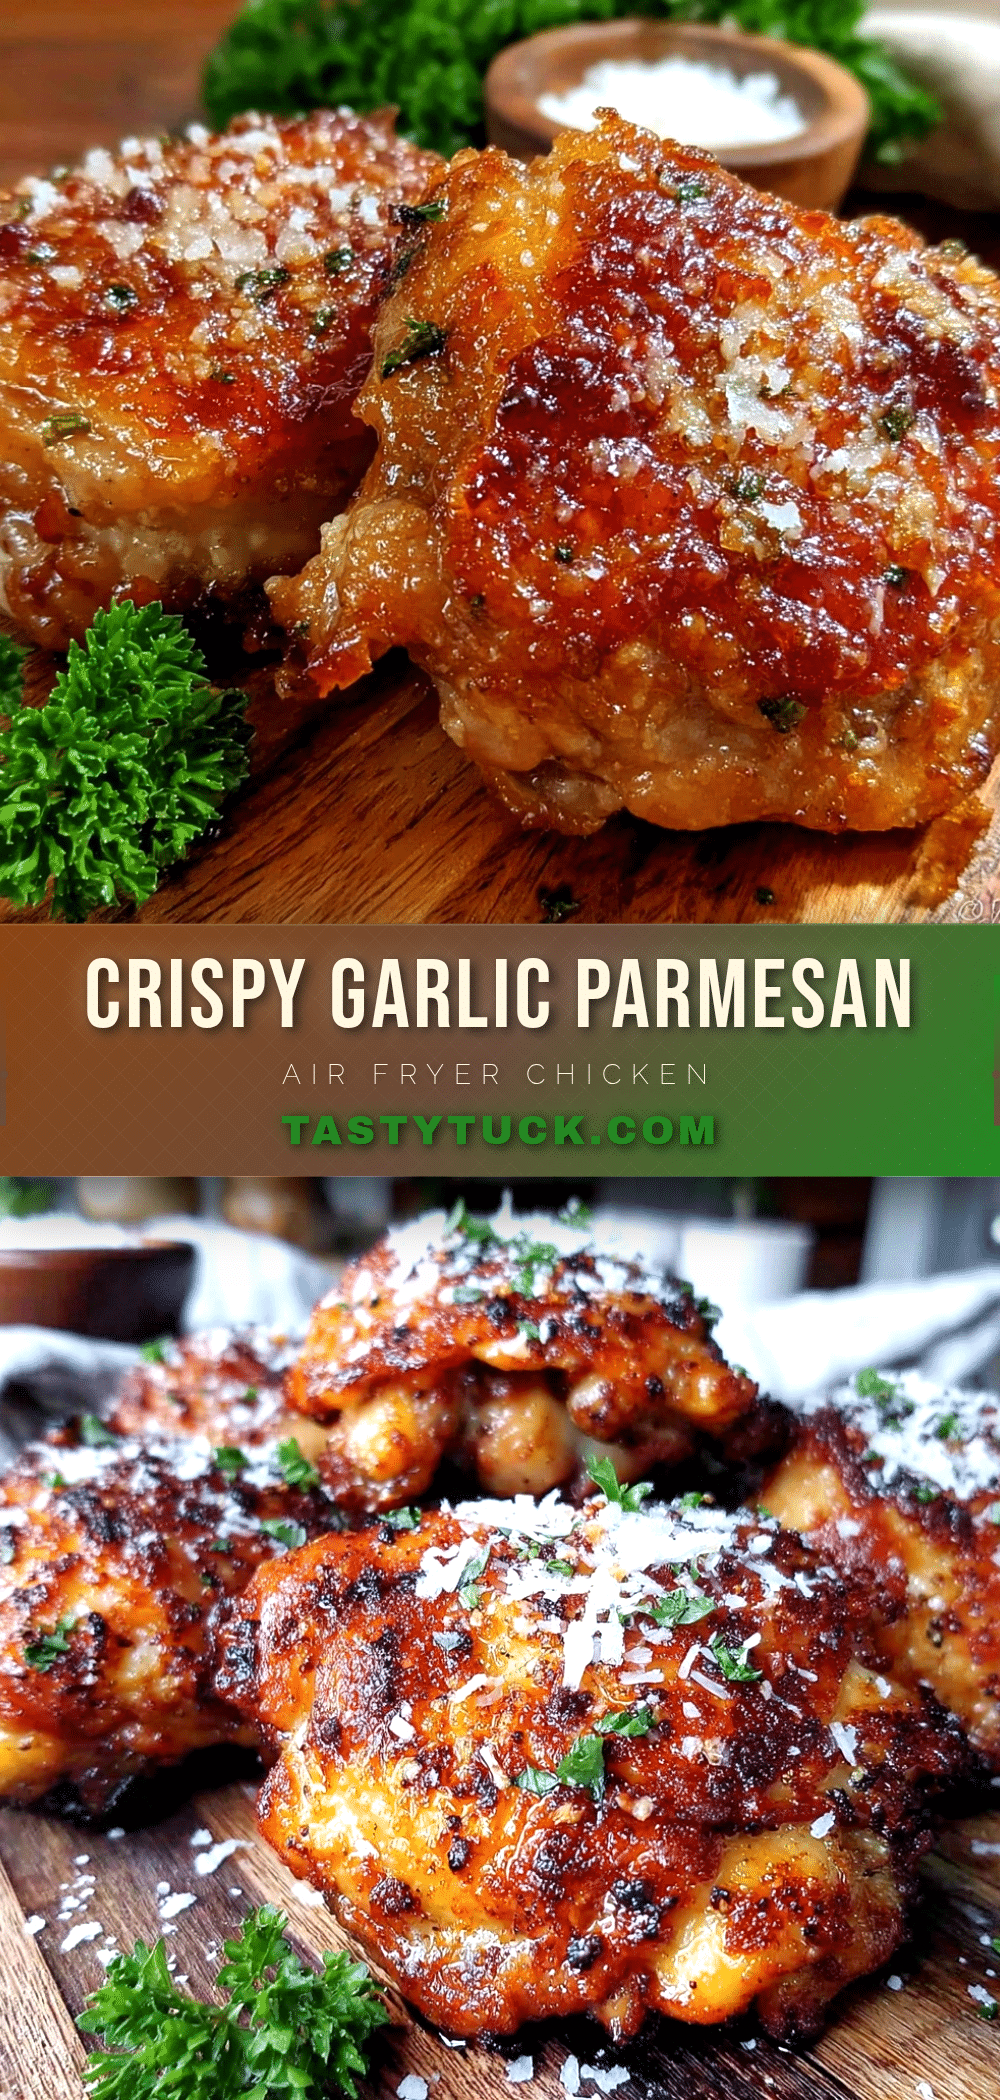
Crispy Garlic Parmesan Chicken Thighs Air Fryer Recipe Easy Perfect Dinner

This recipe delivers crispy, garlicky, and cheesy crusted chicken thighs cooked quickly in an air fryer, perfect for fuss-free weeknight dinners or casual gatherings.
- Prep Time: 15 minutes
- Cook Time: 22 minutes
- Total Time: 37 minutes
- Yield: 4 servings 1x
- Category: Main Course
- Cuisine: American
Ingredients
- 4 bone-in, skin-on chicken thighs (about 1.5 lbs / 700g)
- 1 tsp garlic powder
- ½ cup finely grated Parmesan cheese (about 50g)
- ¼ cup panko breadcrumbs (about 30g)
- 1 tsp Italian seasoning
- 1 tsp salt
- ½ tsp freshly cracked black pepper
- 2 tbsp extra virgin olive oil
- 2 cloves fresh garlic, minced (optional)
- ¼ tsp red pepper flakes (optional)
- 1 tsp lemon zest (optional)
Instructions
- Pat the chicken thighs dry with paper towels to remove moisture. (5 minutes)
- In a medium bowl, combine Parmesan cheese, panko breadcrumbs, garlic powder, Italian seasoning, salt, black pepper, and optional red pepper flakes and lemon zest. Stir well to blend evenly. (3 minutes)
- Mix in the minced fresh garlic and olive oil to the dry mix to bind the coating and promote crispiness. (2 minutes)
- Toss each chicken thigh in the garlic parmesan mixture, pressing gently to ensure the coating sticks well to the skin. Use tongs for easy handling. (5 minutes)
- Preheat the air fryer to 400°F (200°C) for about 3 minutes. (3 minutes)
- Place the thighs skin side down in the air fryer basket without overcrowding. Cook in batches if necessary. (2 minutes)
- Air fry at 400°F (200°C) for 12 minutes until the skin is golden and the parmesan crust firms up. (12 minutes)
- Flip the thighs skin side up and cook for another 8-10 minutes until internal temperature reaches 165°F (74°C) and crust is crispy and golden. (8-10 minutes)
- Let the chicken rest for 5 minutes before serving to allow juices to redistribute and crust to set. (5 minutes)
Notes
Pat chicken dry for best crispiness. Use bone-in, skin-on thighs for juiciness and texture. Flip chicken halfway through cooking. If coating burns, reduce temperature to 375°F and increase cooking time. Freshly grate Parmesan for best crust. Optional add-ons include red pepper flakes for heat and lemon zest for brightness. Can bake in oven at 425°F for 35-40 minutes if no air fryer is available. Leftovers keep well refrigerated for 3 days and reheat in air fryer at 350°F for 5-7 minutes. Freeze wrapped for up to 3 months.
Nutrition
- Serving Size: 1 chicken thigh
- Calories: 320
- Fat: 22
- Carbohydrates: 2
- Protein: 28
Keywords: crispy chicken thighs, garlic parmesan chicken, air fryer chicken, easy dinner, weeknight meal, chicken recipe, parmesan crust, garlic chicken


