It was one of those evenings where I just wanted something sweet, satisfying, and quick—no fuss, no oven, no long cleanup. Honestly, I was a little skeptical about how good an easy no-bake loaded peanut butter bars recipe could be. I mean, peanut butter bars are everywhere, but could a no-bake version really hit the spot? I remember staring at my pantry, half-hoping to find a shortcut snack that didn’t taste like a cardboard substitute.
Then, out of nowhere, a late-night text from a friend popped up: “Got any good snack recipes that don’t require baking? My oven’s broken!” That nudged me to revisit this recipe I’d been tweaking for weeks. The first time I made these bars, I didn’t expect much beyond a quick fix, but the moment I took that first bite—the perfect balance of creamy peanut butter, crunchy mix-ins, and a hint of sweetness—I was hooked. It wasn’t just a snack; it was a little moment of comfort that required zero heat and barely any effort.
Now, I keep these bars in my fridge almost constantly. They’re a lifesaver when I need a quick energy boost or just want to treat myself without the guilt of complicated baking. The best part? They’re loaded with good stuff, so they feel like a real snack—not just empty calories. This easy no-bake loaded peanut butter bars recipe stuck with me because it’s honest, straightforward, and genuinely delicious. If you’re craving a hassle-free, crowd-pleasing snack, this might just become your new go-to.
Why You’ll Love This Recipe
- Quick & Easy: Ready in under 20 minutes, perfect for those last-minute snack attacks or busy afternoons.
- Simple Ingredients: Uses pantry staples you probably already have—peanut butter, oats, a bit of honey, and some mix-ins.
- Perfect for Any Occasion: Great for kids’ lunch boxes, office snacks, or casual get-togethers.
- Crowd-Pleaser: These bars always get rave reviews from both kids and adults, with their satisfying texture and sweet nuttiness.
- Unbelievably Delicious: The combination of creamy peanut butter and crunchy bits creates a comforting, addictive flavor profile.
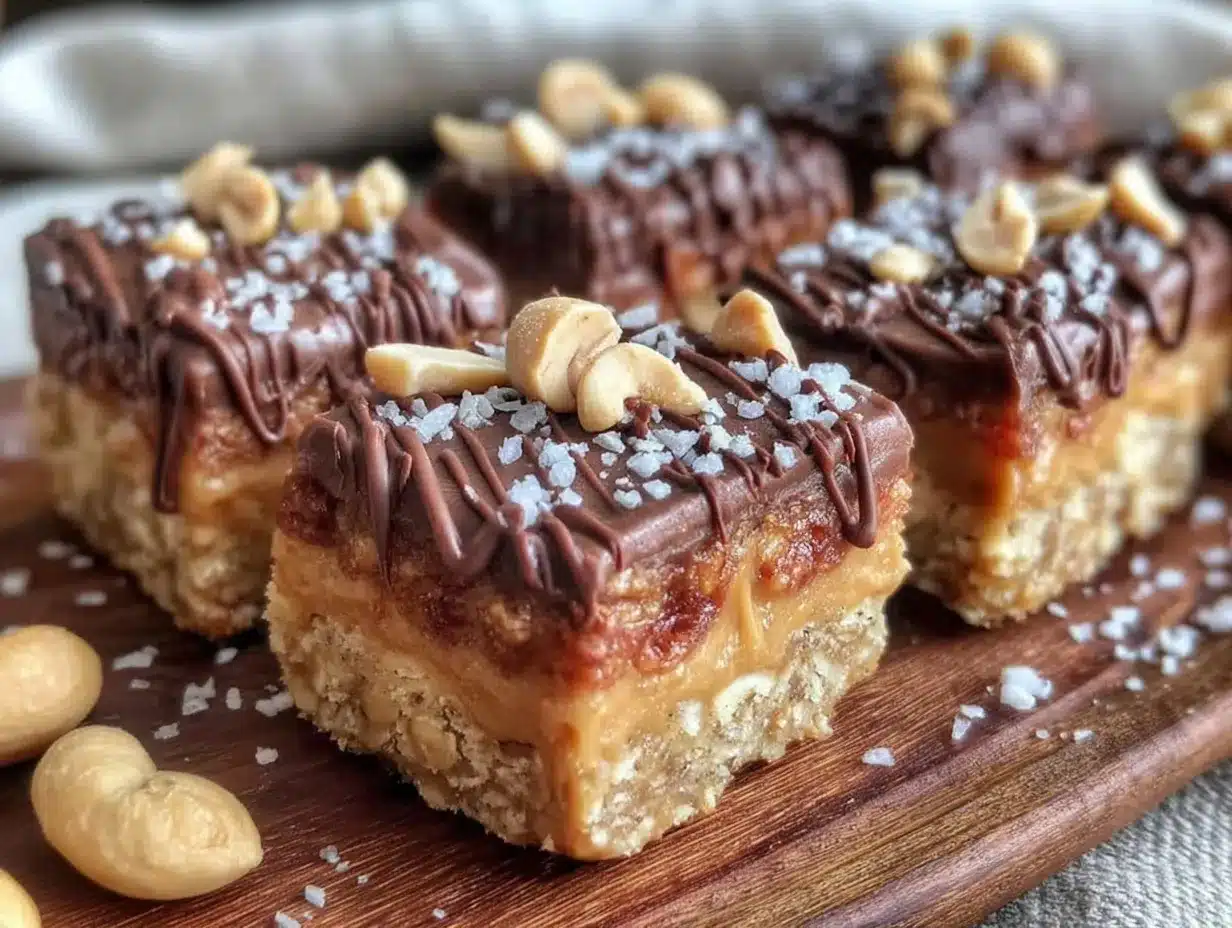
What sets this recipe apart is the loaded mix-ins—think mini chocolate chips, chopped peanuts, and a sprinkle of sea salt—that add texture and flavor bursts. I also like blending the peanut butter for a silkier texture before mixing it with the dry ingredients, which makes all the difference. It’s not just peanut butter bars; it’s a snack that feels thoughtfully crafted without the fuss.
This recipe isn’t just about feeding hunger—it’s about those little moments where a bite can make the day a bit better. Whether you’re sharing with friends or sneaking one before dinner, these bars deliver comfort and joy without any stress.
What Ingredients You Will Need
This recipe uses simple, wholesome ingredients to deliver bold flavor and satisfying texture without the fuss. Most are pantry staples, and you can easily swap them to suit your preferences.
- Peanut Butter, creamy or crunchy (I prefer Skippy Natural for its smooth taste and no added sugar)
- Old-Fashioned Rolled Oats (provides chewiness and bulk; quick oats can be used but result in a softer texture)
- Honey or maple syrup (natural sweetener and binder)
- Chopped Peanuts (adds crunch and enhances the peanut flavor; salted or unsalted works)
- Mini Chocolate Chips (optional but highly recommended for little bursts of sweetness)
- Ground Flaxseed (optional, for a nutritional boost and slight nutty flavor)
- Vanilla Extract (just a splash to round out the flavors)
- Sea Salt (a pinch to balance sweetness and enhance flavor)
- Coconut Oil, melted (helps bind and adds a subtle richness; can be replaced with butter)
For substitutions, you can try almond butter or sunflower seed butter if you’re allergic to peanuts. Rolled oats can be swapped for gluten-free oats if needed. If you don’t have honey, maple syrup or agave nectar works just fine. Feel free to add your own favorite mix-ins like dried cranberries or shredded coconut for a seasonal twist.
Equipment Needed
- A medium mixing bowl – for combining all your ingredients.
- A spatula or wooden spoon – to stir everything together thoroughly.
- A 9×9-inch (23×23 cm) square baking pan or an equivalent size container – for shaping and chilling the bars.
- Parchment paper – to line the pan for easy removal (makes cleanup easier, trust me).
- Measuring cups and spoons – precise measurements keep the texture just right.
If you don’t have a square pan, a loaf pan or even a small casserole dish will work. I’ve made these bars in disposable foil pans when I was traveling, and they still came out great. Simply press the mixture firmly into the container and chill. No fancy gadgets necessary here.
Preparation Method
- Prepare your pan: Line your 9×9-inch (23×23 cm) baking pan with parchment paper, leaving some overhang on the sides for easy lifting. This step saves a lot of hassle later.
- Mix the wet ingredients: In a medium bowl, combine 1 cup (250 g) creamy peanut butter, 1/3 cup (80 ml) honey, 2 tablespoons (30 ml) melted coconut oil, and 1 teaspoon (5 ml) vanilla extract. Stir until smooth and well blended. The mixture should be creamy with a glossy sheen—if it looks grainy, give it a few more stirs.
- Add the dry ingredients: Into the peanut butter mixture, fold in 2 cups (180 g) old-fashioned rolled oats, 1/4 cup (30 g) chopped peanuts, 2 tablespoons (14 g) ground flaxseed (optional), and a pinch of sea salt. Stir gently until everything is evenly coated and combined. The texture should be thick but spreadable.
- Mix in the chocolate chips: Add 1/3 cup (60 g) mini chocolate chips and give a light stir. Don’t overmix here, or the chips might melt.
- Press into the pan: Transfer the mixture into the prepared pan. Use the back of a spatula or your hands (lightly greased or dampened) to press the mixture firmly and evenly. This helps the bars hold their shape once chilled.
- Chill: Refrigerate the pan for at least 2 hours, or until the bars are firm and set. If you’re in a hurry, 1 hour in the freezer works too.
- Slice and serve: Lift the bars out using the parchment overhang and cut into 12 squares. Store leftovers in an airtight container in the fridge.
If the mixture feels too sticky, you can add a little more oats or flaxseed to balance it out. And if your peanut butter is super thick, warming it slightly before mixing helps achieve the right consistency. The smell when these bars are chilling is honestly irresistible—like a peanut butter candy shop.
Cooking Tips & Techniques
One of the trickiest parts with no-bake bars is getting the texture just right. Too dry and crumbly, and you’re left with mess; too wet and they won’t hold shape. Here’s what I’ve learned from trial and error:
- Choose creamy peanut butter: It blends more smoothly, giving the bars a better mouthfeel. If you want extra texture, the chopped peanuts provide that satisfying crunch.
- Don’t skip chilling: The refrigeration step is crucial—it lets the fats solidify and the oats soak up moisture, which helps the bars set firmly.
- Press firmly: Don’t be shy about pressing the mixture tightly into the pan. This guarantees bars that hold together instead of crumbling apart.
- Mix-ins last: Add chocolate chips at the end to prevent melting or clumping, especially if your peanut butter is warm.
- Timing: You can make these bars in the evening and let them chill overnight for a no-fuss breakfast or snack the next day.
I once tried making these with crunchy peanut butter only and forgot to press the mixture firmly enough—it ended up more like clusters than bars, delicious but tricky to eat. Lesson learned: gentle but firm is the way to go.
Variations & Adaptations
Feel free to mix things up based on what you have or your dietary needs. Here are my favorite twists:
- Chocolate Lover’s: Replace mini chocolate chips with chopped dark chocolate chunks and add a swirl of cocoa powder to the wet ingredients.
- Nut-Free Version: Use sunflower seed butter instead of peanut butter and swap peanuts for pumpkin seeds or sunflower seeds.
- Protein Boost: Stir in a scoop of your favorite protein powder (vanilla or chocolate) to the dry ingredients for an extra energy punch.
- Seasonal Flair: Add dried cranberries and a sprinkle of cinnamon for a cozy fall-inspired snack.
I personally tried the protein powder version during a busy workweek, and it was a game changer—kept me full and satisfied between meetings without the sugar crash.
Serving & Storage Suggestions
These bars are best served chilled or at room temperature. I like to pull them out of the fridge about 10 minutes before eating so they’re not too firm but still hold their shape.
They pair perfectly with a glass of cold milk, a hot cup of coffee, or even a smoothie for a balanced snack. For a fun twist, try topping them with a drizzle of melted chocolate or a sprinkle of flaky sea salt just before serving.
Store any leftovers in an airtight container in the refrigerator for up to one week. You can also freeze the bars individually wrapped in parchment paper for up to 3 months. When ready to eat, thaw in the fridge overnight or at room temperature for about 30 minutes.
Over time, the flavors deepen—the peanuts toast slightly in the fridge, and the bars become even more satisfying with each bite.
Nutritional Information & Benefits
Each bar (assuming 12 servings) roughly contains:
| Calories | 180-200 |
|---|---|
| Protein | 6-7 grams |
| Fat | 12-14 grams (mostly healthy fats) |
| Carbohydrates | 15-18 grams |
| Fiber | 3-4 grams |
Peanut butter provides heart-healthy monounsaturated fats and protein, while oats contribute fiber and sustained energy. The optional flaxseed adds omega-3 fatty acids, which are great for inflammation and brain health. This recipe is naturally gluten-free if you use certified gluten-free oats, and dairy-free as written. Just watch for nut allergies if serving to others.
I appreciate this snack because it keeps me fueled without the sugar crash you get from many store-bought options. It’s a realistic, wholesome treat that fits well into a balanced eating plan.
Conclusion
Easy no-bake loaded peanut butter bars are my little secret weapon for satisfying snack cravings without breaking a sweat. They’re quick, delicious, and flexible enough to tweak however you like. Whether you want a quick bite between errands or something to pack for lunch, these bars have you covered.
Give this recipe a shot and feel free to make it your own—add your favorite mix-ins, swap ingredients, or adjust sweetness to suit your taste. For me, they’re a no-brainer anytime I want comfort in a hurry without the oven fuss.
If you end up making these, I’d love to hear how you customized them or any tips you discover along the way. Here’s to simple snacks that make life a little sweeter, one bar at a time.
FAQs
Can I use natural peanut butter instead of creamy?
Yes, but natural peanut butter is usually thinner and oilier, so you might need to adjust the oats slightly to get the right texture.
How long do these bars last in the fridge?
Stored in an airtight container, they keep well for up to one week in the refrigerator.
Can I freeze the bars?
Absolutely! Wrap individual bars in parchment and freeze for up to 3 months. Thaw in the fridge overnight before eating.
What if I don’t have honey?
Maple syrup or agave nectar work as great substitutes in the same quantity.
Are these bars suitable for kids?
Yes! They’re a wholesome, tasty treat that kids usually love due to the peanut butter and chocolate combination.
Pin This Recipe!
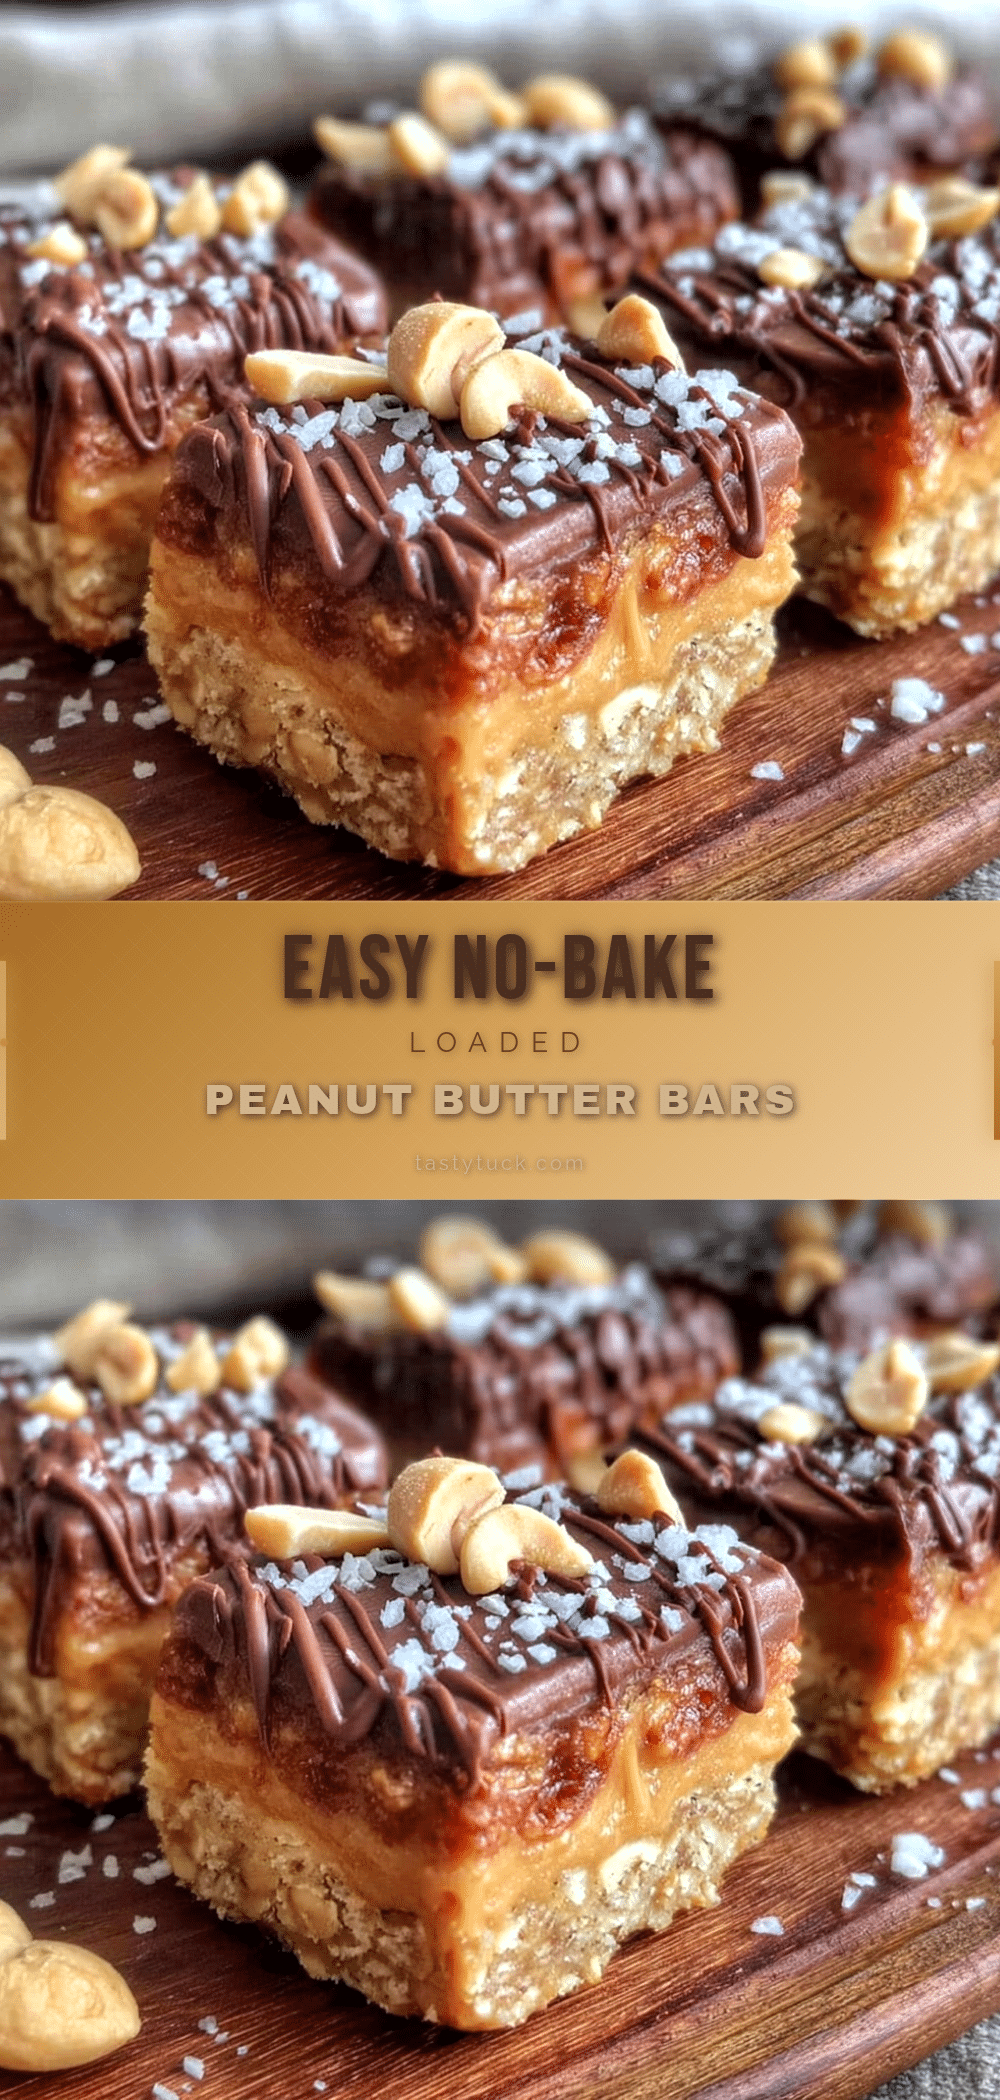
Easy No-Bake Loaded Peanut Butter Bars
A quick and easy no-bake peanut butter bars recipe loaded with mix-ins like mini chocolate chips and chopped peanuts, perfect for a satisfying snack without any oven time.
- Prep Time: 10 minutes
- Cook Time: 0 minutes
- Total Time: 2 hours 10 minutes
- Yield: 12 bars 1x
- Category: Snack
- Cuisine: American
Ingredients
- 1 cup creamy peanut butter (preferably Skippy Natural)
- 2 cups old-fashioned rolled oats
- 1/3 cup honey or maple syrup
- 1/4 cup chopped peanuts (salted or unsalted)
- 1/3 cup mini chocolate chips (optional but recommended)
- 2 tablespoons ground flaxseed (optional)
- 1 teaspoon vanilla extract
- Pinch of sea salt
- 2 tablespoons melted coconut oil (can substitute with butter)
Instructions
- Line a 9×9-inch baking pan with parchment paper, leaving overhang for easy lifting.
- In a medium bowl, combine peanut butter, honey, melted coconut oil, and vanilla extract. Stir until smooth and glossy.
- Fold in rolled oats, chopped peanuts, ground flaxseed (if using), and sea salt until evenly combined and thick but spreadable.
- Gently stir in mini chocolate chips, being careful not to overmix.
- Press the mixture firmly and evenly into the prepared pan using a spatula or lightly greased/dampened hands.
- Refrigerate for at least 2 hours until firm, or freeze for 1 hour if in a hurry.
- Lift bars out using parchment overhang and cut into 12 squares. Store leftovers in an airtight container in the fridge.
Notes
If mixture is too sticky, add more oats or flaxseed. Warm thick peanut butter slightly for easier mixing. Press mixture firmly to avoid crumbly bars. Add chocolate chips last to prevent melting. Bars can be frozen individually wrapped for up to 3 months.
Nutrition
- Serving Size: 1 bar (1/12th of rec
- Calories: 190
- Sugar: 7
- Sodium: 90
- Fat: 13
- Saturated Fat: 2
- Carbohydrates: 16
- Fiber: 3.5
- Protein: 6.5
Keywords: no-bake, peanut butter bars, snack, easy recipe, healthy snack, no oven, quick snack, peanut butter, chocolate chips