I used to think charcuterie boards were just for fancy parties. You know, the kind where you stress over the perfect cracker arrangement and spend way too much money on cheese you’re not even sure you like. But last October, I found myself staring at a counter full of farmers market finds—apples still dusty from the orchard, a wedge of sharp cheddar, and a bag of honey-roasted pecans I bought on impulse. I had people coming over in twenty minutes. So I just started piling things onto a board. No strategy. No Pinterest inspo. And honestly? It was the best board I’ve ever made. Not because it was perfect, but because it tasted like fall in the most unfussy way. That’s when I realized this whole charcuterie thing doesn’t have to be complicated. It just has to feel good.
This Perfect Fall Harvest Charcuterie Board is my go-to for everything from cozy Sunday afternoons to last-minute gatherings. It’s ready in 15 minutes, uses ingredients you can find anywhere, and somehow looks like you spent hours on it. I’ve made this board for Thanksgiving appetizers, football watch parties, and even a quiet night in with a glass of red wine. Every single time, people hover around it like it’s the main attraction. And the best part? There’s no cooking involved. Just arranging. That’s my kind of recipe.
Why You’ll Love This Recipe
This isn’t just another cheese board. I’ve tested dozens of combinations over the years, and this fall version hits that sweet spot between rustic and elegant without any fuss. Here’s why this one works so well:
- Ready in 15 Minutes: No cooking, no baking, no stress. Just grab, arrange, and serve. Perfect for when guests show up early or you need something impressive fast.
- Simple Ingredients: Everything comes from a regular grocery store or farmers market. No specialty shops or expensive imports required.
- Perfect for Fall Gatherings: Whether it’s Thanksgiving, a Halloween party, or just a cozy night in, this board fits every autumn occasion.
- Crowd-Pleaser: I’ve served this to picky eaters, foodie friends, and everyone in between. There’s always something for everyone.
- Unbelievably Delicious: The combination of sweet apples, salty prosciutto, creamy brie, and crunchy pecans is pure fall magic. You’ll catch yourself stealing bites while you arrange it.
What makes this board different from the rest is the balance. I’ve learned that the best charcuterie boards aren’t about quantity—they’re about contrast. You need something creamy, something crunchy, something sweet, and something salty. This recipe nails that balance every single time. It’s comfort food reimagined as a beautiful spread that brings people together without any stress.
What Ingredients You Will Need
This recipe uses simple, seasonal ingredients to create a board that tastes like autumn on a plate. Most of these are pantry staples or easy fall finds.
Cheeses
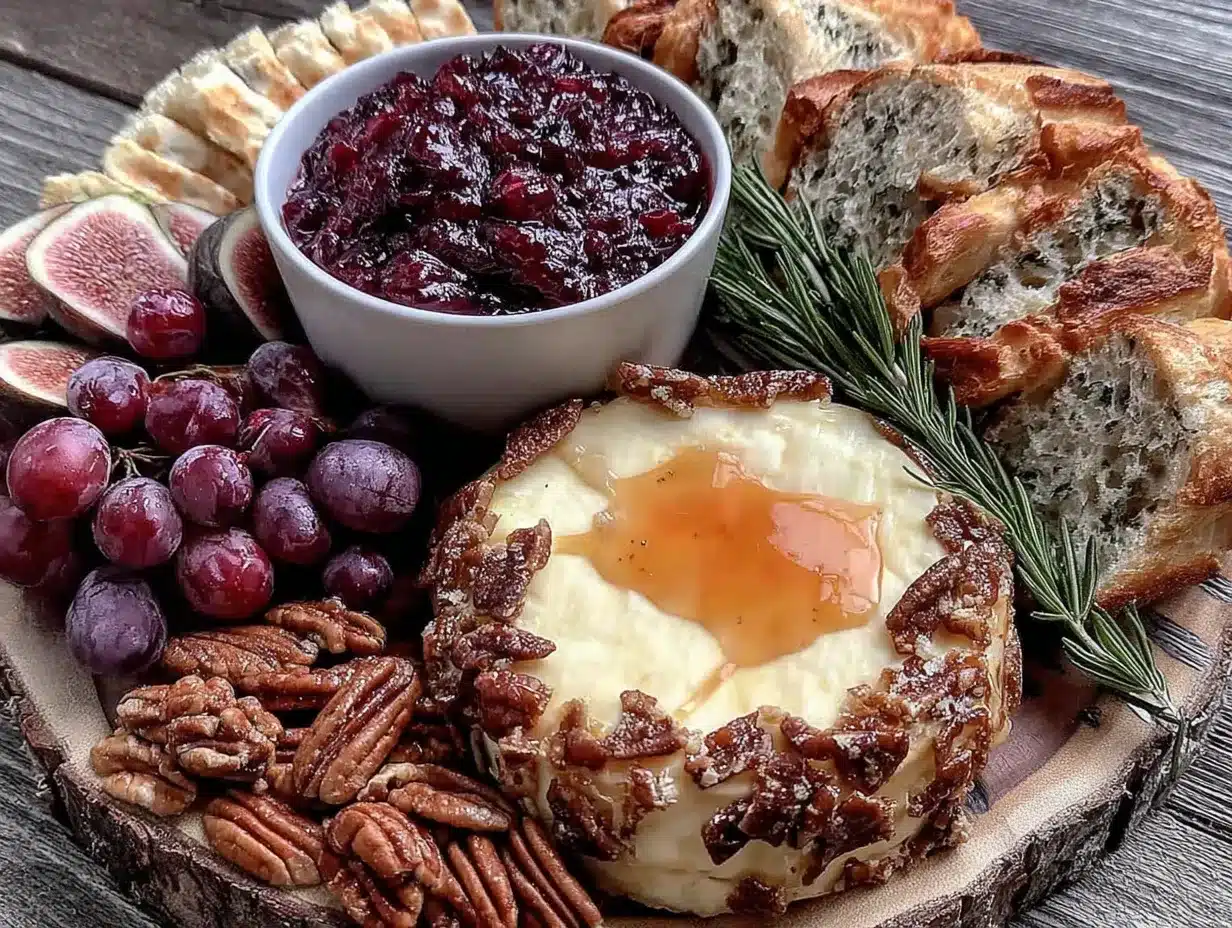
- Brie cheese (8 oz wheel) – Go for a double or triple cream brie for that luscious, spreadable texture. I love the President brand brie for consistent quality.
- Aged sharp cheddar (6 oz) – Look for a good quality block you can slice yourself. The sharper, the better—it cuts through the sweetness of the fruit.
- Goat cheese log (4 oz) – Adds that tangy, creamy element. I recommend Chavrie or any fresh, soft goat cheese. Let it come to room temperature for easier spreading.
Meats
- Prosciutto (4 oz, thinly sliced) – Salty and delicate. Ask the deli counter to slice it paper-thin.
- Sopressata salami (4 oz) – The dry-cured texture adds chew and spice. Slice into thin rounds or fold into ribbons.
Fruits
- Honeycrisp apples (2 medium) – Sweet-tart and crisp. Slice them right before serving or toss with a little lemon juice to prevent browning.
- Bosc pears (1 large) – Their firm texture holds up well on a board. Slice thin.
- Dried figs (1/2 cup) – Chewy and sweet. Look for soft, plump ones.
- Red seedless grapes (1 cup, small clusters) – Adds freshness and color.
Crunchy Elements
- Honey-roasted pecans (1/2 cup) – Sweet and crunchy. You can also use candied walnuts or spiced almonds.
- Pumpkin seeds (1/4 cup, shelled) – Adds a nice salty crunch.
- Crostini or baguette slices (1 small baguette, sliced and toasted) – For scooping and spreading.
- Seeded crackers (about 20 crackers) – I like Mary’s Gone Crackers for their hearty texture.
Sweet & Savory Additions
- Honey (2-3 tbsp) – For drizzling over brie or goat cheese.
- Fig jam or apple butter (1/3 cup) – Adds a sweet spreadable option. I prefer Bonne Maman fig jam.
- Dark chocolate (2 oz, broken into pieces) – A little square of 70% dark chocolate is a surprising but perfect addition.
- Fresh rosemary sprigs (for garnish) – Adds that fall aesthetic and subtle aroma.
Optional Substitutions
Swap brie for camembert if you prefer a milder flavor. Use turkey prosciutto for a lighter option. For a dairy-free version, replace all cheeses with vegan alternatives (I like Miyoko’s brand). No fresh figs? Dried apricots work beautifully. And if you’re avoiding nuts, roasted chickpeas make a great crunchy substitute.
Equipment Needed
- Large wooden cutting board or slate board (at least 12×16 inches) – A rimless baking sheet works in a pinch.
- Small bowls or ramekins (2-3) – For honey, jam, and nuts.
- Cheese knives (at least 2) – One for soft cheese, one for hard cheese.
- Small spreader or butter knife – For the goat cheese and jam.
- Paring knife – For slicing apples and pears.
- Serving spoons or tongs – For nuts and dried fruit.
If you don’t have a wooden board, a large white platter or even a clean cutting board works just fine. I’ve used a pizza pan before in a pinch—nobody cared once they started eating. Pro tip: If your board is new, rub it with a little mineral oil to keep it looking beautiful.
Preparation Method
This comes together in about 15 minutes. Trust the process—it’s more about arranging than actual cooking.
- Set out your cheeses first. Remove brie, cheddar, and goat cheese from the fridge 20 minutes before serving. Room temperature cheese tastes better and spreads easier. Place the brie wheel whole on the board, the cheddar as a block (slice a few pieces to get people started), and the goat cheese log in a small bowl.
- Drizzle the brie with honey. Take about 1 tablespoon of honey and drizzle it right over the top of the brie. Add a few cracks of black pepper if you’re feeling fancy. This little step makes the brie feel like a centerpiece.
- Arrange the meats. Fold prosciutto slices into loose ribbons and place them in a cluster on one side of the board. Fold the sopressata slices in half and fan them out near the prosciutto. Leave a little space between the meats and cheeses so flavors don’t blend too much.
- Add the fruits. Slice the apples and pears right before arranging to keep them from browning. Fan them out in a curved line across the board. Place small clusters of grapes in a couple of spots. Scatter dried figs around the board—they look beautiful and add sweetness.
- Fill in with crunchy elements. Pour honey-roasted pecans and pumpkin seeds into small bowls or pile them directly on the board in small clusters. Arrange the crostini and crackers in groups near the cheeses. You want people to be able to reach everything without stretching.
- Add the sweet spreads. Spoon the fig jam or apple butter into a small ramekin and place it near the cheddar. This combination is incredible together. Put the remaining honey nearby for drizzling.
- Finish with chocolate and garnish. Break the dark chocolate into small pieces and scatter them around the board. Tuck a few fresh rosemary sprigs between the ingredients—it adds color and a subtle herbal note that makes everything smell like fall.
- Step back and adjust. Look at your board from above. Are there empty spots? Fill them with extra crackers or a few more grapes. The goal is a full, abundant look. Don’t overthink it—just make sure every ingredient is visible and accessible.
Cooking Tips & Techniques
I’ve made a lot of charcuterie boards over the years, and I’ve definitely learned some things the hard way. Here’s what I wish someone had told me:
Don’t overcrowd the board. I used to pile everything on until it looked like a food avalanche. The problem is, guests can’t actually grab anything without knocking things over. Leave about an inch of space between clusters. It looks more intentional and is way easier to eat from.
Slice cheese strategically. Pre-slice a few pieces of your hard cheese so people don’t have to struggle with a knife. For soft cheeses, leave them whole but provide a spreading knife. Nobody wants to fight with a wheel of brie at a party.
Keep wet and dry separate. Grapes next to crackers? You’ll end up with soggy crackers. Keep fruits and vegetables away from crunchy items. Same goes for jam—put it in a small bowl, not directly on the board.
Temperature matters. I once served a board with cold cheese straight from the fridge. It was like eating butter straight from the freezer. Let everything sit out for at least 20 minutes before serving. The flavors open up so much more at room temperature.
Build in layers. Start with the biggest items (cheeses, bowls) and work down to the smallest (nuts, chocolate). This creates visual depth and keeps everything from looking flat. I learned this from watching food stylists—it really works.
Make extra. I always buy more than I think I need. Charcuterie boards disappear fast, and there’s nothing worse than a bare board halfway through the party. Plus, leftovers make the best lunch the next day.
Variations & Adaptations
One of the best things about this board is how easy it is to change up. Here are some variations I’ve tried and loved:
Vegetarian Harvest Board
Skip the meats entirely and double up on cheeses. Add roasted butternut squash cubes (tossed with maple syrup and cinnamon), marinated artichokes, and grilled halloumi slices. It’s hearty enough that nobody misses the meat.
Gluten-Free Option
Replace crackers and crostini with gluten-free crackers (I like Simple Mills brand), rice cakes cut into triangles, or cucumber rounds. Everything else is naturally gluten-free, so this swap is easy.
Spicy Southwest Twist
Swap the brie for pepper jack cheese, add sliced jalapeños, use spicy chorizo instead of prosciutto, and include mango chunks and pepitas. It’s unexpected but works beautifully for a fall tailgate. This variation pairs great with our Walking Taco Casserole for a full spread.
Dessert Charcuterie Board
Replace meats with more dark chocolate, add caramel dip, marshmallows, pretzels, and sliced pears. Use brie and goat cheese as the only cheeses, and drizzle everything with honey. It’s like a fancy s’mores board without the fire.
Low-Carb/Keto Version
Skip the crackers, crostini, and dried figs. Add extra nuts, cheese cubes, cucumber slices, and celery sticks. Use sugar-free jam if you want a sweet element. This version is surprisingly satisfying and keeps you full for hours.
Serving & Storage Suggestions
This board is best served at room temperature, so let it sit out for 20 minutes before guests arrive. Arrange it on a large board or platter and place it in the center of the table where everyone can reach. I like to put out small plates and napkins so people can build their own little combinations.
For drinks, this board pairs beautifully with a dry Riesling, a crisp apple cider, or a light pinot noir. If you’re serving it as an appetizer before a meal, keep it light. If it’s the main event (which it absolutely can be), add a Strawberry Poppyseed Salad on the side for a complete fall feast.
Leftovers? Lucky you. Store cheeses separately in wax paper (not plastic wrap—it makes them sweat), and keep meats in an airtight container. Fruits and crackers should be stored separately to keep everything fresh. The board will keep in the fridge for 2-3 days, though the apples and pears will brown. Just slice fresh ones when you’re ready to serve again.
For reheating, don’t microwave anything. Let cheeses come to room temperature naturally. The prosciutto and sopressata are fine cold. If the brie has been drizzled with honey, it’ll still be delicious straight from the fridge—just give it a few minutes to soften.
Flavors actually get better overnight. The cheeses continue to develop, and the honey soaks into the brie a little more. Day-old charcuterie is a real thing and it’s wonderful.
Nutritional Information & Benefits
This board is packed with nutrients, but let’s be real—it’s also indulgent. Here’s a rough estimate per serving (about 1/6 of the board):
- Calories: 420-480
- Protein: 18-22g
- Fat: 28-34g
- Carbohydrates: 30-38g
- Fiber: 5-7g
- Sugar: 18-24g (mostly from fruit and honey)
The health benefits come from the real food ingredients. Apples and pears provide fiber and vitamin C. Nuts offer healthy fats and protein. Cheese gives you calcium and probiotics (especially in aged varieties). And dark chocolate? It’s packed with antioxidants. This board is naturally gluten-free (if you choose the right crackers) and can be made vegetarian easily.
I personally love that this board feels special without being heavy. It’s the kind of meal that satisfies without weighing you down. Perfect for when you want something delicious but don’t want to spend hours in the kitchen.
Frequently Asked Questions
How far in advance can I make a charcuterie board?
You can prep ingredients up to 24 hours ahead—slice cheeses, wash fruits, and store everything separately. But arrange the board no more than 2 hours before serving. Fruits start to brown and crackers get soft if left out too long. I usually set everything out 20 minutes before guests arrive so the cheese comes to room temperature.
What if I don’t have a wooden board?
No problem! Use a large rimmed baking sheet, a clean cutting board, a marble slab, or even a flat serving platter. I’ve used a pizza pan before and it worked great. The key is having enough surface area to spread everything out. If your surface is small, use bowls or ramekins to stack ingredients vertically.
Can I make this board spicy?
Absolutely. Add sliced jalapeños, spicy salami, pepper jack cheese, and a drizzle of hot honey. A little heat contrasts beautifully with the sweet apples and creamy brie. I’ve made a spicy version for fall game days and it was a huge hit.
How much should I make per person?
For an appetizer, plan on 2-3 ounces of cheese and 2 ounces of meat per person. For a main course, double that. I always err on the side of more—leftovers make amazing lunches. A good rule of thumb: if the board looks full, you have enough. If it looks sparse, add more crackers and fruit.
What’s the best way to arrange the board for photos?
Start with your largest items (cheeses, bowls) and place them asymmetrically. Then add meats in folds or ribbons. Fill gaps with fruits and nuts. Use fresh herbs for color contrast. Take a photo from directly above with natural light. And don’t stress—the best boards are the ones that get eaten, not just photographed.
Conclusion
This Perfect Fall Harvest Charcuterie Board has become my secret weapon for every autumn gathering. It’s the recipe that makes me look like I have it all together when really, I just know how to arrange cheese and fruit on a board. And honestly? That’s enough. There’s something magical about watching people gather around a beautiful spread, building their own little combinations, and sharing bites with each other. Food has a way of bringing people together, and this board does it effortlessly.
I hope you make this board your own. Add your favorite fall ingredients, swap in what you have, and don’t worry about making it perfect. The best charcuterie boards are the ones that reflect what you love to eat. If you try this recipe, I’d love to hear about it. Drop a comment below and tell me what fall flavors you added. And if you’re looking for more cozy fall recipes, check out our Apple Pie Skillet for a sweet finish to your meal.
Happy fall, friends. Go make something beautiful.
Pin This Recipe!
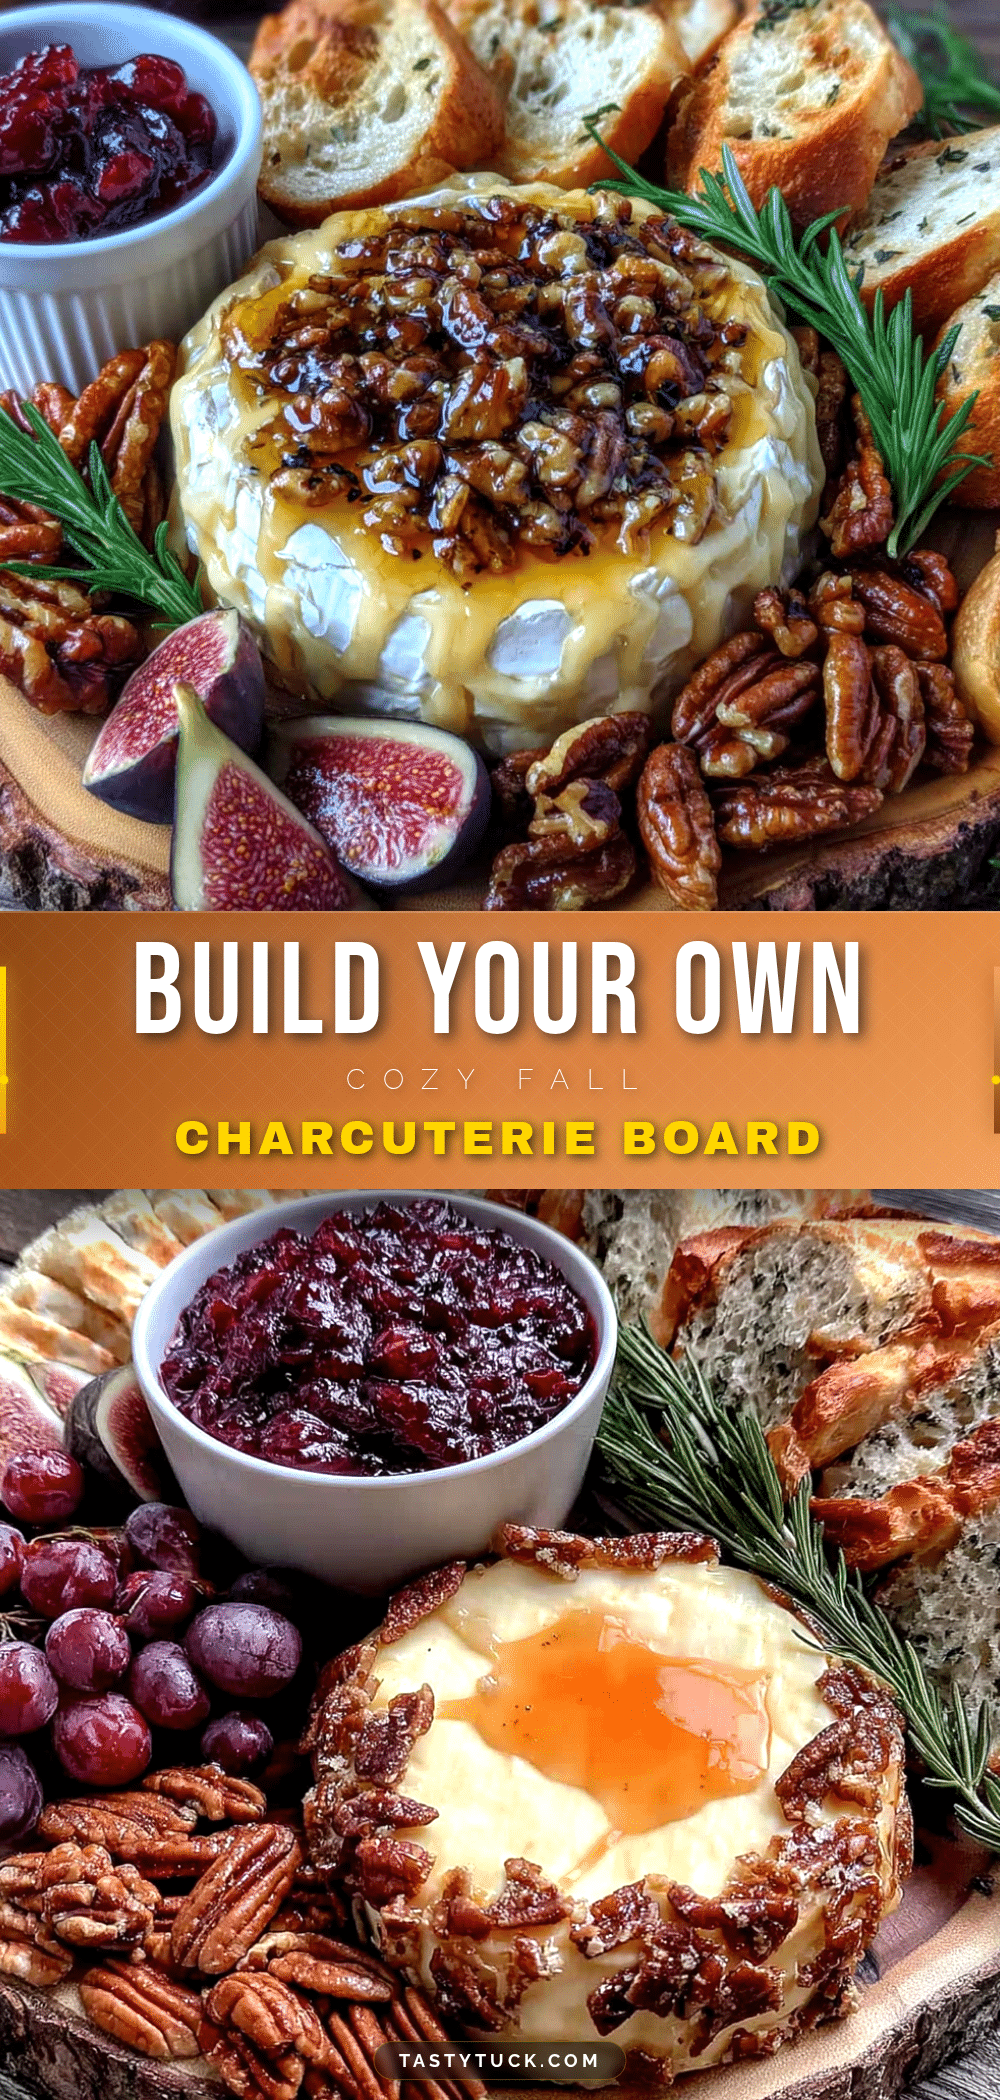
Perfect Fall Harvest Charcuterie Board: Easy 15-Minute Recipe
This Perfect Fall Harvest Charcuterie Board is a quick and impressive appetizer featuring seasonal ingredients like apples, pears, brie, prosciutto, and honey-roasted pecans. Ready in 15 minutes, it’s perfect for fall gatherings and requires no cooking.
- Prep Time: 15 minutes
- Cook Time: 0 minutes
- Total Time: 15 minutes
- Yield: 6 servings 1x
- Category: Appetizer
- Cuisine: American
Ingredients
- 8 oz brie cheese (double or triple cream)
- 6 oz aged sharp cheddar cheese
- 4 oz goat cheese log
- 4 oz prosciutto, thinly sliced
- 4 oz sopressata salami, thinly sliced
- 2 medium Honeycrisp apples
- 1 large Bosc pear
- 1/2 cup dried figs
- 1 cup red seedless grapes (small clusters)
- 1/2 cup honey-roasted pecans
- 1/4 cup shelled pumpkin seeds
- 1 small baguette, sliced and toasted (crostini)
- 20 seeded crackers (e.g., Mary’s Gone Crackers)
- 2–3 tbsp honey
- 1/3 cup fig jam or apple butter
- 2 oz dark chocolate (70% cocoa), broken into pieces
- Fresh rosemary sprigs for garnish
Instructions
- Set out your cheeses first. Remove brie, cheddar, and goat cheese from the fridge 20 minutes before serving. Place the brie wheel whole on the board, the cheddar as a block (slice a few pieces to get people started), and the goat cheese log in a small bowl.
- Drizzle the brie with honey. Take about 1 tablespoon of honey and drizzle it right over the top of the brie. Add a few cracks of black pepper if desired.
- Arrange the meats. Fold prosciutto slices into loose ribbons and place them in a cluster on one side of the board. Fold the sopressata slices in half and fan them out near the prosciutto.
- Add the fruits. Slice the apples and pears right before arranging. Fan them out in a curved line across the board. Place small clusters of grapes in a couple of spots. Scatter dried figs around the board.
- Fill in with crunchy elements. Pour honey-roasted pecans and pumpkin seeds into small bowls or pile them directly on the board in small clusters. Arrange the crostini and crackers in groups near the cheeses.
- Add the sweet spreads. Spoon the fig jam or apple butter into a small ramekin and place it near the cheddar. Put the remaining honey nearby for drizzling.
- Finish with chocolate and garnish. Break the dark chocolate into small pieces and scatter them around the board. Tuck a few fresh rosemary sprigs between the ingredients.
- Step back and adjust. Look at your board from above. Fill any empty spots with extra crackers or a few more grapes. Ensure every ingredient is visible and accessible.
Notes
Let cheeses come to room temperature for best flavor. Pre-slice hard cheese for easier serving. Keep wet and dry ingredients separate to avoid soggy crackers. Build in layers: start with largest items and work down to smallest. Make extra as boards disappear quickly.
Nutrition
- Serving Size: 1/6 of the board
- Calories: 450
- Sugar: 21
- Sodium: 800
- Fat: 31
- Saturated Fat: 12
- Carbohydrates: 34
- Fiber: 6
- Protein: 20
Keywords: fall charcuterie board, harvest charcuterie, easy appetizer, no-cook recipe, fall entertaining, cheese board, prosciutto, brie, apple, pear


