There used to be a tiny bakery tucked between a laundromat and a vintage shop on the corner of Oak and Elm that made the most incredible pumpkin donuts I have ever tasted. When they closed their doors two autumns ago — a “Going Out of Business” sign taped crookedly to the glass — I stood there on the sidewalk feeling genuinely panicked. I mean, I know that sounds dramatic for a donut, but you know that feeling when something just hits perfectly and you can’t imagine your life without it?
After seventeen attempts — and let me tell you, some of those were downright sad, hockey-puck disasters — I finally cracked the code. The secret wasn’t some fancy technique or hard-to-find ingredient. It was a simple combination of almond flour, pumpkin purée, and a baking method that keeps these gluten-free donuts impossibly tender. Honestly, the first batch I got right, I almost cried. My neighbor Dave probably thought I’d lost my mind when he saw me dancing around my kitchen holding a donut like a trophy.
These aren’t just “good for gluten-free” donuts. They’re the kind of donuts that disappear at brunch before anyone even asks what’s in them. The kind that make people close their eyes on the first bite and go quiet for a second. And the best part? You don’t need a deep fryer or any special equipment. Just a donut pan, a bowl, and about twenty minutes of your time. Maybe you’ve been searching for that perfect gluten-free pumpkin donut recipe too? The one that actually tastes like the real thing? Let me tell you — this is it.
Why You’ll Love This Recipe
I’ve tested this recipe more times than I care to admit, and here’s what makes it stand out from every other pumpkin donut recipe I’ve tried. These donuts deliver on texture, flavor, and ease without any of the compromises you usually have to make with gluten-free baking.
- Quick & Easy : From start to finish, these donuts come together in under 30 minutes. No yeast, no rising time, no fuss. Perfect for a Sunday morning treat or a last-minute dessert for a dinner party.
- Simple Ingredients : You probably already have most of these in your pantry. No weird gums, no obscure flours, no trips to three different stores. I use almond flour as the base, which gives them that tender, moist crumb.
- Perfect for Fall Gatherings : These donuts are made for sharing. Bring them to a potluck, serve them at a Friendsgiving brunch, or set them out for a cozy weekend breakfast with guests. They look impressive without any stress.
- Crowd-Pleaser : I’ve served these to gluten-free eaters and gluten-loving folks alike, and they disappear just the same. No one believes they’re gluten-free until I tell them.
- Unbelievably Delicious : The combination of pumpkin, warm spices, and a cinnamon-sugar coating creates that nostalgic fall flavor we all crave. The texture is soft, tender, and almost cake-like — not dense or gritty like some gluten-free baked goods.
What makes this recipe different is the balance. I spent a lot of time figuring out the right ratio of almond flour to pumpkin purée so the donuts stay moist without being heavy. The pumpkin adds natural sweetness and keeps the crumb tender, while the almond flour provides structure and a subtle nutty flavor that complements the spices beautifully.
This recipe isn’t just good — it’s the kind that makes you close your eyes after the first bite. It’s comfort food reimagined: healthier, faster, but with the same soul-soothing satisfaction. Perfect for impressing guests without stress, or turning a simple morning into something memorable.
What Ingredients You Will Need
This recipe uses simple, wholesome ingredients to deliver bold pumpkin flavor and a satisfyingly tender texture. Most of these are pantry staples, especially if you already bake gluten-free. Here’s what you’ll need and why each ingredient matters.
- Almond flour, 2 cups (200g) — I recommend Bob’s Red Mill super-fine almond flour for the best texture. The fine grind ensures a smooth, tender crumb without any grittiness. Do not substitute almond meal, which is coarser and will make the donuts dense.
- Pumpkin purée, 1 cup (240g) — Make sure you’re using 100% pumpkin purée, not pumpkin pie filling. Libby’s is my go-to brand. The purée adds moisture, natural sweetness, and that beautiful orange color.
- Eggs, 2 large, room temperature — Eggs provide structure and help the donuts rise. Room temperature eggs incorporate more easily into the batter for a smoother texture.
- Coconut sugar, ½ cup (100g) — I love using coconut sugar here because it adds a subtle caramel flavor that pairs perfectly with pumpkin. You can substitute brown sugar if that’s what you have on hand.
- Melted coconut oil, ¼ cup (60ml) — Coconut oil keeps these donuts moist and adds a hint of tropical flavor that complements the pumpkin. Avocado oil works well too if you prefer a neutral oil.
- Pumpkin pie spice, 2 teaspoons — You can use store-bought or make your own blend. I mix cinnamon, nutmeg, ginger, and a pinch of cloves when I’m out of the pre-made stuff.
- Baking powder, 1 teaspoon — This helps the donuts rise and gives them a light, fluffy texture. Make sure your baking powder is fresh for the best results.
- Vanilla extract, 1 teaspoon — Pure vanilla extract adds depth and rounds out the flavors. Avoid imitation vanilla if you can.
- Salt, ¼ teaspoon — Just a pinch to balance the sweetness and enhance all the other flavors.
- For the coating: melted butter or coconut oil, ¼ cup (60ml), and cinnamon sugar mixture (¼ cup coconut sugar mixed with 1 teaspoon cinnamon) — This is what gives the donuts that classic bakery-style finish. The warm donuts get brushed with butter and rolled in cinnamon sugar. It’s irresistible.
For the best results, make sure your pumpkin purée isn’t too watery. If it looks watery in the can, give it a gentle stir before measuring. And if you’re using a different brand of almond flour, keep in mind that texture can vary slightly — you might need to adjust the amount by a tablespoon or two.
Equipment Needed
You don’t need much to make these donuts, which is part of why I love this recipe. Here’s what you’ll need:
- Donut pan — A standard 6-cavity donut pan is perfect. I use the Wilton non-stick pan and it works beautifully. If you don’t have one, you can also use a mini donut pan or even a muffin tin (just adjust the baking time).
- Mixing bowls — One large bowl for the dry ingredients and one medium bowl for the wet ingredients. I like using glass or stainless steel bowls.
- Whisk — A good whisk helps incorporate everything smoothly without overmixing.
- Rubber spatula — For scraping down the sides of the bowl and getting every last bit of batter into the pan.
- Piping bag or zip-top bag — To pipe the batter into the donut pan. This makes the process so much cleaner and easier. You can also use a spoon, but piping gives you more control.
- Cooling rack — Essential for letting the donuts cool evenly. If you don’t have one, you can use a wire rack from a baking sheet.
- Pastry brush — For brushing the melted butter or oil onto the warm donuts before coating them in cinnamon sugar.
If you’re new to gluten-free baking, investing in a good donut pan is worth it. They’re inexpensive and open up a whole world of baked donut possibilities. I found mine at a kitchen supply store for around twelve dollars, and I’ve used it countless times.
Preparation Method
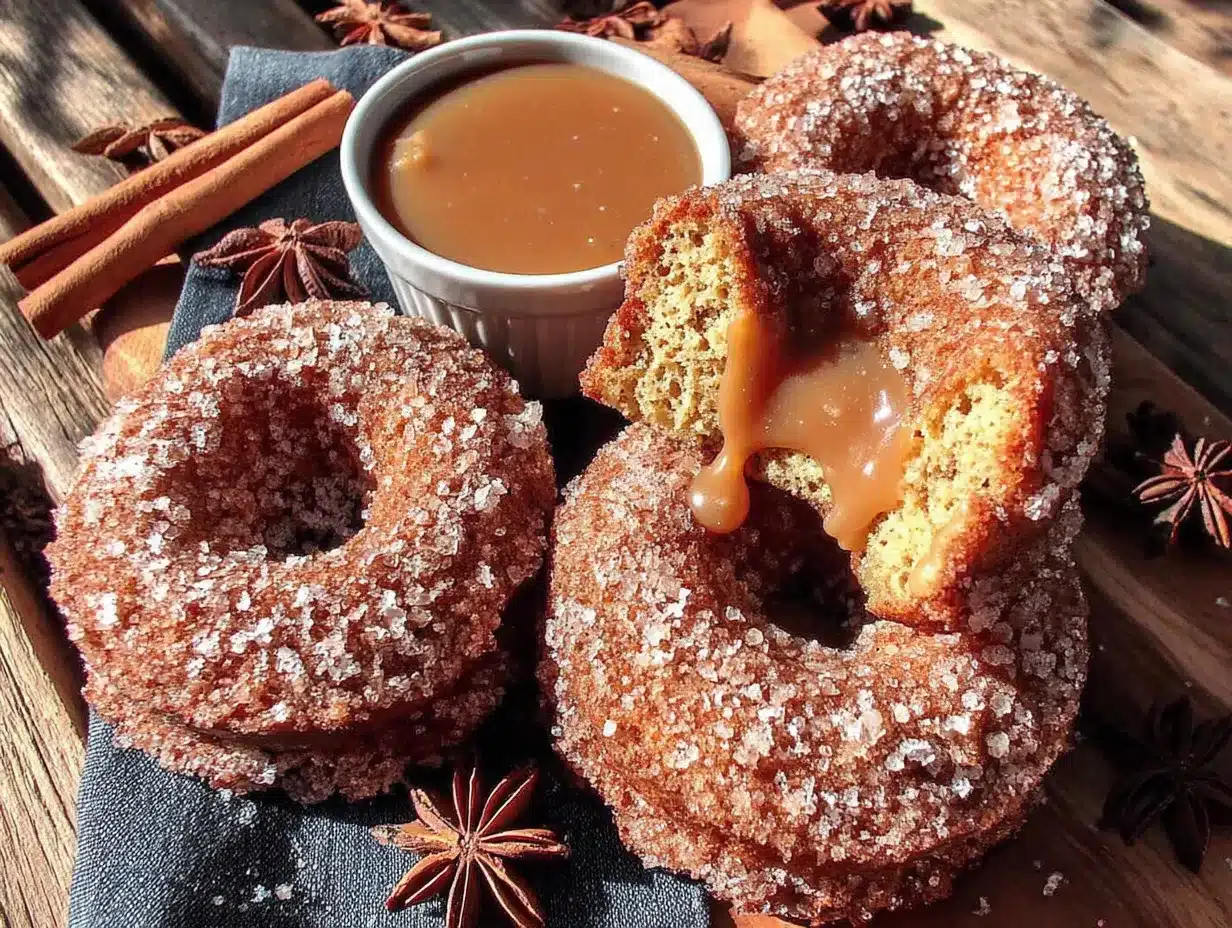
Let me walk you through this step by step. I’ve included all the little details I wish someone had told me when I was first figuring this out.
- Preheat your oven to 350°F (175°C). Position the rack in the center of the oven. Lightly grease your donut pan with coconut oil or non-stick spray. I like to use a pastry brush to make sure every nook and cranny is coated.
- In a large bowl, whisk together the almond flour, coconut sugar, pumpkin pie spice, baking powder, and salt. Make sure there are no lumps in the almond flour. I usually give it a quick stir with my whisk before adding the other dry ingredients. This ensures everything is evenly distributed.
- In a separate medium bowl, combine the pumpkin purée, eggs, melted coconut oil, and vanilla extract. Whisk until smooth and well combined. The mixture should be thick but pourable. If your coconut oil solidified while you were measuring, just warm it gently in the microwave for a few seconds.
- Pour the wet ingredients into the dry ingredients. Stir gently with a rubber spatula until just combined. Be careful not to overmix — about 15 to 20 strokes should do it. The batter will be thick and slightly sticky, which is exactly what you want. If it seems too dry, add a tablespoon of milk or water. If it seems too wet, add a tablespoon more almond flour.
- Transfer the batter to a piping bag or a zip-top bag with the corner snipped off. This makes filling the donut pan so much easier and less messy. Pipe the batter into each donut cavity, filling them about three-quarters full. Don’t overfill, or the donuts will lose their hole shape as they bake.
- Bake for 12 to 15 minutes, or until the donuts are golden brown and a toothpick inserted into the thickest part comes out clean. The exact time will depend on your oven and your pan. At 12 minutes, start checking. The donuts should spring back lightly when touched.
- Let the donuts cool in the pan for 5 minutes. This is important — if you try to remove them too soon, they’ll fall apart. After 5 minutes, gently run a small offset spatula or butter knife around the edges to loosen them, then turn them out onto a cooling rack.
- While the donuts are still warm (but not hot), prepare the coating. Melt the butter or coconut oil in a small bowl. In another small bowl, mix the coconut sugar and cinnamon together. Working with one donut at a time, brush it all over with the melted butter, then dip it into the cinnamon sugar mixture, turning to coat evenly. Tap off any excess.
- Place the coated donuts back on the cooling rack to set. The coating will harden slightly as they cool, creating that perfect sugary crust. Serve warm or at room temperature.
A few things I learned the hard way: Don’t skip the cooling step before coating. If the donuts are too hot, the butter will just slide off instead of being absorbed. And if they’re too cold, the coating won’t stick. Warm — but not hot — is the sweet spot.
Cooking Tips & Techniques
After making these donuts more times than I can count, I’ve picked up a few tricks that make a real difference. Here’s what I wish someone had told me from the start.
Don’t overmix the batter. This is the number one mistake I made in my early attempts. Gluten-free batters don’t develop gluten, so you might think overmixing isn’t a problem. But overmixing can make the donuts tough and dense. Mix just until the flour is incorporated, and stop. A few small lumps are totally fine.
Let your ingredients come to room temperature. Cold eggs and cold pumpkin purée can cause the coconut oil to solidify when you mix everything together. Take your eggs and pumpkin out of the fridge about 30 minutes before you start baking. Your batter will come together much more smoothly.
Use a piping bag for the batter. I know it seems like an extra step, but trust me on this one. Spooning the batter into the donut cavities is messy and uneven. A piping bag gives you control and keeps your pan clean. Plus, you get more consistent donuts.
Check your oven temperature. Ovens can be unreliable, especially older ones. I use an oven thermometer to make sure my oven is actually at 350°F when I put the donuts in. An extra 25 degrees can make the difference between perfectly baked donuts and dry, overbaked ones.
Don’t skip the coating while they’re warm. This is what takes these donuts from good to amazing. The warm donuts absorb the butter, which helps the cinnamon sugar stick and creates that irresistible crust. If you wait until they’re completely cool, the coating won’t adhere as well.
Make the cinnamon sugar mixture in advance. I like to mix the coconut sugar and cinnamon together before I start baking. That way, when the donuts come out of the oven, I can coat them immediately while they’re at the perfect temperature.
One more thing — if your donuts come out a little dry, it might be because your almond flour is older or your pumpkin purée was thicker than usual. Next time, add an extra tablespoon of pumpkin purée or a splash of milk to the batter. Baking is all about adjusting and learning.
Variations & Adaptations
One of the best things about this recipe is how versatile it is. Here are some of my favorite variations, all of which I’ve tested and loved.
Chocolate Pumpkin Donuts: Add 2 tablespoons of unsweetened cocoa powder to the dry ingredients and reduce the almond flour by 2 tablespoons. The chocolate and pumpkin combination is surprisingly wonderful — rich, earthy, and not too sweet. I drizzle a simple chocolate glaze on top instead of the cinnamon sugar coating.
Vegan Pumpkin Donuts: Replace the eggs with flax eggs (2 tablespoons ground flaxseed mixed with 6 tablespoons water, let sit for 5 minutes) and use coconut oil instead of butter for the coating. The texture is slightly denser but still delicious. I’ve made this version for my vegan friends and they always ask for the recipe.
Maple Glazed Donuts: Skip the cinnamon sugar coating and make a simple maple glaze instead. Whisk together 1 cup powdered sugar, 2 tablespoons maple syrup, and 1 tablespoon milk or plant-based milk until smooth. Dip the cooled donuts into the glaze and let set on a rack. The maple flavor pairs beautifully with the pumpkin and spices.
Nut-Free Version: If you need to avoid nuts, substitute the almond flour with an equal amount of gluten-free all-purpose flour blend. I recommend King Arthur Measure for Measure or Bob’s Red Mill 1-to-1 Baking Flour. The texture will be slightly different — more like a traditional cake donut — but still excellent. You may need to add an extra tablespoon of milk to get the right consistency.
Pumpkin Spice Latte Donuts: Add 1 tablespoon of instant espresso powder to the dry ingredients. The coffee flavor enhances the pumpkin spice and adds a subtle mocha note. These are perfect for a fall morning with a hot cup of coffee.
I personally love the maple glazed version for Thanksgiving brunch. It feels a little more special than the cinnamon sugar coating, and the glaze sets up beautifully so you can stack them on a platter without making a mess.
Serving & Storage Suggestions
These donuts are best served the day they’re made, but they still hold up well for a day or two if stored properly. Here’s what I’ve learned about serving and storing them.
Serving: These donuts are wonderful at room temperature, but I actually prefer them slightly warm. If you’re serving them to guests, pop them in a 300°F oven for about 5 minutes before serving. The warmth softens the interior and makes the cinnamon sugar coating even more fragrant. Serve them on a pretty platter with a dusting of extra cinnamon on top.
What to serve alongside: A hot cup of coffee or chai latte is the perfect companion. For brunch, I like to serve these alongside a frittata or a simple fruit salad. The sweetness of the donuts balances the savory elements beautifully.
Storage: Store leftover donuts in an airtight container at room temperature for up to 2 days. Layer them with parchment paper between each donut to prevent the coating from sticking and getting soggy. Do not refrigerate them — the fridge will dry them out.
Freezing: These donuts freeze beautifully. Freeze them uncoated on a baking sheet until solid, then transfer to a freezer-safe bag or container. They’ll keep for up to 3 months. When you’re ready to serve, thaw them at room temperature, then warm them in the oven and coat them with the cinnamon sugar mixture fresh. This way, you can have warm, fresh-tasting donuts anytime.
Reheating: The microwave works in a pinch, but the oven is better. Reheat in a 300°F oven for 5 to 7 minutes, or until warmed through. The coating will crisp up again and the interior will become tender.
One thing I’ve noticed — the flavors actually deepen a bit overnight. The pumpkin and spices meld together, and the donuts become even more flavorful on day two. So don’t worry if you have leftovers. They’re still delicious the next morning with your coffee.
Nutritional Information & Benefits
These donuts are a healthier take on a classic treat, and I love that I can enjoy them without the guilt. Here’s the nutritional breakdown per donut (based on 6 donuts):
- Calories: Approximately 280 per donut
- Protein: 8g
- Fat: 18g (mostly healthy fats from almond flour and coconut oil)
- Carbohydrates: 24g (with 6g of fiber and 12g of sugar)
- Fiber: 6g
- Sugar: 12g
The almond flour provides a good amount of protein and healthy fats, which help keep you full and satisfied. Pumpkin is packed with vitamin A, fiber, and antioxidants. Coconut sugar has a lower glycemic index than regular white sugar, so these donuts won’t spike your blood sugar as dramatically.
These donuts are naturally gluten-free and can easily be made dairy-free and vegan with the substitutions I mentioned earlier. They’re also nut-free if you use the gluten-free flour blend alternative.
I’m not a nutritionist, but I do pay attention to what goes into my body. These donuts feel like a treat I can feel good about — they’re made with real, whole ingredients, and they don’t leave me feeling sluggish or overly full. That’s a win in my book.
Conclusion
These easy baked gluten-free pumpkin donuts have become a fall tradition in my kitchen, and I have a feeling they’ll become one in yours too. They’re everything I was searching for after that little bakery closed — tender, flavorful, and so satisfying. And honestly? I think my version might even be better than the original.
What I love most about this recipe is how approachable it is. You don’t need to be a gluten-free baking expert to make these. You don’t need a dozen specialty ingredients or fancy equipment. Just a donut pan, some almond flour, and a can of pumpkin purée. That’s it.
I’d love to hear how these turn out for you. Did you try any of the variations? Did you come up with your own twist? Drop a comment below and let me know — I read every single one, and I love seeing what you create. And if you share these on social media, tag me so I can see your beautiful donuts!
Go ahead, preheat that oven. Your kitchen is about to smell absolutely amazing. And trust me — once you make these once, you’ll be making them all season long.
Frequently Asked Questions
Can I use canned pumpkin pie filling instead of pumpkin purée?
No, I don’t recommend it. Pumpkin pie filling has added sugar and spices, which will throw off the balance of this recipe. Stick with 100% pumpkin purée for the best results. If you only have pumpkin pie filling, you’ll need to adjust the sugar and spices, but the texture might still be off.
Why are my donuts sticking to the pan?
This usually happens if the pan wasn’t greased well enough. Make sure you coat every cavity thoroughly with oil or non-stick spray. I like to use a pastry brush to get into all the ridges. Letting the donuts cool for a full 5 minutes before removing them also helps prevent sticking.
Can I make these donuts without a donut pan?
Absolutely! You can use a mini muffin tin to make donut holes, or a regular muffin tin to make muffin tops. Just adjust the baking time — mini muffins will take about 8 to 10 minutes, and regular muffins will take about 15 to 18 minutes. The shape will be different, but the flavor will be the same.
How do I know when the donuts are done baking?
Insert a toothpick into the thickest part of a donut. If it comes out clean or with just a few moist crumbs, they’re done. The donuts should also be golden brown around the edges and spring back lightly when you touch the top. Start checking at 12 minutes to avoid overbaking.
Can I use a different flour instead of almond flour?
Yes, you can use a gluten-free all-purpose flour blend, but the texture will be different. Almond flour gives these donuts a tender, moist crumb. With a gluten-free flour blend, they’ll be more like traditional cake donuts. If you try this substitution, you may need to add a tablespoon or two of milk to get the right batter consistency.
Pin This Recipe!
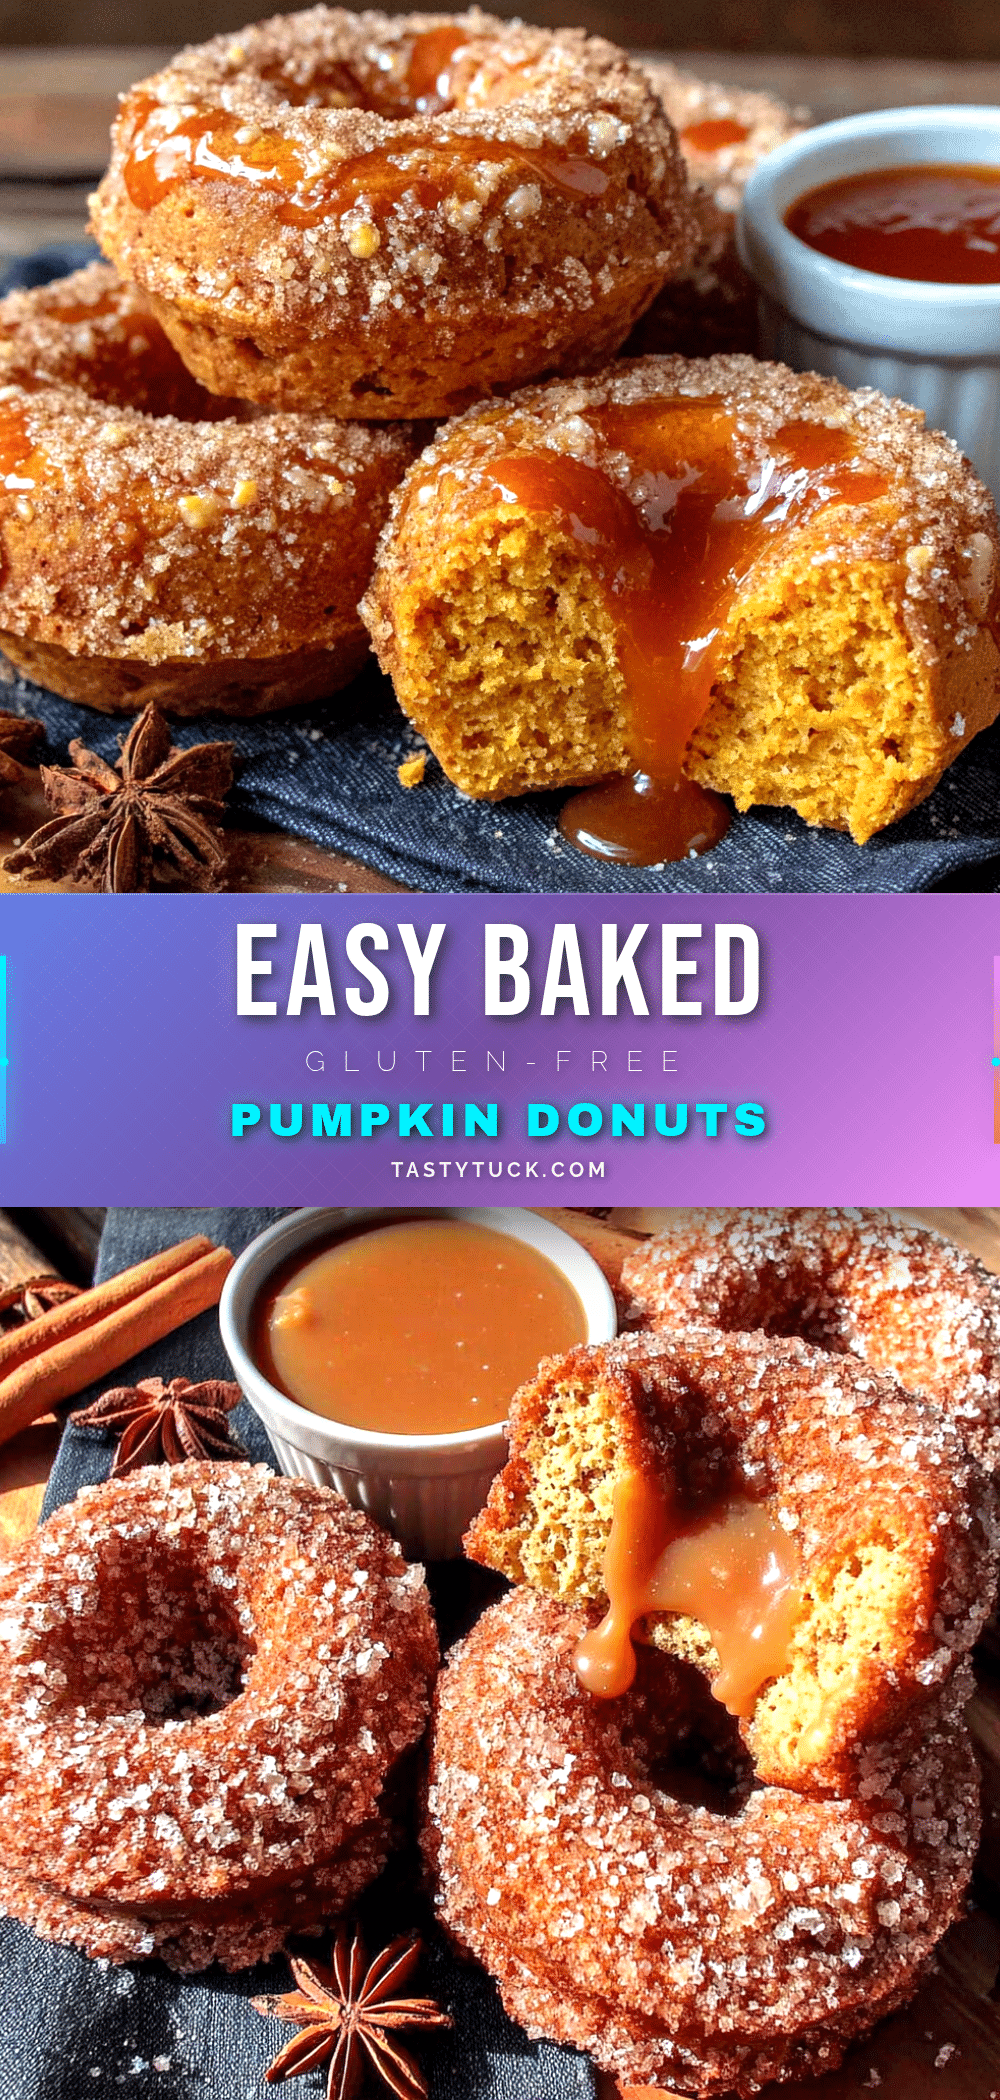
Easy Baked Gluten-Free Pumpkin Donuts Recipe
These tender, moist baked pumpkin donuts are gluten-free, easy to make, and taste just like the real thing. Perfect for fall gatherings or a cozy weekend breakfast.
- Prep Time: 10 minutes
- Cook Time: 15 minutes
- Total Time: 25 minutes
- Yield: 6 servings 1x
- Category: Dessert
- Cuisine: American
Ingredients
- 2 cups (200g) almond flour
- 1 cup (240g) pumpkin purée
- 2 large eggs, room temperature
- ½ cup (100g) coconut sugar
- ¼ cup (60ml) melted coconut oil
- 2 teaspoons pumpkin pie spice
- 1 teaspoon baking powder
- 1 teaspoon vanilla extract
- ¼ teaspoon salt
- For the coating: ¼ cup (60ml) melted butter or coconut oil
- For the coating: ¼ cup coconut sugar mixed with 1 teaspoon cinnamon
Instructions
- Preheat your oven to 350°F (175°C). Position the rack in the center of the oven. Lightly grease your donut pan with coconut oil or non-stick spray.
- In a large bowl, whisk together the almond flour, coconut sugar, pumpkin pie spice, baking powder, and salt.
- In a separate medium bowl, combine the pumpkin purée, eggs, melted coconut oil, and vanilla extract. Whisk until smooth and well combined.
- Pour the wet ingredients into the dry ingredients. Stir gently with a rubber spatula until just combined. The batter will be thick and slightly sticky.
- Transfer the batter to a piping bag or a zip-top bag with the corner snipped off. Pipe the batter into each donut cavity, filling them about three-quarters full.
- Bake for 12 to 15 minutes, or until the donuts are golden brown and a toothpick inserted into the thickest part comes out clean.
- Let the donuts cool in the pan for 5 minutes. Then gently run a small offset spatula or butter knife around the edges to loosen them, and turn them out onto a cooling rack.
- While the donuts are still warm (but not hot), prepare the coating. Melt the butter or coconut oil in a small bowl. In another small bowl, mix the coconut sugar and cinnamon together. Working with one donut at a time, brush it all over with the melted butter, then dip it into the cinnamon sugar mixture, turning to coat evenly. Tap off any excess.
- Place the coated donuts back on the cooling rack to set. Serve warm or at room temperature.
Notes
Don’t overmix the batter. Let ingredients come to room temperature. Use a piping bag for easier filling. Check oven temperature with an oven thermometer. Coat donuts while warm for best results.
Nutrition
- Serving Size: 1 donut
- Calories: 280
- Sugar: 12
- Sodium: 180
- Fat: 18
- Saturated Fat: 8
- Carbohydrates: 24
- Fiber: 6
- Protein: 8
Keywords: gluten-free pumpkin donuts, baked donuts, pumpkin spice, fall baking, gluten-free breakfast


