This was supposed to be a simple roasted butternut squash soup. I had the squash cubed, the onions diced, and the stock simmering on the stove. But somewhere between answering a question about homework and realizing I was out of heavy cream, the whole plan fell apart. I stood there, staring at the pot of half-blended squash, feeling that familiar pinch of defeat. Dinner was in thirty minutes, the kids were already asking what was for supper, and I had a pot of orange mush that tasted fine but felt like nothing special. Honestly, I almost just served it with a shrug and hoped for the best.
Then I saw the box of elbow macaroni in the pantry. And the block of cheddar in the fridge. And I thought, well, what if I just… threw it all together? I mean, mac and cheese is already a crowd-pleaser, right? Maybe the squash could just hide in there and make everyone feel a little better about their vegetable intake. So I dumped the squash puree into a pan, added some milk, tossed in the cheese, and stirred until it looked like something recognizable. The result was this creamy, golden, slightly sweet sauce that clung to every piece of pasta like it was meant to be there. The kids didn’t even notice. My husband asked if I’d gotten a new recipe. I just smiled and said, “Something like that.”
That night, I sat down with a bowl of this cozy cheesy butternut squash mac and cheese, and I knew I’d stumbled onto something worth keeping. It had all the comfort of the classic dish, but with a little extra warmth from the squash that made it feel like a hug in a bowl. Maybe you’ve been there—staring at a failed dinner plan, wondering how to salvage the night. This recipe is proof that sometimes the best things come from a happy accident. And now, it’s the one I turn to whenever I need a quick, budget-friendly meal that actually feels special.
Why You’ll Love This Recipe
This isn’t just another mac and cheese recipe. It’s the one that solves the “I need something comforting but also kind of healthy” dilemma without making anyone feel like they’re eating a salad. I’ve tested this version more times than I can count, and it consistently delivers on flavor, texture, and that cozy feeling we all crave on a busy weeknight.
- Quick & Easy: Comes together in under 45 minutes, from start to finish. Perfect for those evenings when you need dinner on the table without a lot of fuss.
- Simple Ingredients: No fancy grocery trips needed. You likely already have the pasta, cheese, and milk in your kitchen. The butternut squash is the star, and it’s usually easy to find or swap for frozen.
- Perfect for Family Meals: This dish pleases picky eaters and adults alike. The squash blends right in, so no one has to know they’re eating a vegetable unless you want to tell them.
- Crowd-Pleaser: I’ve brought this to potlucks and family dinners, and it always gets asked for by name. It’s comfort food that feels a little bit fancy but is totally approachable.
- Unbelievably Delicious: The texture is creamy without being heavy, and the flavor has this subtle sweetness from the squash that pairs perfectly with the sharp cheddar. It’s the kind of dish that makes you close your eyes after the first bite.
What makes this recipe different from the rest? It’s the way the squash puree creates an ultra-smooth, velvety sauce without needing a ton of butter or cream. It’s healthier, yes, but it’s also just better. The squash adds a natural creaminess that you can’t get from flour and butter alone. And because it’s all made in one pot (mostly), cleanup is a breeze. This is the mac and cheese I make when I want to feel like I’ve got it all together, even on a chaotic Tuesday night.
What Ingredients You Will Need
This recipe uses simple, wholesome ingredients to deliver bold flavor and satisfying texture without the fuss. Most of these are pantry staples or easy to find at any grocery store. Here’s what you’ll need to gather:
- Butternut Squash (1 medium, about 2-3 cups cubed) – You can use fresh or frozen. If using fresh, look for one that feels heavy for its size and has a firm, unblemished skin. I prefer to buy it pre-cubed from the store to save time, but whole squash works just fine.
- Elbow Macaroni (16 ounces, or about 4 cups dry) – Any short pasta shape works here. I’ve used shells, rotini, and even penne. The key is to cook it al dente so it holds up to the sauce.
- Sharp Cheddar Cheese (2 cups, shredded) – I recommend buying a block and shredding it yourself. Pre-shredded cheese has anti-caking agents that can make the sauce grainy. Sharp cheddar gives the best flavor, but mild works if that’s what you have.
- Milk (2 cups, whole or 2%) – Whole milk makes the creamiest sauce, but 2% works well too. Avoid skim milk, as it can make the sauce thin.
- Butter (2 tablespoons) – Unsalted is best so you can control the salt level. If using salted, just reduce the added salt later.
- All-Purpose Flour (2 tablespoons) – This helps thicken the sauce. You can substitute with a gluten-free flour blend if needed.
- Garlic Powder (1 teaspoon) – Adds a subtle savory note without being overpowering.
- Onion Powder (1/2 teaspoon) – Rounds out the flavor. Don’t skip it—it makes a difference.
- Salt (1 teaspoon, plus more for pasta water) – Kosher salt is my go-to for cooking.
- Black Pepper (1/2 teaspoon, freshly ground) – A little goes a long way.
- Nutmeg (1/4 teaspoon, freshly grated if possible) – This is the secret ingredient. It enhances the sweetness of the squash and adds warmth. Trust me on this one.
- Panko Breadcrumbs (1/2 cup, optional for topping) – If you want a crispy crust, this is your friend. I use plain panko and sometimes mix in a little melted butter.
Equipment Needed
You don’t need a fancy kitchen to make this recipe. Here’s what I use every time:
- Large Pot (for boiling pasta) – A 6-quart pot works well. Make sure it’s big enough for the pasta to move around freely.
- Medium Saucepan (for the sauce) – A 3-quart saucepan is perfect for making the cheese sauce.
- Baking Sheet (if roasting fresh squash) – Line it with parchment paper for easy cleanup.
- Food Processor or Blender – You’ll need this to puree the cooked squash until smooth. An immersion blender works too, but a regular blender gives the silkiest results.
- 9×13-inch Baking Dish – If you’re baking the mac and cheese with a breadcrumb topping. A 2-quart casserole dish works just as well.
- Wooden Spoon or Silicone Spatula – For stirring the sauce without scratching your pans.
- Cheese Grater – Please, for the love of all things cheesy, grate your own cheese. It makes a huge difference in texture.
If you don’t have a food processor, you can mash the squash with a potato masher, but the sauce won’t be as smooth. I’ve done it in a pinch, and it still tastes great—just a little more rustic. Also, if you’re short on time, you can skip the baking step and just serve it straight from the pot. No judgment here!
Preparation Method
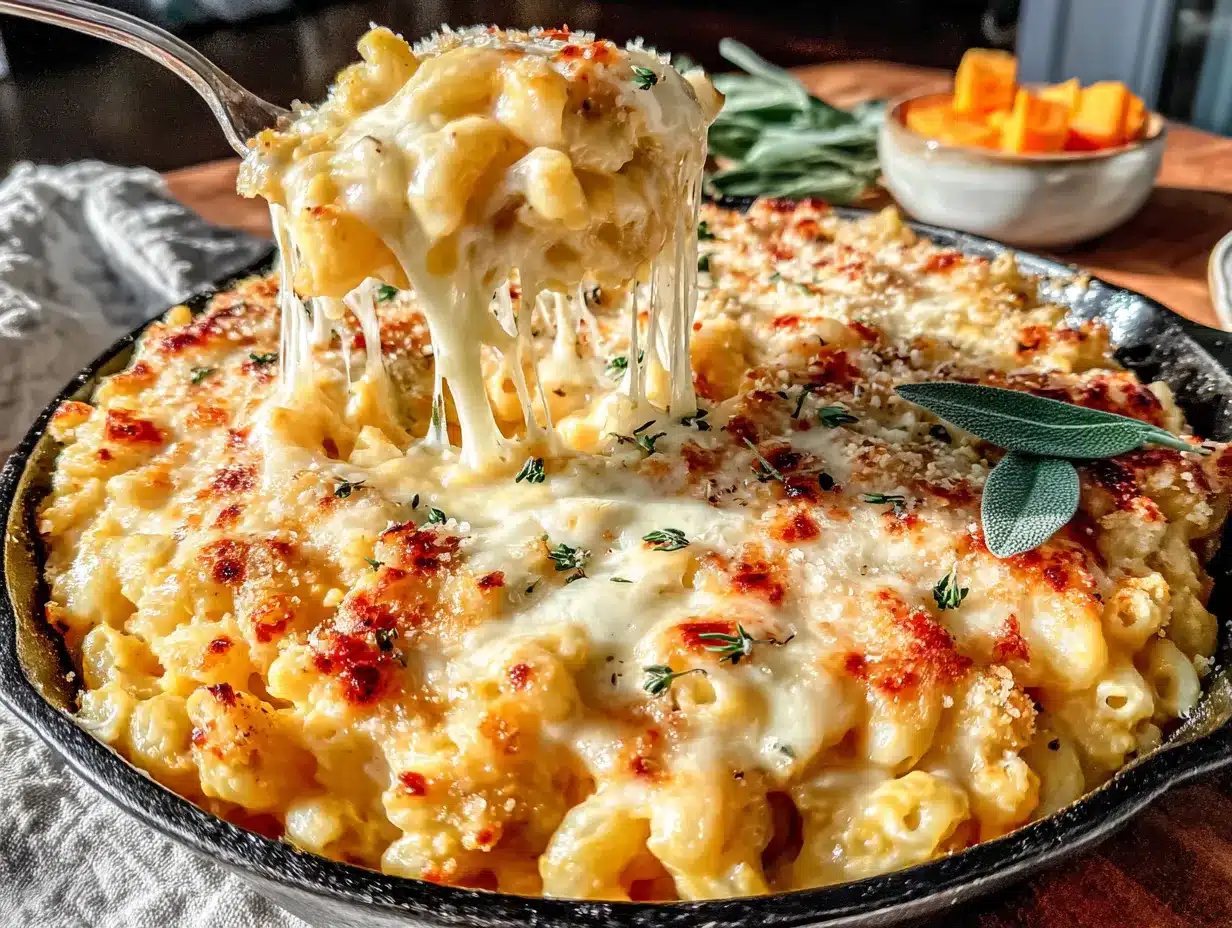
Let’s get cooking. This recipe comes together in a few simple steps, and I’ll walk you through each one with the little tricks I’ve learned along the way.
- Prep the Squash – If using fresh squash, preheat your oven to 400°F (200°C). Peel the squash, cut it in half lengthwise, and scoop out the seeds. Cut into 1-inch cubes. Toss with a tablespoon of olive oil and a pinch of salt, then spread on a baking sheet. Roast for 25-30 minutes, until fork-tender and slightly caramelized on the edges. If using frozen squash, just steam or microwave it according to package directions until soft. Pro tip: Roasting brings out the natural sweetness, so it’s worth the extra step if you have time.
- Cook the Pasta – While the squash roasts, bring a large pot of salted water to a boil. Add the macaroni and cook according to package directions until al dente (usually 7-9 minutes). Drain and set aside. Don’t rinse the pasta—the starch helps the sauce stick. I usually reserve about a cup of pasta water before draining, just in case I need to thin the sauce later.
- Puree the Squash – Once the squash is tender, transfer it to a food processor or blender. Add 1/2 cup of milk and blend until completely smooth. You’re looking for a consistency similar to baby food. Set aside. If your blender is struggling, add a little more milk, one tablespoon at a time.
- Make the Cheese Sauce – In a medium saucepan, melt the butter over medium heat. Once it’s bubbling, whisk in the flour and cook for 1-2 minutes, stirring constantly. This is called a roux, and it’s the base for a smooth sauce. Don’t let it brown—you just want to cook out the raw flour taste. Slowly pour in the remaining 1 1/2 cups of milk, whisking continuously to prevent lumps. Bring to a gentle simmer, then reduce the heat to low.
- Add the Squash and Seasonings – Stir in the squash puree until fully combined. The sauce should turn a beautiful golden orange. Add the garlic powder, onion powder, salt, pepper, and nutmeg. Taste and adjust seasoning—this is where you can make it your own. If the sauce seems too thick, add a splash of the reserved pasta water.
- Melt the Cheese – Remove the saucepan from the heat. Gradually add the shredded cheddar, stirring in small handfuls until each addition is melted before adding the next. This prevents the sauce from becoming grainy. Once all the cheese is incorporated, the sauce should be silky and smooth. If it looks a little thin, don’t worry—it will thicken as it sits.
- Combine and Serve – Add the cooked pasta to the sauce and stir until every piece is coated. If you’re serving immediately, this is your finish line. If you want a crispy topping, transfer the mac and cheese to a greased 9×13-inch baking dish. Sprinkle the panko breadcrumbs evenly over the top. Bake at 375°F (190°C) for 15-20 minutes, until bubbly and golden. Let it rest for 5 minutes before serving—it will be worth the wait.
Cooking Tips & Techniques
I’ve made this recipe enough times to know where things can go sideways. Here are some hard-earned tips to keep you on track:
Don’t Overcook the Pasta. I know it’s tempting to let it boil a little longer, especially if you’re multitasking. But overcooked pasta turns mushy when baked. Cook it al dente—firm to the bite—so it holds its shape in the sauce. Trust me, your future self will thank you.
Grate Your Own Cheese. I cannot stress this enough. Pre-shredded cheese is coated with cellulose and other anti-caking agents that prevent it from melting smoothly. You’ll end up with a gritty sauce instead of that velvety texture we’re after. A block of cheddar and a box grater take two extra minutes, and the difference is night and day.
Watch Your Heat. When making the cheese sauce, keep the heat on low after you add the cheese. High heat can cause the proteins to seize up, leaving you with a clumpy, separated mess. If you see the sauce starting to look greasy, remove it from the heat immediately and whisk vigorously. It’s usually salvageable.
Season in Layers. Don’t wait until the end to add all the salt. Season the pasta water (it should taste like the sea), add a pinch to the squash while roasting, and season the sauce gradually. This builds depth of flavor that you can’t get from a single seasoning step.
Make It Ahead. This mac and cheese is a lifesaver for busy weeks. You can assemble it completely (without the breadcrumb topping) and refrigerate it for up to two days. When you’re ready to bake, add the panko and bake for an extra 5-10 minutes since it’s starting from cold. I’ve done this for holiday dinners, and it works like a charm.
Variations & Adaptations
One of the best things about this recipe is how flexible it is. Here are some ways to make it your own:
Make It Gluten-Free: Swap the all-purpose flour for a gluten-free blend (I like Cup4Cup for sauces) and use gluten-free pasta. The rest of the ingredients are naturally gluten-free, so this is an easy adaptation. Just be careful not to overcook the gluten-free pasta—it tends to get mushy faster.
Add Some Protein: Stir in cooked, shredded chicken, crumbled bacon, or even leftover sausage. I’ve added roasted chicken thighs before, and it turned this side dish into a full meal. My kids loved it, and I felt like a hero for getting protein and veggies into one dish.
Switch Up the Cheese: Sharp cheddar is classic, but you can experiment. Try a mix of cheddar and Gruyère for a nuttier flavor, or use smoked gouda for a deeper, smokier taste. Monterey Jack adds extra creaminess. Just avoid using only pre-shredded cheese blends—they don’t melt as well.
Go Dairy-Free: Use unsweetened almond milk or oat milk in place of dairy milk, and swap the butter for a plant-based alternative. For the cheese, look for a good-quality dairy-free cheddar shred. The texture won’t be exactly the same, but it’s still delicious. I’ve made this for a friend with lactose intolerance, and she asked for the recipe.
Add Veggies: Fold in steamed broccoli, roasted cauliflower, or sautéed spinach before baking. The extra color and nutrients make it even more family-friendly. My kids call it “green mac and cheese” and eat it without complaint.
Serving & Storage Suggestions
This mac and cheese is best served warm, straight from the oven or pot. The sauce is at its creamiest when it’s fresh, so try to enjoy it within 30 minutes of finishing. If you’ve baked it with a breadcrumb topping, let it rest for 5 minutes to set before scooping. I like to serve it in shallow bowls with a side of steamed green beans or a simple arugula salad to balance the richness.
For storage, let any leftovers cool completely before transferring to an airtight container. It will keep in the refrigerator for up to 4 days. The sauce will thicken as it sits, but that’s normal. To reheat, add a splash of milk or water and warm it in a saucepan over low heat, stirring occasionally. You can also microwave individual portions, but the texture won’t be as smooth. If you’re reheating a baked version, pop it in a 350°F (175°C) oven for 10-15 minutes, covered with foil to prevent the top from burning.
This dish also freezes beautifully. Portion it into freezer-safe containers and freeze for up to 3 months. Thaw overnight in the refrigerator before reheating. I’ve done this for busy weeks, and it’s a lifesaver when I don’t have time to cook from scratch. The flavors actually meld together even more after freezing, so it might taste even better the second time around.
Nutritional Information & Benefits
Here’s an approximate nutritional breakdown per serving (based on 8 servings):
- Calories: 420
- Total Fat: 18g
- Saturated Fat: 10g
- Cholesterol: 50mg
- Sodium: 580mg
- Total Carbohydrates: 48g
- Dietary Fiber: 4g
- Sugars: 8g
- Protein: 18g
This recipe offers some real nutritional perks. Butternut squash is packed with vitamin A (great for eye health) and vitamin C, plus it adds fiber that helps keep you full. The cheese provides calcium and protein, making this a more balanced meal than traditional mac and cheese. If you’re watching your sodium, you can reduce the added salt and use low-sodium cheese. For a lower-carb option, try using chickpea pasta or a vegetable-based pasta—it works surprisingly well with the creamy sauce.
One thing I love about this dish is that it doesn’t feel like a “healthified” version. It’s genuinely satisfying, and I don’t have to trick anyone into eating it. That’s a win in my book.
Conclusion
This cozy cheesy butternut squash mac and cheese has become a staple in my kitchen for good reason. It’s the recipe I turn to when I need something comforting but don’t want to spend hours cooking. It’s the dish that makes me feel like I’ve got dinner handled, even on the busiest nights. And honestly, it’s proof that sometimes the best recipes come from the moments when everything goes wrong.
I hope you give this a try and make it your own. Maybe you’ll add extra cheese, throw in some bacon, or skip the breadcrumb topping because you’re short on time. That’s the beauty of cooking—you get to decide. If you do make it, I’d love to hear how it turned out. Drop a comment below or tag me in your photos. And if you’re looking for more cozy, family-friendly meals, check out my creamy Tuscan chicken or one-pot lentil soup for more weeknight wins.
Until next time, happy cooking—and remember, the best meals are the ones shared with the people you love.
Frequently Asked Questions
Can I use frozen butternut squash instead of fresh?
Absolutely. Frozen squash works perfectly and saves you the prep time. Just steam or microwave it until tender, then puree it the same way you would fresh. The sauce might be slightly less sweet, but it’s still delicious.
Why did my cheese sauce turn out grainy?
This usually happens when the cheese is added to a sauce that’s too hot, or when pre-shredded cheese is used. To avoid this, remove the saucepan from the heat before adding the cheese, and always shred your own. If it does get grainy, try whisking in a tablespoon of cold milk or cream to smooth it out.
Can I make this recipe vegan?
Yes, with a few swaps. Use plant-based milk (unsweetened almond or oat), vegan butter, and a good-quality dairy-free cheddar. Nutritional yeast can also add a cheesy flavor. The texture will be a bit different, but it’s still creamy and satisfying.
How do I prevent the pasta from getting mushy when baked?
Cook the pasta al dente—about 1-2 minutes less than the package directions. It will continue to cook in the oven, so starting with slightly firm pasta ensures it stays tender but not soft. Also, don’t overbake; 15-20 minutes at 375°F is plenty.
Can I freeze this mac and cheese?
Yes, it freezes beautifully. Let it cool completely, then portion into freezer-safe containers. It will keep for up to 3 months. Thaw overnight in the fridge and reheat in a saucepan with a splash of milk. The breadcrumb topping won’t stay crispy after freezing, so I recommend adding it fresh after thawing if you want that crunch.
Pin This Recipe!
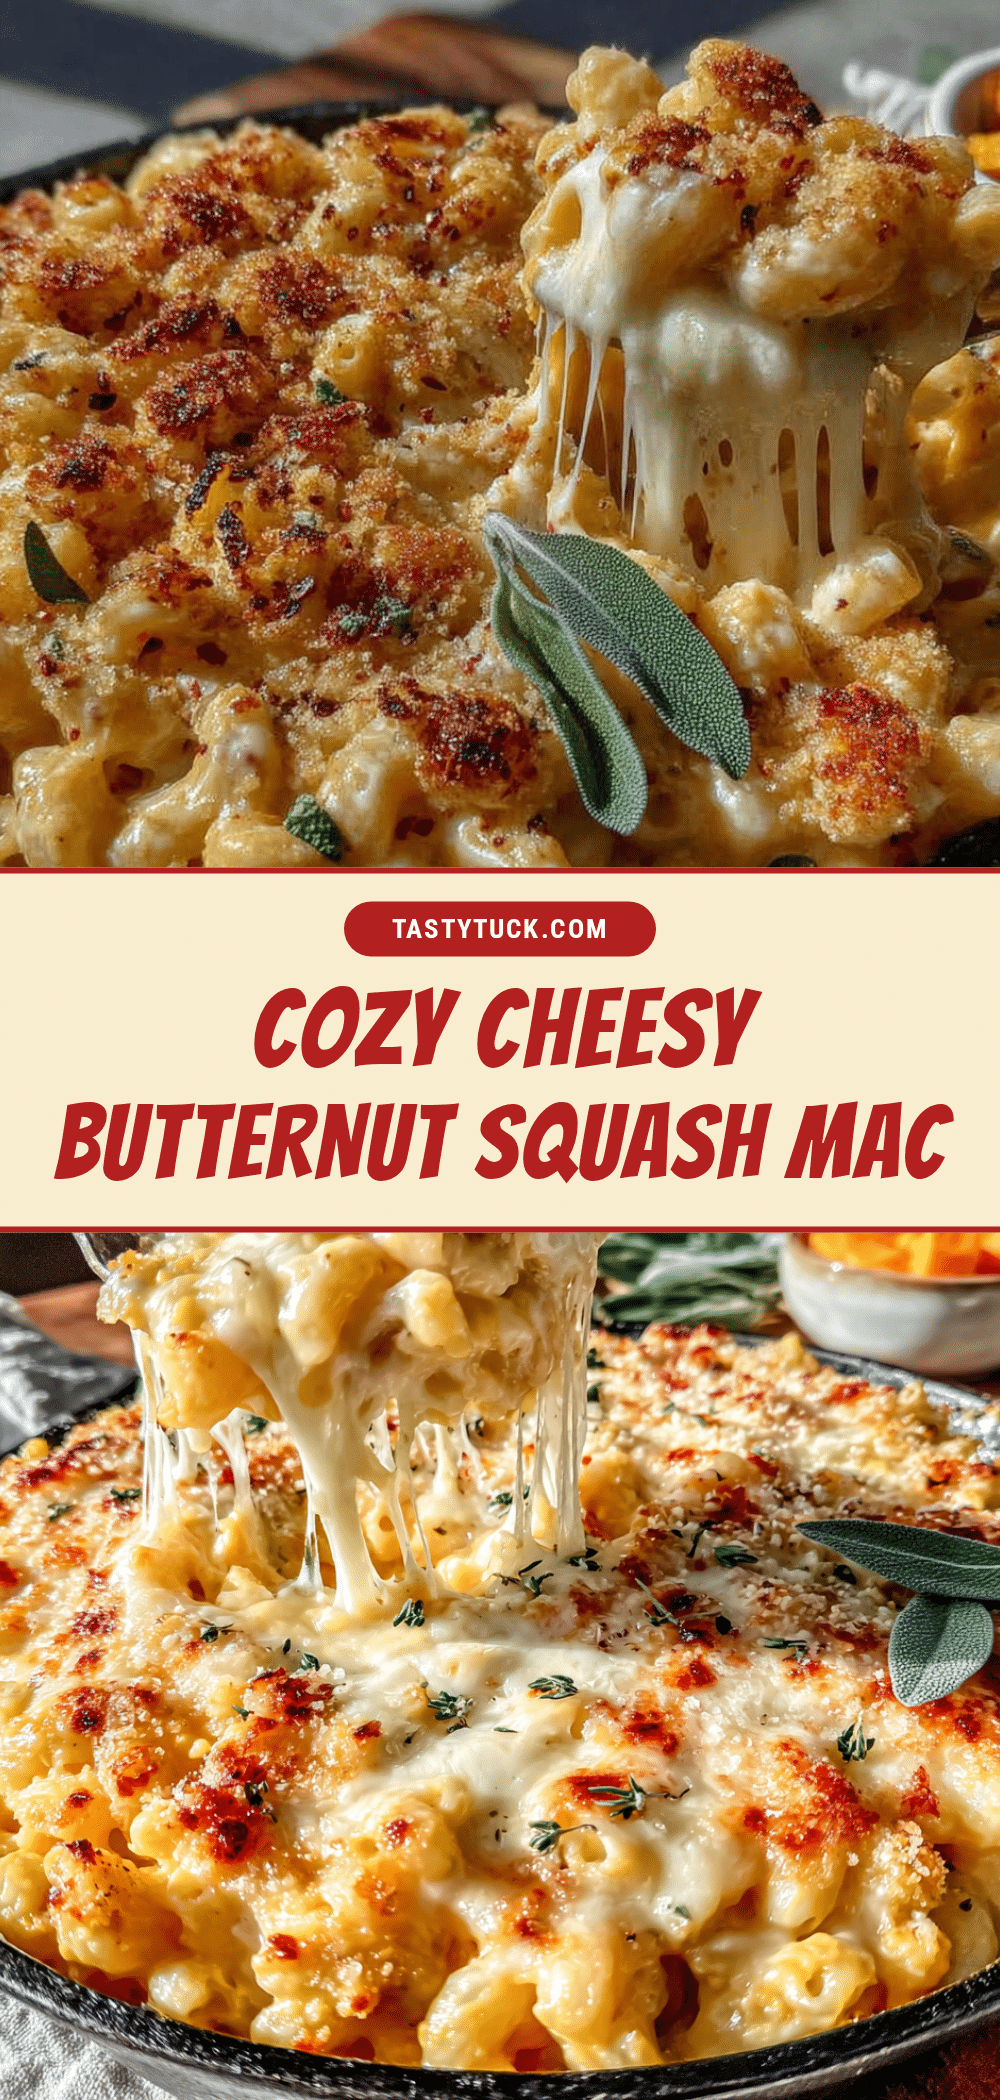
Cozy Cheesy Butternut Squash Mac and Cheese

A creamy, golden mac and cheese with a hidden butternut squash puree that adds natural sweetness and velvety texture. This quick, family-friendly meal comes together in under 45 minutes and is perfect for busy weeknights.
- Prep Time: 15 minutes
- Cook Time: 30 minutes
- Total Time: 45 minutes
- Yield: 8 servings 1x
- Category: Main Course
- Cuisine: American
Ingredients
- 1 medium butternut squash (about 2–3 cups cubed)
- 16 ounces elbow macaroni (about 4 cups dry)
- 2 cups sharp cheddar cheese, shredded
- 2 cups whole milk (or 2%)
- 2 tablespoons unsalted butter
- 2 tablespoons all-purpose flour
- 1 teaspoon garlic powder
- 1/2 teaspoon onion powder
- 1 teaspoon kosher salt (plus more for pasta water)
- 1/2 teaspoon freshly ground black pepper
- 1/4 teaspoon freshly grated nutmeg
- 1/2 cup panko breadcrumbs (optional, for topping)
Instructions
- Prep the Squash: If using fresh squash, preheat oven to 400°F (200°C). Peel, halve, seed, and cut into 1-inch cubes. Toss with 1 tablespoon olive oil and a pinch of salt. Roast on a baking sheet for 25-30 minutes until fork-tender. If using frozen, steam or microwave until soft.
- Cook the Pasta: Bring a large pot of salted water to a boil. Cook macaroni al dente according to package directions (7-9 minutes). Drain (do not rinse) and reserve about 1 cup of pasta water.
- Puree the Squash: Transfer cooked squash to a food processor or blender. Add 1/2 cup milk and blend until completely smooth. Set aside.
- Make the Cheese Sauce: In a medium saucepan, melt butter over medium heat. Whisk in flour and cook for 1-2 minutes, stirring constantly. Slowly pour in remaining 1 1/2 cups milk, whisking continuously. Bring to a gentle simmer, then reduce heat to low.
- Add Squash and Seasonings: Stir in squash puree until combined. Add garlic powder, onion powder, salt, pepper, and nutmeg. Taste and adjust seasoning. If sauce is too thick, add a splash of reserved pasta water.
- Melt the Cheese: Remove saucepan from heat. Gradually add shredded cheddar, stirring in small handfuls until each addition is melted before adding the next. Sauce should be silky and smooth.
- Combine and Serve: Add cooked pasta to sauce and stir until coated. For immediate serving, serve as is. For a crispy topping, transfer to a greased 9×13-inch baking dish, sprinkle with panko breadcrumbs, and bake at 375°F (190°C) for 15-20 minutes until bubbly and golden. Let rest 5 minutes before serving.
Notes
For best results, grate your own cheese from a block to avoid grainy sauce. Cook pasta al dente to prevent mushiness when baked. The sauce will thicken as it sits; add a splash of milk when reheating. This dish can be assembled without breadcrumb topping and refrigerated for up to 2 days before baking. For a gluten-free version, use gluten-free flour blend and pasta. For a dairy-free version, use plant-based milk, butter, and cheese.
Nutrition
- Serving Size: 1 serving (about 1 c
- Calories: 420
- Sugar: 8
- Sodium: 580
- Fat: 18
- Saturated Fat: 10
- Carbohydrates: 48
- Fiber: 4
- Protein: 18
Keywords: butternut squash mac and cheese, healthy mac and cheese, creamy mac and cheese, family dinner, comfort food, quick weeknight meal


