“Mom, can we make those fruity snacks again?” comes the familiar plea from my little one, just as I’m about to dive into a mountain of laundry. Honestly, I wasn’t sure homemade fruit roll-ups were worth the effort the first time I tried. It all started because I was out of store-bought snacks one hectic afternoon, and the kids were eyeballing the pantry like vultures. I grabbed some frozen berries, mashed them up, and spread the mixture thin on a baking sheet, figuring it’d be a fun experiment that might flop.
To my surprise, the kitchen filled with the sweet scent of roasting fruit, and when the timer dinged, those vibrant red sheets peeled off the parchment like magic. The kids devoured them faster than I could slice and roll. There’s something honest and simple about making fruit roll-ups yourself — you know exactly what’s inside, no weird preservatives, just real fruit and a little patience. Plus, it became a little ritual we looked forward to, something that turns snack time into a mini celebration.
What I love most is how this easy homemade fruit roll-ups recipe fits snugly into my busy life. It’s straightforward enough that I can do it on a Sunday afternoon while catching up on a podcast, and the kids get a homemade treat they actually ask for again. It’s the kind of recipe that sticks with you—not because it’s fancy, but because it’s honest, sweet, and a little bit fun. If you’re looking for a way to sneak fruit into your kid’s day without any fuss, this might just be your new go-to.
And honestly, it’s the kind of snack that makes me feel a little bit like a kitchen wizard, turning ordinary fruit into something exciting and chewy—without the guilt or the long grocery list. It’s comfort food for busy families, a little burst of sunshine rolled up and ready to go.
Why You’ll Love This Recipe
After testing this easy homemade fruit roll-ups recipe a bunch of times, I can safely say it’s become one of those kitchen staples that feels like a secret weapon for snack time. Here’s why it’s a keeper in my book:
- Quick & Easy: You can whip this up in under an hour, including drying time, which is perfect when you want a homemade snack without a ton of fuss.
- Simple Ingredients: No need to hunt down rare items — just fresh or frozen fruit, a bit of lemon juice, and optional natural sweeteners.
- Perfect for Kids’ Snacks: These roll-ups are fun to eat and portable, making them ideal for lunchboxes, playdates, or after-school munchies.
- Crowd-Pleaser: Both kids and adults seem to love the taste and chewy texture, and it’s a fun alternative to sugary store-bought treats.
- Unbelievably Delicious: The natural fruit flavor shines through, and you get that satisfying chewy texture without any artificial additives.
This isn’t just any fruit roll-up recipe. The trick is slow roasting the fruit puree to concentrate the flavor and get that perfect chewy consistency. I’ve tweaked it so the fruit doesn’t taste overly sweet or sticky—just pure, natural fruit goodness. Plus, it’s a chance to get kids involved in the kitchen, which adds a whole other layer of fun and pride.
Whether you’re looking for a healthier alternative to the usual sugary snacks or a creative way to get your kids excited about fruit, this recipe delivers. It’s a little labor of love that pays off big time at snack time, with the kind of flavor that makes you pause and smile after the first bite.
What Ingredients You Will Need
This easy homemade fruit roll-ups recipe sticks to simple, wholesome ingredients that combine to deliver a sweet, chewy snack kids actually love. The ingredients work together to bring out the natural fruit flavors while keeping the texture just right.
- Fresh or Frozen Fruit (3 cups / 450g): Choose berries like strawberries, raspberries, or blueberries for vibrant color and flavor. I prefer using fresh when in season, but frozen works great too—just thaw and drain excess liquid.
- Lemon Juice (1 tablespoon / 15ml): Adds brightness and helps preserve the fruit color.
- Honey or Maple Syrup (1-2 tablespoons / 15-30ml, optional): For a touch of natural sweetness if your fruit is on the tart side. You can skip this if your fruit is naturally sweet.
- Vanilla Extract (1 teaspoon / 5ml, optional): Gives a subtle warmth and depth to the flavor.
- Ground Cinnamon or Nutmeg (1/4 teaspoon / 1g, optional): Adds a cozy hint of spice that pairs beautifully with apples or pears.
For best results, I recommend using ripe, flavorful fruit. Brands don’t matter much here since it’s fresh produce, but picking fruit that’s not overly watery helps speed the drying process. When I made these with ripe peaches once, I swapped in a pinch of cinnamon and it gave a lovely twist.
For a gluten-free or vegan snack, this recipe is already a winner—no gluten or dairy in sight! If you want to try different fruits, apples, mangoes, or even watermelon puree can be fun, though water content affects drying time. Just remember to strain out extra juice if needed.
Equipment Needed
Making fruit roll-ups at home requires just a few basic kitchen tools—nothing fancy, but a few things make the process easier.
- Blender or Food Processor: To puree the fruit until smooth. I’ve used both, and a high-speed blender makes it silky smooth, but a food processor works just fine.
- Baking Sheet: A rimmed sheet works best to hold the fruit puree without spilling.
- Parchment Paper or Silicone Baking Mat: Essential to prevent sticking and make peeling the roll-ups easy. I prefer silicone mats because they’re reusable and easy to clean.
- Spatula: For spreading the puree evenly.
- Oven or Food Dehydrator: This recipe uses a low-temperature oven to dry the fruit. A dehydrator can speed things up, but an oven works perfectly and is more accessible.
If you want to clean up quickly, silicone mats are a lifesaver compared to parchment. When using the oven, I keep the door slightly ajar with a wooden spoon to help moisture escape—this trick really helps get that chewy texture.
Preparation Method
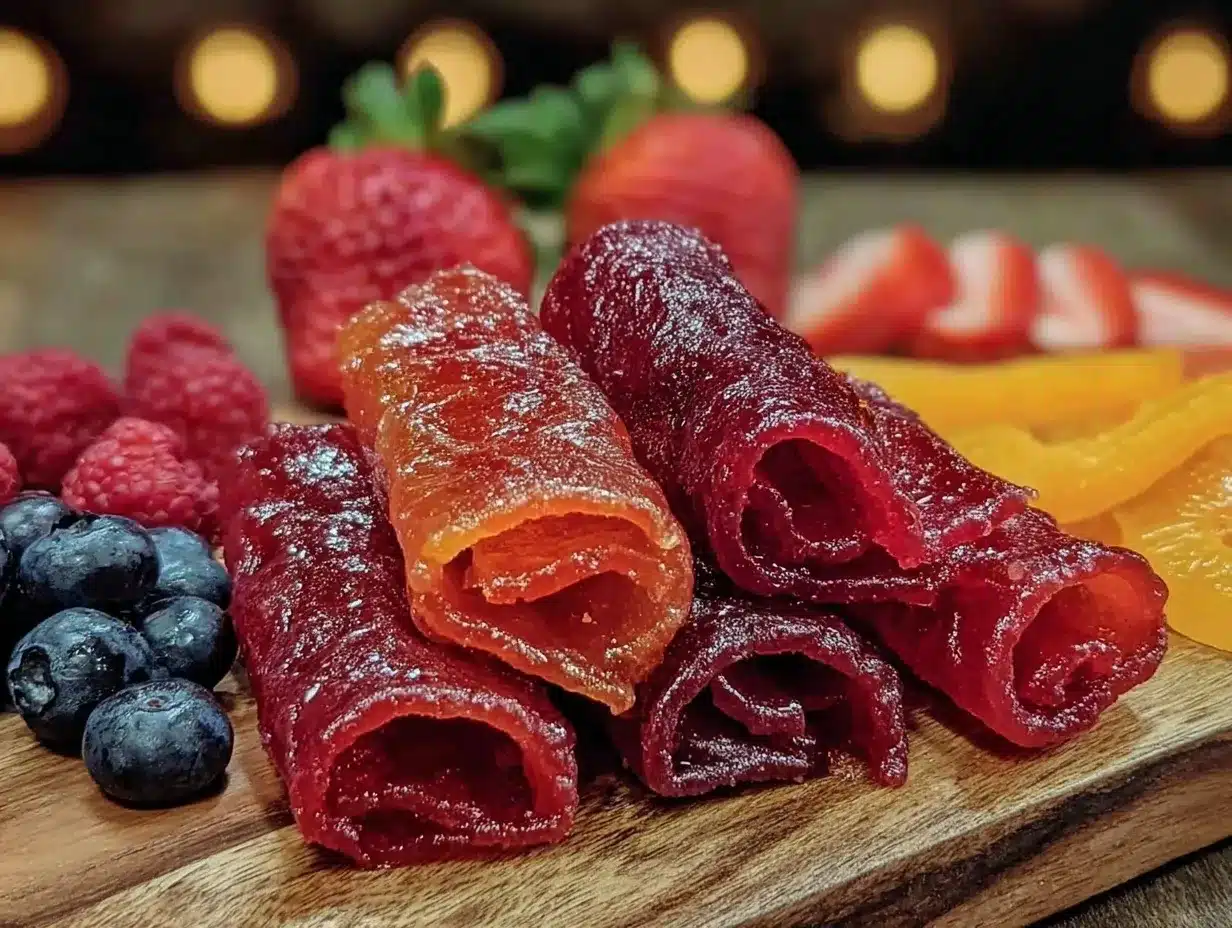
- Prepare Your Fruit: Wash, hull, and chop fresh fruit (3 cups / 450g). If you’re using frozen fruit, thaw completely and drain any excess liquid. This step takes about 10 minutes.
- Puree the Fruit: Place the prepared fruit in a blender or food processor. Add 1 tablespoon (15ml) lemon juice, and optional honey or maple syrup (1-2 tablespoons / 15-30ml), vanilla extract (1 teaspoon / 5ml), and spices if using. Blend until smooth and lump-free. The puree should be thick but spreadable.
- Spread the Puree: Line a rimmed baking sheet with parchment paper or a silicone mat. Pour the fruit puree onto the sheet and spread evenly with a spatula to about 1/8 inch (3mm) thickness. Try to keep it as uniform as possible so it dries evenly. This should take 5-7 minutes.
- Dry the Fruit: Place the baking sheet in an oven preheated to 170°F (75°C) or the lowest setting. Leave the oven door slightly open to allow moisture to escape (use a wooden spoon to prop it). Dry for 4-6 hours, checking after 4 hours. The fruit leather is ready when it’s no longer sticky and peels easily from the parchment but is still pliable.
- Cut and Roll: Once cool, peel the fruit leather from the parchment. Use kitchen scissors or a knife to cut into strips about 1.5 inches (4cm) wide. Roll each strip up with parchment paper inside to prevent sticking, and store in an airtight container. This final step takes about 10 minutes.
Quick tip: If your fruit puree is too runny, add a tablespoon of chia seeds or a bit of powdered fruit pectin to help it set better. Also, drying times can vary depending on your oven and fruit moisture, so keep an eye on it after 4 hours.
Cooking Tips & Techniques
Making fruit roll-ups at home has some quirks, but after a few tries, you get a feel for exactly how to get that perfect chewy texture.
- Patience is key: Drying the fruit slowly at a low temperature lets the sugars concentrate without burning or caramelizing, which keeps the flavor fresh and bright.
- Even spreading: A consistent thickness of about 1/8 inch (3mm) ensures even drying. Too thick and it stays sticky; too thin and it might crack when rolled.
- Use ripe fruit: Naturally sweeter fruit means less added sugar and a tastier final product.
- Keep the oven door ajar: This helps moisture escape and prevents sogginess. I learned this the hard way after drying batches that took forever to set.
- Test for doneness: The fruit roll-up should peel off easily and feel leathery but flexible, not brittle or sticky.
- Store properly: Wrapping roll-ups in parchment paper keeps them from sticking together and helps maintain freshness.
One time, I got impatient and pulled the fruit out too soon — the roll-ups stuck to themselves like glue. Learned that one fast! Also, if you want to speed things up, a dehydrator is a great investment, but the oven method works just fine without special equipment.
Variations & Adaptations
This recipe is a great base to tweak and customize depending on your family’s taste buds or dietary needs.
- Flavor Variations: Mix strawberries and bananas for a classic combo or try mango and pineapple for a tropical twist. Adding a pinch of ginger or mint can add a fun flavor kick.
- Dietary Adaptations: This recipe is naturally gluten-free and vegan. For added protein, sprinkle in some powdered collagen or plant-based protein before drying.
- Alternative Sweeteners: If you want to avoid honey or maple syrup, just use ripe, sweet fruit or add a splash of orange juice concentrate for sweetness.
- Cooking Method Tweaks: Use a food dehydrator to reduce drying time to 2-3 hours, or try sun-drying on a warm, dry day (with a mesh cover for bugs).
I once made a batch with fresh peaches and a hint of cinnamon, which turned out to be a big hit during a summer picnic. It’s fun to experiment with seasonal fruit and spices to keep things fresh and exciting.
Serving & Storage Suggestions
These homemade fruit roll-ups are best served at room temperature, either straight from the roll or sliced into fun shapes for little hands. I like to toss a few into lunchboxes or pack them as an easy travel snack.
Pair them with a simple nut butter or a small cheese stick for a balanced snack. They also make a fun, portable treat for hikes or park days. If you enjoy recipes that combine fresh fruit with a bit of indulgence, you might appreciate the easy one bowl loaded strawberry cake mix for dessert after snack time.
For storage, keep your fruit roll-ups in an airtight container at room temperature for up to two weeks. They also freeze well for longer storage—just thaw at room temperature before unrolling. Reheating isn’t necessary, but if they get a bit stiff, a few seconds in the microwave wrapped in parchment softens them right up.
Flavors actually deepen after a day or two, so making them a day ahead is a nice way to build anticipation for snack time. If you’re looking for another fun fruit-based treat, the cozy cracker barrel loaded peach cobbler copycat is a comforting dessert that pairs well with this snack’s fresh vibe.
Nutritional Information & Benefits
Each fruit roll-up strip (about 1.5 x 6 inches / 4 x 15 cm) contains approximately:
| Calories | Total Fat | Sugar | Fiber | Vitamin C |
|---|---|---|---|---|
| 60-80 kcal | 0 g | 12-15 g (natural fruit sugar) | 1-2 g | 15-25% DV |
This snack is a wholesome alternative to store-bought fruit snacks loaded with additives and refined sugars. It’s rich in vitamin C from fresh fruit and offers dietary fiber, which supports digestion. Since it’s free from gluten, dairy, and artificial ingredients, it suits many dietary needs.
From a wellness perspective, making your own fruit roll-ups lets you control sugar content and avoid preservatives, making it a snack both kids and parents can feel good about. Plus, it’s a smart way to encourage fruit consumption in a fun, portable format.
Conclusion
This easy homemade fruit roll-ups recipe is one of those little kitchen wins that feels like a treat and a health boost all at once. It’s simple enough to fit into busy routines but special enough to make snack time feel like a small celebration. The best part? You get to tailor it to your family’s favorite fruits and flavors, turning fresh produce into a chewy, sweet snack kids actually enjoy.
Whether you stick to the classic berry mix or try seasonal twists, this recipe is a solid way to add a homemade touch to your snack arsenal. I love how it transforms fruit into something fun and portable, and it’s always a joy to watch the kids’ faces light up when they unwrap their own handmade treats.
If you give this recipe a try, I’d love to hear how you customize it or what your kids think. Sharing these little kitchen stories is part of the fun — and who knows, maybe your fruit roll-ups will become the next favorite snack in your home.
FAQs About Easy Homemade Fruit Roll-Ups
How long do homemade fruit roll-ups last?
Stored in an airtight container at room temperature, they last about two weeks. You can freeze them for up to three months for longer storage.
Can I use any fruit for this recipe?
Most fruits work well, especially berries, apples, peaches, and mangoes. Avoid very watery fruits unless you strain excess juice to speed drying.
Do I need to add sugar to the fruit puree?
Not necessarily. If your fruit is ripe and sweet, no added sugar is needed. You can add a bit of honey or maple syrup if you want extra sweetness.
Can I make fruit roll-ups without an oven?
Yes! A food dehydrator works great and speeds up drying time. On hot, dry days, sun-drying with a mesh cover is another option.
How do I prevent the roll-ups from sticking together?
Roll them up with a sheet of parchment paper inside each roll. This keeps them from sticking and makes unrolling easier.
Pin This Recipe!
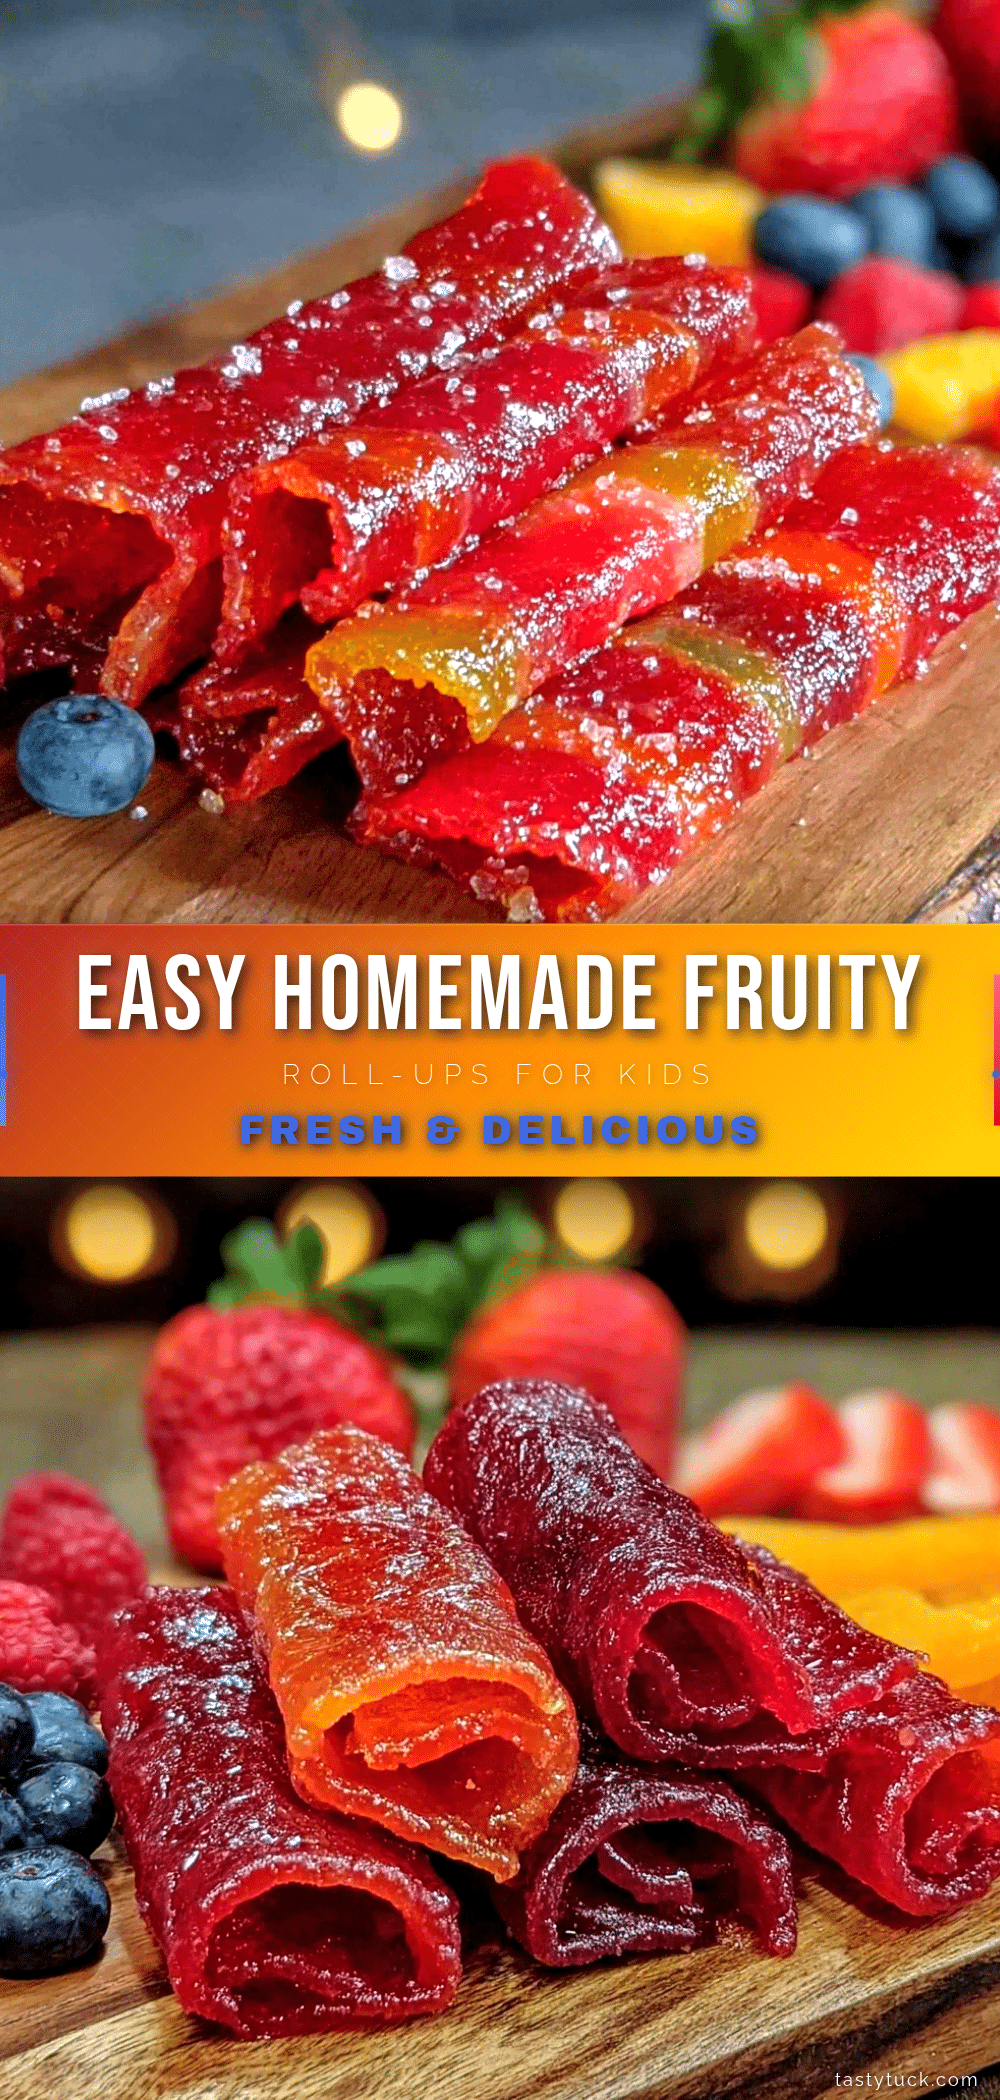
Easy Homemade Fruit Roll-Ups Recipe

A simple and fun recipe to make chewy, natural fruit roll-ups at home using fresh or frozen fruit, perfect for kids’ snacks and free from preservatives.
- Prep Time: 15 minutes
- Cook Time: 4-6 hours
- Total Time: 4 hours 15 minutes to 6 hours 15 minutes
- Yield: About 6-8 fruit roll-up strips 1x
- Category: Snack
- Cuisine: American
Ingredients
- 3 cups (450g) fresh or frozen fruit (berries like strawberries, raspberries, or blueberries recommended)
- 1 tablespoon (15ml) lemon juice
- 1–2 tablespoons (15-30ml) honey or maple syrup (optional)
- 1 teaspoon (5ml) vanilla extract (optional)
- 1/4 teaspoon (1g) ground cinnamon or nutmeg (optional)
Instructions
- Prepare your fruit: Wash, hull, and chop fresh fruit or thaw frozen fruit and drain excess liquid (about 10 minutes).
- Puree the fruit: Blend fruit with lemon juice, optional honey or maple syrup, vanilla extract, and spices until smooth and lump-free.
- Spread the puree: Line a rimmed baking sheet with parchment paper or silicone mat. Spread fruit puree evenly to about 1/8 inch (3mm) thickness (5-7 minutes).
- Dry the fruit: Place baking sheet in an oven preheated to 170°F (75°C) with the door slightly open. Dry for 4-6 hours until the fruit leather is no longer sticky and peels easily but remains pliable.
- Cut and roll: Once cool, peel fruit leather from parchment, cut into 1.5 inch (4cm) wide strips, roll with parchment paper inside, and store in an airtight container (about 10 minutes).
Notes
Keep oven door slightly ajar with a wooden spoon to allow moisture to escape for best chewy texture. If puree is too runny, add chia seeds or powdered fruit pectin. Drying times vary by oven and fruit moisture. Store roll-ups wrapped in parchment paper to prevent sticking. Can freeze for up to 3 months.
Nutrition
- Serving Size: One fruit roll-up st
- Calories: 6080
- Sugar: 1215
- Carbohydrates: 1215
- Fiber: 12
Keywords: fruit roll-ups, homemade fruit snacks, kids snacks, healthy snacks, fruit leather, gluten-free, vegan


