That moment when you open the fridge and find a pint of raspberries that’s just about ready to turn? Yeah, that’s exactly how this easy raspberry chia seed jam came to be. I remember eyeing those berries, thinking, “I really don’t have time for a full jam-making marathon.” So, rather than let them go to waste, I tossed them in a pot with a handful of chia seeds and a little sweetener, expecting maybe a passable spread. Honestly, I was skeptical—jam without pectin? Could it really gel just right?
But then, as the mixture simmered gently on the stove, the kitchen filled with that familiar fruity scent, and the texture thickened into something surprisingly luscious. I spooned a bit onto toast, half-expecting disappointment, but it was better than just edible—it was downright crave-worthy. Since then, I’ve made it over and over, sometimes tweaking the sweetness or stirring in a touch of lemon zest for brightness. It became my go-to when I wanted a fresh, homemade jam without the fuss of traditional canning.
What really stuck with me is how simple the whole thing is, yet it feels like a little homemade treasure. The chia seeds do this magic trick, turning the raspberry juices into a spreadable dream without any weird additives. It’s perfect for those quick breakfasts or last-minute gifts, and it’s so much better than store-bought jams that are loaded with sugar and preservatives. If you’re like me and want a jam that’s straightforward but still full of flavor and texture, this easy raspberry chia seed jam recipe might just become your new favorite.
There’s something quietly satisfying about knowing you made it yourself, from fresh fruit to jar, in just a few steps. And honestly, it’s the kind of recipe that makes mornings feel a little warmer, a little brighter.
Why You’ll Love This Easy Raspberry Chia Seed Jam Recipe
This raspberry chia seed jam isn’t just another pretty spread. After testing it countless times in my kitchen and sharing it with friends, I can say for sure it delivers in every way. It’s a recipe that fits into busy schedules without sacrificing freshness or taste.
- Quick & Easy: Ready in about 15 minutes, it’s perfect for busy mornings or last-minute snack plans.
- Simple Ingredients: No fancy or hard-to-find items here—just fresh raspberries, chia seeds, and a touch of sweetener you probably already have.
- Perfect for Gifts and Gatherings: Whether you’re making breakfast for family or need a thoughtful homemade gift, this jam always impresses.
- Crowd-Pleaser: Kids love the natural sweetness, and adults appreciate the fresh fruit flavor and wholesome ingredients.
- Unbelievably Delicious: The texture is just right—not too runny, not too stiff—with that bright raspberry zing that wakes up your palate.
What sets this jam apart is that it skips the pectin and long cooking times, yet still thickens beautifully thanks to chia seeds. Because the berries stay close to their fresh flavor, it feels lighter and more vibrant than traditional jams. Plus, the method keeps the kitchen cooler—no standing over a boiling pot for ages. It’s a refreshing approach to classic jam making, making it accessible even if you’re not a seasoned cook.
This recipe has stuck with me because it’s the kind of thing that feels personal and practical all at once. It’s a little homemade ritual that anyone can do, no matter how hectic life gets.
What Ingredients You Will Need
This easy raspberry chia seed jam uses simple, wholesome ingredients that come together to create a fresh, flavorful spread without any complicated steps or preservatives. Most of these are pantry staples or easy to find at your local market.
- Fresh Raspberries (2 cups / 300 grams): The star of the show. Look for ripe, fragrant berries for the best flavor. You can use frozen if fresh aren’t available, just thaw first.
- Chia Seeds (2 tablespoons): These little powerhouses thicken the jam naturally because they absorb liquid and swell. I prefer the organic brand from Bob’s Red Mill for a clean taste.
- Sweetener (2-3 tablespoons): You can use honey, maple syrup, or granulated sugar depending on your preference. I usually go for a mild honey to keep the flavor balanced.
- Lemon Juice (1 tablespoon, freshly squeezed): Adds brightness and helps balance the sweetness while preserving color.
- Vanilla Extract (optional, ½ teaspoon): Just a little for a warm, cozy note that complements the raspberries nicely.
If you want to make this jam vegan, maple syrup is a great choice as a sweetener. For a low-sugar option, you can reduce the sweetener or try a natural sugar substitute, but keep in mind it might change the texture slightly. I’ve found that the lemon juice really helps lift the flavor, and it’s worth including even if you prefer a tart jam.
Feel free to swap the raspberries for other berries like strawberries or blackberries if you want to change things up. In summer, using fresh, in-season berries makes this jam taste like a little sunshine in a jar.
Equipment Needed
- Medium Saucepan: A heavy-bottomed one works best to avoid scorching the fruit. I use a 2-quart stainless steel pan that heats evenly.
- Spoon or Silicone Spatula: For stirring the jam gently as it cooks.
- Measuring Cups and Spoons: Precision with chia and sweetener helps the jam set consistently.
- Fine Mesh Sieve (optional): If you want a smoother jam without seeds, this helps strain the mixture before adding chia seeds.
- Mason Jars or Airtight Containers: For storing the jam. Small jars work well for gifting or portion control.
If you don’t have a fancy saucepan, a regular non-stick pot will do just fine. Just keep an eye on the heat so the jam doesn’t burn. For stirring, I prefer silicone spatulas because they’re gentle on cookware and flexible enough to scrape the sides well.
Preparation Method
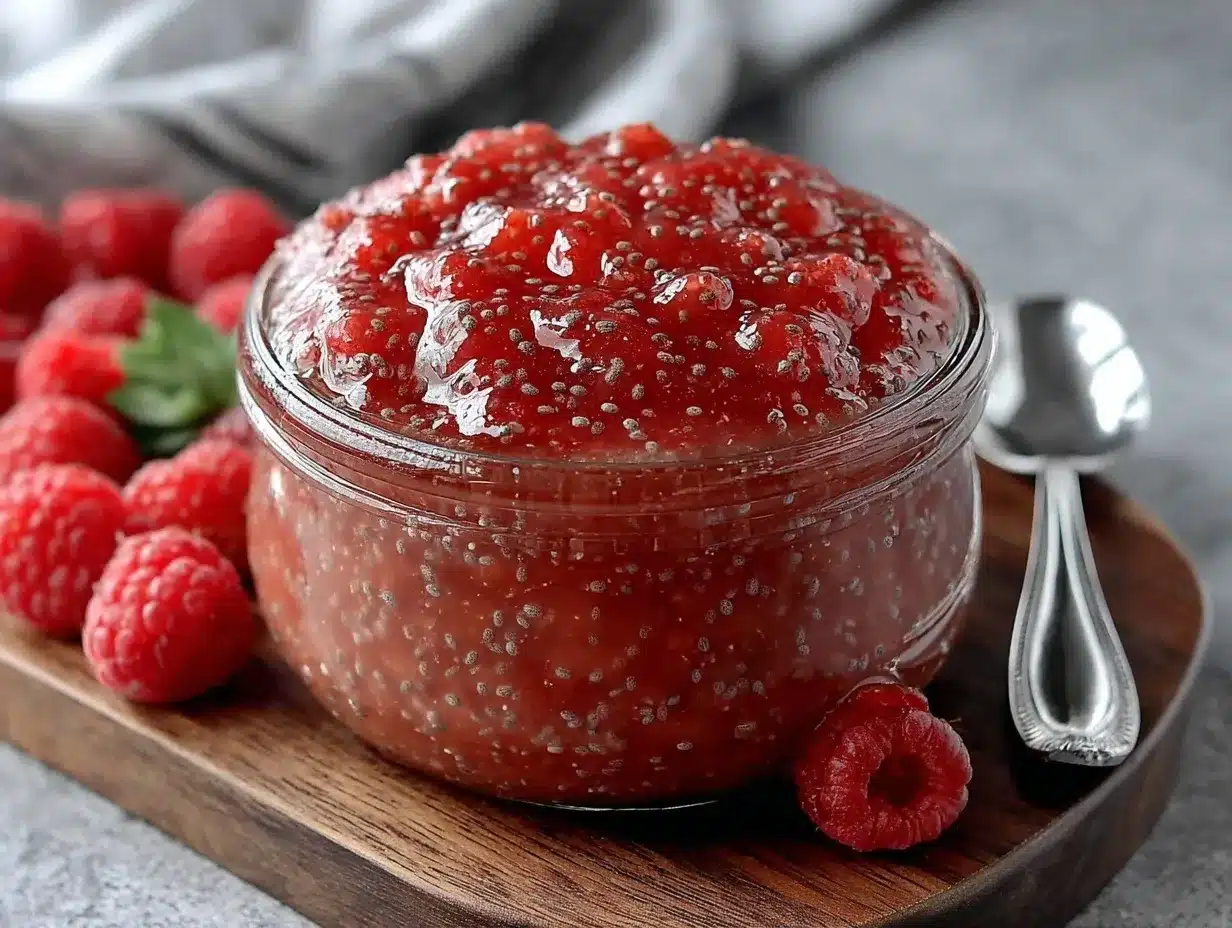
- Prepare the Raspberries: Rinse 2 cups (300 grams) of fresh raspberries gently under cold water. Drain well and set aside. If you’re using frozen, thaw completely and drain excess liquid.
- Cook the Fruit: Place the raspberries in a medium saucepan over medium heat. Add 2-3 tablespoons of your chosen sweetener and 1 tablespoon of freshly squeezed lemon juice. Stir to combine.
- Simmer and Mash: Let the mixture come to a gentle simmer. Use the back of a wooden spoon or potato masher to break down the berries slightly. Cook for about 5-7 minutes until the fruit softens and juices start to release. You’ll notice the jam thickening as it cooks.
- Add Chia Seeds: Remove the pan from heat and stir in 2 tablespoons of chia seeds. Mix thoroughly to distribute evenly. Optionally, stir in ½ teaspoon of vanilla extract for extra flavor.
- Rest and Thicken: Let the jam sit at room temperature for about 10-15 minutes. The chia seeds will absorb the liquid and the jam will thicken naturally. If you want a thicker consistency, you can add a teaspoon more of chia seeds and rest a bit longer.
- Transfer and Store: Spoon the jam into clean mason jars or airtight containers. Refrigerate for up to 2 weeks. The jam will continue to firm up slightly as it chills.
Note: If you prefer a seedless jam, strain the cooked raspberry mixture through a fine mesh sieve before adding chia seeds. This step is optional but gives a smoother texture. Watch the heat carefully while cooking—too high can cause burning or bitterness.
From personal experience, stirring occasionally during simmering helps prevent sticking and ensures even cooking. Also, don’t skip the resting step—that’s when the chia seeds really work their magic.
Cooking Tips & Techniques
Making jam without pectin might sound tricky, but chia seeds make this so easy. Here are some tips I’ve picked up along the way:
- Use Fresh, Ripe Berries: The fresher, the better. Overripe or underripe fruit can affect flavor and texture.
- Adjust Sweetness Gradually: Start with less sweetener and taste as you go. The natural tartness of raspberries can be quite strong.
- Don’t Overcook: Simmer just enough to soften the berries and meld flavors. Extended cooking can dull the bright raspberry taste.
- Stir Often: This prevents the jam from sticking to the pan and helps break down the fruit evenly.
- Let the Jam Cool Properly: Chia seeds need time to absorb liquid fully. If jam seems too runny, give it more time in the fridge.
- Batch Size: This recipe scales well, but larger batches might need slightly longer thickening time.
- Seal Jars Correctly: If you want to preserve the jam longer, sterilize jars and lids properly, but for everyday use, refrigeration is fine.
I once burned a batch by leaving the heat too high—lesson learned! Keeping the simmer gentle makes for a smoother, sweeter jam. And mixing in the chia seeds off the heat prevents them from clumping.
Variations & Adaptations
This easy raspberry chia seed jam is super flexible. Here are some ways I’ve adapted it:
- Mixed Berry Jam: Combine raspberries with blueberries or strawberries for a colorful, flavor-packed twist.
- Spiced Jam: Add a pinch of cinnamon or grated ginger during cooking for warmth and depth.
- Low-Sugar Version: Reduce sweetener and add a splash of orange juice to maintain brightness.
- Seedless Option: Strain cooked berries through a sieve before adding chia for a smooth consistency—great for kids or picky eaters.
- Chunky Jam: Leave some berries intact for texture instead of mashing them fully.
One personal favorite is adding a teaspoon of lavender buds while simmering, then straining them out. It lends a subtle floral note that pairs beautifully with the raspberries.
Serving & Storage Suggestions
This raspberry chia seed jam is delicious spread on warm toast, dolloped over yogurt, or even swirled into oatmeal. I especially love it with a smear of cream cheese or melted butter. It’s a refreshing change from store-bought jams, bringing that fresh-picked berry brightness straight to your plate.
For storage, keep the jam refrigerated in airtight containers. It should last up to two weeks. Freezing is possible—just thaw in the fridge overnight before use. You might notice the texture thickens slightly after chilling, which makes it even better for spooning.
Flavors develop over time—a day or two in the fridge lets the sweetness mellow and the tartness balance out nicely. It’s a simple way to add homemade goodness to breakfasts or snacks anytime.
If you enjoy creating easy homemade spreads, you might also want to try the easy one-bowl loaded strawberry cake mix recipe for a sweet treat that pairs beautifully with fresh jam.
Nutritional Information & Benefits
This raspberry chia seed jam is naturally low in calories and packed with antioxidants from the berries. Chia seeds contribute fiber, omega-3 fatty acids, and protein, making this jam a nutritious addition to your diet.
One serving (about 1 tablespoon) contains approximately:
| Nutrient | Amount |
|---|---|
| Calories | 25 |
| Fiber | 3 grams |
| Protein | 1 gram |
| Sugar | 4 grams (natural and added) |
This recipe is gluten-free, dairy-free, and vegan if made with plant-based sweeteners. Keep in mind chia seeds are a potential allergen for some, so introduce cautiously.
From a wellness perspective, this jam offers a wholesome way to enjoy fruit with less sugar and more nutrients than conventional jams. It’s a small but meaningful step toward better homemade eating.
Conclusion
This easy raspberry chia seed jam recipe is a keeper for anyone who loves fresh flavor without fuss. It’s quick to make, uses simple ingredients, and delivers that satisfying homemade texture and taste without pectin or complicated steps.
Feel free to adjust the sweetness or mix in your favorite berries to make it your own. I keep a jar in my fridge almost always—it’s my little homemade secret that turns plain toast into a treat.
If you try this recipe, I’d love to hear how you customize it or what you pair it with. Sharing these simple kitchen wins is what makes cooking fun and rewarding.
Enjoy the sweet, fresh goodness!
Frequently Asked Questions
Can I use frozen raspberries for this jam?
Yes, frozen raspberries work well. Just thaw and drain any excess liquid before cooking to avoid a runny jam.
Do I need to use lemon juice?
Lemon juice brightens the flavor and helps preserve the color, but you can skip it if necessary. The jam may taste a little less vibrant.
How long does this chia seed jam last in the fridge?
Stored in an airtight container, it keeps fresh for up to 2 weeks. Always check for signs of spoilage before use.
Can I make this jam without sweetener?
You can reduce or omit sweetener, but keep in mind the natural tartness of raspberries might be quite strong without some added sweetness.
Is this jam safe for canning and long-term storage?
This recipe is designed for refrigeration and short-term use. For long-term storage, traditional pectin-based recipes and proper canning methods are recommended.
Pin This Recipe!
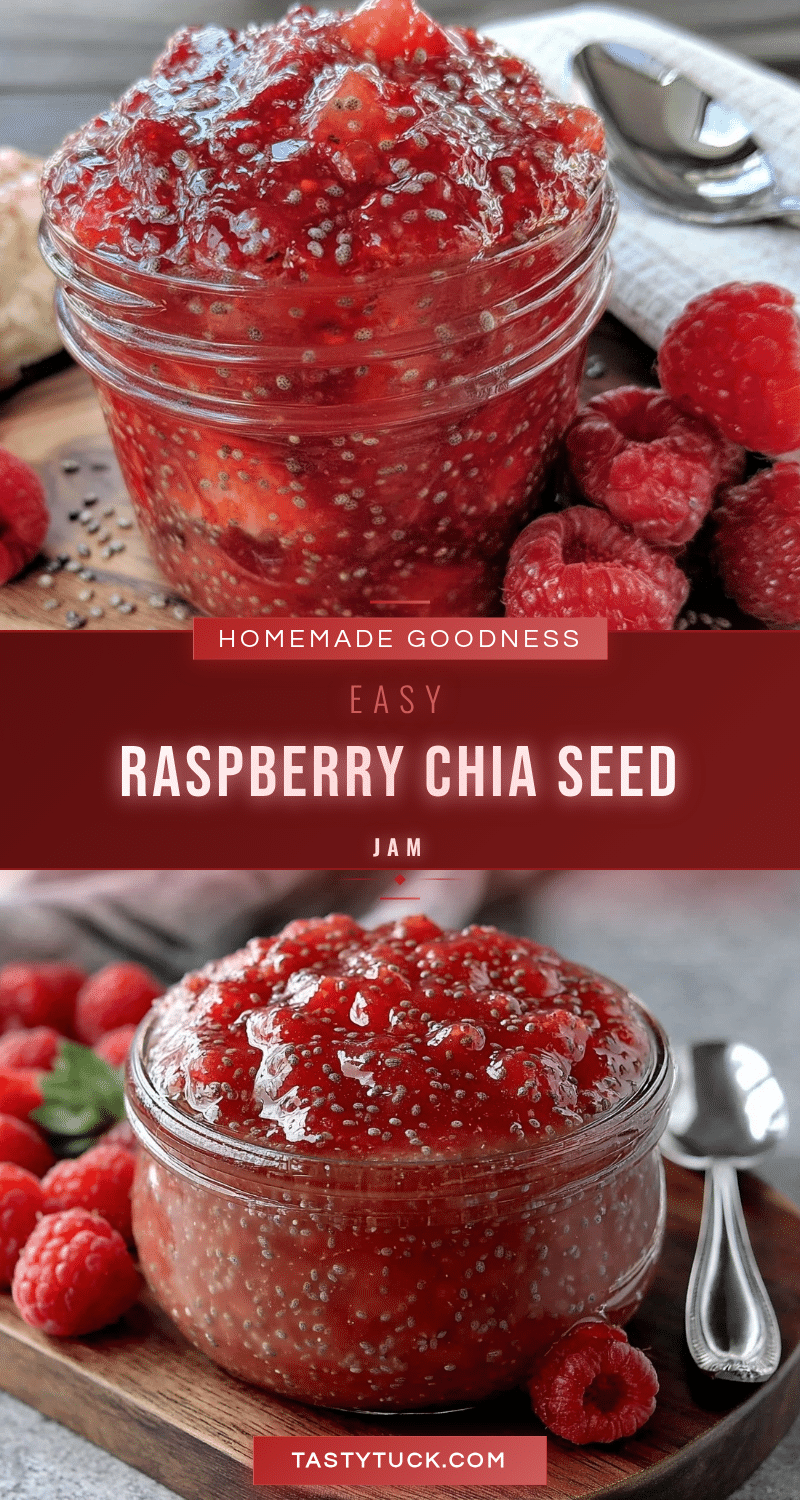
Easy Raspberry Chia Seed Jam Recipe
A quick and simple homemade raspberry jam thickened naturally with chia seeds, requiring no pectin and ready in about 15 minutes. Perfect for fresh flavor without the fuss of traditional canning.
- Prep Time: 5 minutes
- Cook Time: 10 minutes
- Total Time: 15 minutes
- Yield: About 1 cup (16 tablespoons) of jam 1x
- Category: Spread
- Cuisine: American
Ingredients
- 2 cups (300 grams) fresh raspberries
- 2 tablespoons chia seeds
- 2–3 tablespoons sweetener (honey, maple syrup, or granulated sugar)
- 1 tablespoon freshly squeezed lemon juice
- ½ teaspoon vanilla extract (optional)
Instructions
- Rinse 2 cups (300 grams) of fresh raspberries gently under cold water. Drain well and set aside. If using frozen, thaw completely and drain excess liquid.
- Place the raspberries in a medium saucepan over medium heat. Add 2-3 tablespoons of your chosen sweetener and 1 tablespoon of freshly squeezed lemon juice. Stir to combine.
- Let the mixture come to a gentle simmer. Use the back of a wooden spoon or potato masher to break down the berries slightly. Cook for about 5-7 minutes until the fruit softens and juices start to release.
- Remove the pan from heat and stir in 2 tablespoons of chia seeds. Mix thoroughly to distribute evenly. Optionally, stir in ½ teaspoon of vanilla extract for extra flavor.
- Let the jam sit at room temperature for about 10-15 minutes to thicken as chia seeds absorb the liquid. For thicker jam, add a teaspoon more chia seeds and rest longer.
- Spoon the jam into clean mason jars or airtight containers. Refrigerate for up to 2 weeks. The jam will continue to firm up slightly as it chills.
Notes
For seedless jam, strain cooked raspberries through a fine mesh sieve before adding chia seeds. Stir often during simmering to prevent sticking and burning. Let jam rest to allow chia seeds to thicken the mixture fully. Adjust sweetness gradually to taste. Refrigerate and consume within 2 weeks. Freezing is possible; thaw in fridge overnight before use.
Nutrition
- Serving Size: 1 tablespoon
- Calories: 25
- Sugar: 4
- Fiber: 3
- Protein: 1
Keywords: raspberry jam, chia seed jam, no pectin jam, easy jam recipe, homemade jam, quick jam, healthy jam, vegan jam, gluten-free jam


