Honestly, I thought layering Oreos and whipped cream into a no-bake patriotic dessert sounded like a mistake until the first bite of this Easy No-Bake Patriotic Oreo Icebox Cake proved me wrong. I was pretty set on the idea that a dessert without actual baking couldn’t deliver the right texture or flavor punch, especially when it came to something as festive as a Fourth of July treat. But one summer afternoon, facing a heatwave and zero desire to turn on the oven, I gave this recipe a shot. The cold, creamy layers with those iconic Oreo crunches nestled between bright red and blue berries somehow nailed that celebratory vibe perfectly.
It wasn’t an instant love affair—I mean, it took a couple of tries to balance the creaminess and the cookie layers just right, and I was wary of it getting soggy or too sweet. But once I figured out the timing and the berry arrangement, it became a must-have for every warm-weather gathering. The way the flavors meld in the fridge overnight is almost magical—the Oreos soften just enough to melt into the whipped cream without turning mushy, and those juicy strawberries and blueberries add a fresh pop that’s hard to beat.
What really stuck with me was how this recipe brought a sense of ease and fun to patriotic celebrations without any fuss or oven heat. It’s a dessert that feels like a treat but doesn’t demand hours in the kitchen, which is a rare find. And honestly, it’s the kind of dish that makes you pause and savor those lazy summer party moments, with kids and adults alike reaching for seconds. This Easy No-Bake Patriotic Oreo Icebox Cake isn’t just a recipe—it’s a quiet reminder that sometimes simple, chilled, and sweet hits the spot better than anything complicated.
Why You’ll Love This Recipe
From my many summer cookouts and holiday parties, this Easy No-Bake Patriotic Oreo Icebox Cake has been a standout for several reasons. It’s not just about the festive look but also the ease and flavor that keep everyone coming back for more.
- Quick & Easy: You can put this cake together in about 15 minutes, then let the fridge do the rest. No oven heat means it’s perfect for those scorching summer days or last-minute get-togethers.
- Simple Ingredients: You likely already have Oreos, whipped cream, and some fresh berries in your kitchen. No complicated or hard-to-find items here.
- Perfect for Summer Parties: It screams patriotic fun with its red, white, and blue layers, making it ideal for July 4th, Memorial Day, or any backyard barbecue.
- Crowd-Pleaser: Kids adore the creamy, cookie-filled layers, and adults appreciate the nostalgic yet fresh twist on a classic no-bake dessert.
- Unbelievably Delicious: The contrast between the crunchy Oreos and the smooth whipped cream, along with juicy berries, delivers a texture and flavor combo that just works—comfort food with a bright, fruity punch.
What sets this recipe apart is the layering technique that keeps the Oreos from becoming soggy and the way the berries are folded in to add just the right amount of tartness. Plus, it’s a no-fuss crowd-pleaser that you can whip up alongside other summer classics like the Cozy Cracker Barrel Loaded Peach Cobbler or the Perfect Cast Iron Loaded Apple Pie Skillet. Honestly, this recipe isn’t just a dessert; it’s the kind of thing that makes you want to plan your next party just so you can make it again.
What Ingredients You Will Need
This recipe uses simple, wholesome ingredients to deliver bold flavor and satisfying texture without the fuss. Most of these are pantry staples or fresh produce you can grab at any grocery store during the summer.
- Oreos: About 36 cookies (roughly 3 sleeves), regular or golden, depending on your preference. I usually go with the classic chocolate Oreos for that iconic flavor.
- Heavy Whipping Cream: 2 cups (480 ml), cold. This forms the creamy base and whips up beautifully for texture. You can substitute with canned coconut cream for a dairy-free option.
- Powdered Sugar: ½ cup (60 g) to sweeten the whipped cream just right—avoid granulated sugar here to keep the texture smooth.
- Vanilla Extract: 1 tsp for a subtle depth of flavor in the cream.
- Fresh Strawberries: 1 cup (about 150 g), sliced thin. These add juicy sweetness and a vibrant red color.
- Fresh Blueberries: 1 cup (about 150 g) for that perfect blue pop and tartness.
- Optional: A handful of fresh raspberries or blackberries to add more color variety or personal flair.
Try to pick berries that feel firm and ripe but not overly soft to avoid excess moisture that could make the cake soggy. If you want to switch it up for a gluten-free version, some gluten-free sandwich cookies work well, just make sure they’re sturdy enough to hold up overnight.
Equipment Needed
- Mixing Bowl: A large bowl for whipping the cream. Glass or metal works best for keeping the cream cold.
- Electric Mixer or Hand Whisk: To whip the heavy cream to stiff peaks. I prefer a stand mixer for ease, but a good whisk and some elbow grease do the trick too.
- 9×13-inch (23×33 cm) Baking Dish or Pan: For layering the cake. Glass or ceramic pans work well so you can see the layers.
- Spatula: For folding in berries and spreading the whipped cream evenly.
- Measuring Cups and Spoons: Accuracy helps, especially with sugar and vanilla extract.
- Plastic Wrap or Lid: To cover the cake while it chills in the fridge.
If you don’t own a fancy electric mixer, no worries—just chill your bowl and whisk in the freezer for 10 minutes before whipping; it makes the cream whip faster and fluffier. For those on a budget, a sturdy glass bowl and a hand whisk can be surprisingly effective.
Preparation Method
- Chill Your Equipment: Start by placing your mixing bowl and beaters in the fridge or freezer for about 10-15 minutes. Cold equipment helps the heavy cream whip up faster and hold better.
- Prepare Your Berries: Rinse the strawberries and blueberries gently under cold water. Pat dry with paper towels to remove excess moisture. Slice the strawberries thinly and set both berries aside.
- Whip the Cream: Pour 2 cups (480 ml) of cold heavy whipping cream into the chilled bowl. Add ½ cup (60 g) powdered sugar and 1 teaspoon vanilla extract. Beat on medium-high speed until stiff peaks form—this means the cream should hold its shape when you lift the beaters, but avoid overwhipping or it will turn grainy.
- Fold in the Berries: Using a spatula, gently fold the sliced strawberries and blueberries into the whipped cream. Be careful not to deflate the cream; you want those fluffy layers intact with bursts of berry flavor throughout.
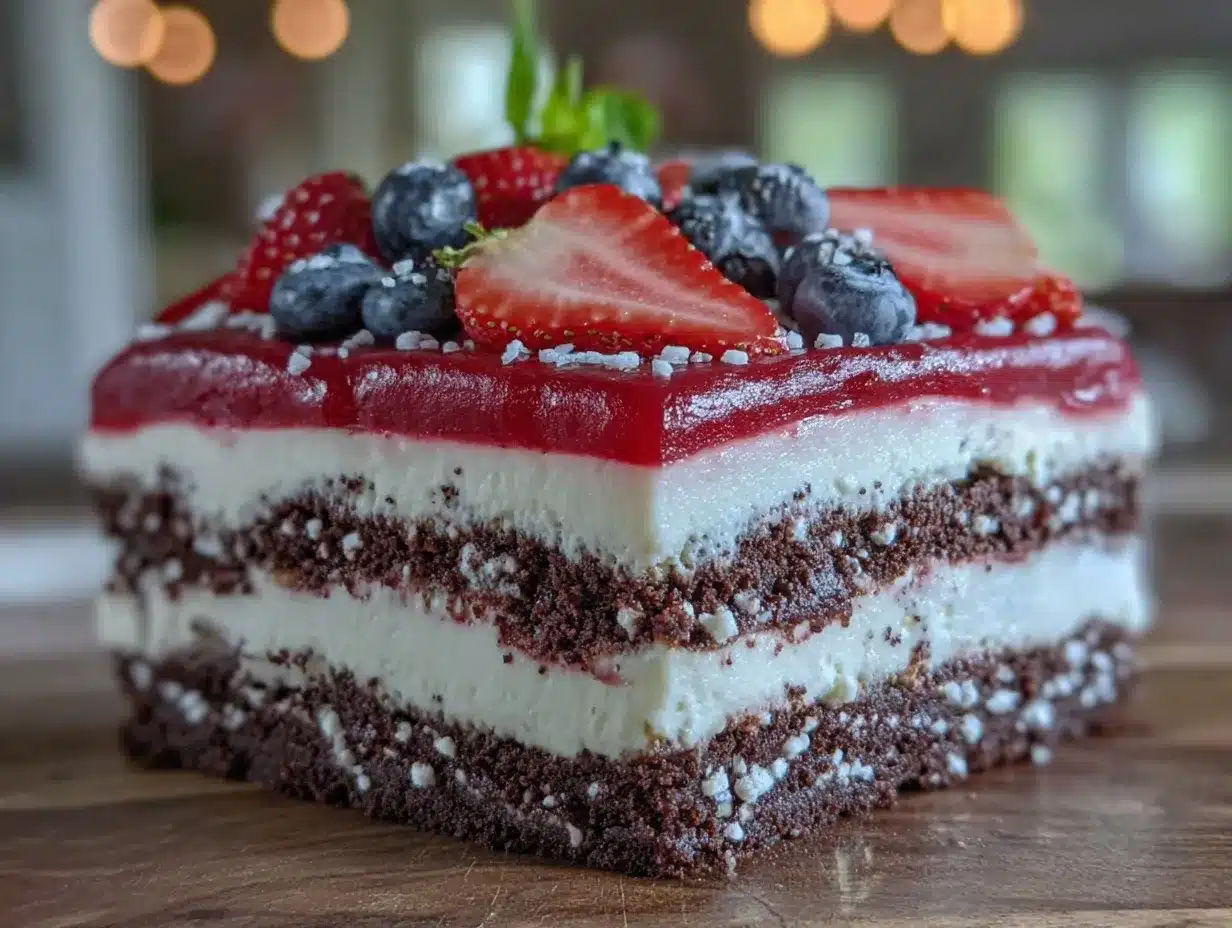
- Layer the Cake: In your 9×13-inch (23×33 cm) baking dish, start with a single layer of Oreos, about 12 cookies, spaced evenly to cover the base.
- Spread the Cream Mixture: Dollop about one-third of the whipped cream and berry mixture over the Oreo layer. Spread evenly to cover all the cookies.
- Repeat Layers: Add another Oreo layer on top of the cream, followed by another third of the cream mixture. Repeat one last time, finishing with a cream layer on top.
- Top It Off: For the patriotic touch, garnish the top layer with a handful of whole blueberries and sliced strawberries arranged in stripes or a star pattern. This step isn’t just for looks; it adds a fresh burst of flavor when served.
- Chill Overnight: Cover the dish tightly with plastic wrap or a lid and refrigerate for at least 6 hours or overnight. This resting time lets the Oreos soften slightly from the moisture in the whipped cream but not so much that they lose all their crunch.
- Serve: Cut into squares and serve chilled. The cake should feel creamy with soft cookie layers and a refreshing berry bite.
One heads-up: if you try to slice it too soon, the layers won’t hold well and the Oreos might be too firm. Trust the chill time—it’s worth the wait. And if any cream spills over the edges while layering, just scoop it back in; it all adds to the lusciousness.
Cooking Tips & Techniques
Getting this Easy No-Bake Patriotic Oreo Icebox Cake just right comes down to a few key details I learned after some trial and error. First, always chill your bowl and beaters before whipping cream. It’s a game-changer that makes the cream fluffier and more stable. I once tried whipping at room temperature and ended up with a sad, runny mess—lesson learned.
When folding in the berries, be gentle. You want to keep the airy texture without crushing the fruit or turning the cream watery. If your berries seem extra juicy, pat them dry before folding to avoid soggy layers.
Layering is straightforward but don’t rush. Make sure the Oreos are evenly spaced so every bite gets a perfect cookie-to-cream ratio. Also, if you prefer a less sweet dessert, you can reduce the powdered sugar slightly or swap half the Oreos for a gluten-free cookie option.
Timing is crucial. This cake benefits greatly from sitting overnight—the flavors meld and the texture softens just enough. Multitasking? Prepare the cake the night before your party and keep it chilled; it frees up your day and keeps the dessert fresh.
Lastly, if you want to get fancy, you can add a splash of cream cheese to the whipped cream for tang and stability—though I like the simplicity of this recipe as is. Just remember, no baking means you rely on chilling and layering for structure, so patience is key.
Variations & Adaptations
This recipe is a solid base and lends itself well to tweaks depending on your taste or dietary needs. Here are some of the ways I’ve played around with it:
- Dairy-Free Version: Use whipped coconut cream instead of heavy whipping cream. It whips well when chilled and offers a subtle coconut flavor that pairs nicely with the berries.
- Berry Swap: In place of strawberries and blueberries, try raspberries and blackberries for a different color palette and tang. Fresh peaches or cherries also make a lovely summer twist.
- Chocolate Lover’s Twist: Add a layer of chocolate pudding or mousse between the Oreos and cream for an extra indulgent dessert. This turns it into a triple-layer treat.
- Gluten-Free Option: Replace Oreos with gluten-free sandwich cookies or thin gluten-free graham crackers. The texture changes slightly but still delicious.
- Festive Shapes: Instead of a traditional rectangle, use individual clear cups or small mason jars for single servings. This is great for picnic-style parties and easy portion control.
One summer, I swapped in frozen mixed berries (thawed and drained well) when fresh ones were out of season, and it actually worked better for a juicier, more intense flavor. Just be sure to drain excess liquid thoroughly so the cake doesn’t get too soft.
Serving & Storage Suggestions
This Easy No-Bake Patriotic Oreo Icebox Cake is best served chilled straight from the fridge. The cold temperature keeps the cream firm and the Oreos pleasantly softened but not mushy. For presentation, I like to serve it on a simple white platter so the red, white, and blue colors really pop.
It pairs wonderfully with light beverages like iced tea, lemonade, or even sparkling water with fresh berries for a refreshing summer vibe. If you’re hosting a backyard barbecue, it’s a perfect finish alongside savory dishes like grilled chicken or the Comforting Midwest Loaded Walking Taco Casserole.
To store, cover the cake tightly with plastic wrap or a lid and refrigerate. It keeps well for up to 3 days, though the texture is best within the first 24-48 hours. You can freeze leftovers in an airtight container for up to one month; thaw overnight in the fridge before serving.
When reheating, resist the urge to microwave—this dessert is meant to be enjoyed cold. Flavors actually deepen as the cake rests, so sometimes a day-old slice tastes even better than fresh out of the fridge.
Nutritional Information & Benefits
While this Easy No-Bake Patriotic Oreo Icebox Cake is definitely a treat, it has some redeeming points thanks to the fresh berries packed with antioxidants and vitamins. A typical serving (about 1/12th of the cake) contains around 250-300 calories, mostly from the Oreos and whipped cream.
The heavy cream provides a good amount of fat, which helps keep you satisfied, and the berries add a boost of fiber and vitamin C. For those watching carbs, swapping in a sugar-free cookie or reducing powdered sugar can lighten the load.
Do note the presence of dairy and gluten in the classic recipe, so it’s not suitable for people with allergies unless adaptations are made. From a wellness perspective, I see this dessert as a joyful, occasional indulgence that pairs well with an active summer lifestyle.
Conclusion
This Easy No-Bake Patriotic Oreo Icebox Cake is a recipe I keep coming back to for its simplicity, festive charm, and delicious results. It’s one of those rare desserts that feels special without any stress or long prep times. I love how it brings people together, with everyone eager to grab a plate and savor those creamy, crunchy layers with fresh berries.
Feel free to make it your own by adjusting the berries, cookies, or cream sweetness. It’s forgiving and always a hit. If you’re after more easy, crowd-pleasing desserts that fit right into summer parties, you might enjoy the Creamy No-Bake Loaded Oreo Dessert or the Creamy No-Bake Loaded Strawberry Icebox Cake for similar vibes.
Give this cake a try next time you want a fuss-free patriotic dessert that tastes like it took hours—trust me, your guests will thank you.
FAQs
- Can I make this cake ahead of time? Yes, it’s best made the day before to allow the Oreos to soften and the flavors to meld.
- Can I use store-bought whipped cream instead of whipping my own? You can, but homemade whipped cream usually has better texture and flavor.
- What’s the best way to store leftovers? Cover tightly and refrigerate for up to 3 days. You can also freeze it for up to a month.
- Can I substitute the Oreos for another cookie? Yes, gluten-free sandwich cookies or graham crackers work well as alternatives.
- Is it possible to make this recipe dairy-free? Yes, use coconut whipped cream and dairy-free cookies for a fully dairy-free version.
Pin This Recipe!
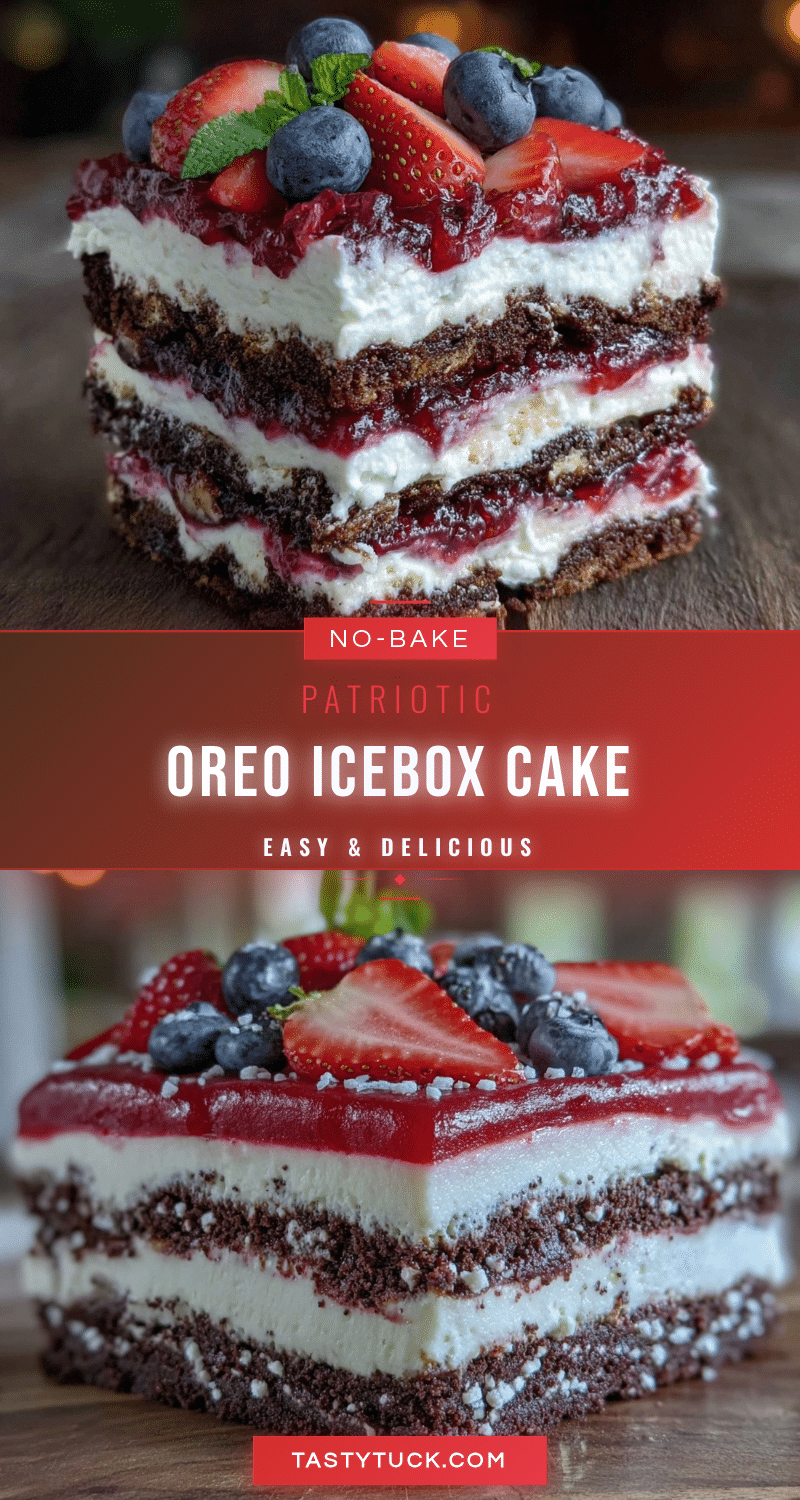
Easy No-Bake Patriotic Oreo Icebox Cake
A simple, no-bake dessert featuring layers of Oreos, whipped cream, and fresh berries, perfect for summer parties and patriotic celebrations.
- Prep Time: 15 minutes
- Cook Time: 0 minutes
- Total Time: 6 hours 15 minutes
- Yield: 12 servings 1x
- Category: Dessert
- Cuisine: American
Ingredients
- 36 Oreos (about 3 sleeves), regular or golden
- 2 cups (480 ml) cold heavy whipping cream
- ½ cup (60 g) powdered sugar
- 1 teaspoon vanilla extract
- 1 cup (about 150 g) fresh strawberries, sliced thin
- 1 cup (about 150 g) fresh blueberries
- Optional: handful of fresh raspberries or blackberries
Instructions
- Chill your mixing bowl and beaters in the fridge or freezer for 10-15 minutes.
- Rinse strawberries and blueberries under cold water, pat dry, and slice strawberries thinly.
- Pour cold heavy whipping cream into the chilled bowl. Add powdered sugar and vanilla extract. Beat on medium-high speed until stiff peaks form.
- Gently fold sliced strawberries and blueberries into the whipped cream using a spatula.
- In a 9×13-inch baking dish, layer about 12 Oreos evenly to cover the base.
- Spread one-third of the whipped cream and berry mixture over the Oreo layer evenly.
- Repeat layering Oreos and cream mixture two more times, finishing with a cream layer on top.
- Garnish the top with whole blueberries and sliced strawberries arranged in patriotic patterns.
- Cover the dish tightly with plastic wrap or a lid and refrigerate for at least 6 hours or overnight.
- Cut into squares and serve chilled.
Notes
Chill bowl and beaters before whipping cream for best results. Pat berries dry to avoid soggy layers. Let cake chill overnight for optimal texture. Can substitute coconut cream for dairy-free version and gluten-free cookies for gluten-free option.
Nutrition
- Serving Size: 1/12th of the cake
- Calories: 275
- Sugar: 20
- Sodium: 150
- Fat: 18
- Saturated Fat: 11
- Carbohydrates: 28
- Fiber: 2
- Protein: 3
Keywords: no-bake, Oreo, icebox cake, patriotic dessert, summer party, Fourth of July, easy dessert, whipped cream, berries


