It was a Saturday evening, and the power went out just as I was about to dig into the stash of ice cream I’d been saving for a treat. The freezer was a sad, melted mess, but in the fridge, there was a jar of homemade salted caramel sauce and a carton of heavy cream. No ice cream maker in sight, no time to run to the store. Honestly, it felt like a total kitchen lockdown—until I remembered a quick fix for creamy frozen desserts that doesn’t need churning.
The idea sparked while I was whipping that cream, folding in the luscious salted caramel, and thinking, “Well, this might just do the trick.” Turns out, this creamy no-churn salted caramel ice cream recipe was born from necessity but quickly became a weekend favorite I rely on whenever I want a fuss-free, dreamy dessert. The caramel’s salty-sweet punch balances the rich creaminess perfectly, and the texture? Honestly, it’s like the kind you’d pay a fortune for at a fancy ice cream shop.
What stuck with me was how this recipe felt like a little victory—turning a kitchen mishap into something unexpectedly satisfying. It’s simple, uses just a handful of ingredients, and best of all, you don’t need fancy equipment or hours of babysitting. If you ever find yourself staring down an empty freezer or just craving something indulgent without the fuss, this recipe has your name on it.
Why You’ll Love This Creamy No-Churn Salted Caramel Ice Cream Recipe
After testing this recipe multiple times (and tweaking it for perfect scoopability), I can say it’s one of those simple pleasures that never disappoints. Here’s what makes it stand out and why it’s a keeper in my recipe box:
- Quick & Easy: Ready to go in under 20 minutes, making it perfect for last-minute sweet cravings or an impromptu dessert after dinner.
- Simple Ingredients: No exotic or hard-to-find items—just pantry staples like heavy cream, sweetened condensed milk, and that magic jar of salted caramel sauce.
- Perfect for Any Occasion: Whether it’s a family gathering, a summer BBQ, or just a cozy night in, this ice cream fits the bill without the stress.
- Crowd-Pleaser: The combo of salty caramel and creamy texture consistently gets nods of approval from kids and adults alike.
- Unbelievably Delicious: The balance of sweet and salty plus that melt-in-your-mouth creaminess is downright addictive.
This isn’t just another no-churn recipe—it’s one where the salted caramel gets gently folded in for pockets of gooey goodness, not just stirred in flat. Plus, using sweetened condensed milk gives it a silky finish without needing eggs or complicated custard steps. Honestly, it’s a shortcut with soul.
It’s comfort food that lets you savor every bite without the usual ice cream maker hassle. And if you’re curious about pairing it with other desserts, it goes spectacularly well with warm, cozy treats like the Loaded Peach Cobbler or even a slice of the Apple Pie Skillet—talk about a dreamy combo.
What Ingredients You Will Need
This creamy no-churn salted caramel ice cream recipe uses simple, wholesome ingredients to deliver bold flavor and a satisfyingly smooth texture without fuss. Most of these are pantry staples, and the salted caramel can be homemade or store-bought (homemade always wins if you have the time!).
- Heavy Cream (2 cups / 480 ml) – The backbone for that rich, creamy texture. I prefer organic or local cream when possible for freshness.
- Sweetened Condensed Milk (1 can, 14 oz / 396 g) – Adds sweetness and gives the ice cream its custard-like body without eggs.
- Salted Caramel Sauce (¾ cup / 180 ml) – Use your favorite brand or homemade; I like a sauce that’s thick but pourable for swirl-worthy ribbons.
- Vanilla Extract (1 teaspoon) – Just a touch to round out the flavors and add depth.
- Sea Salt (a pinch) – To boost that salted caramel flavor and balance sweetness.
Ingredient tips: If you want to skip dairy, substitute the heavy cream with canned coconut milk (full fat) and the condensed milk with a vegan-friendly condensed milk alternative. For a gluten-free version, this recipe is naturally compliant, so no worries there.
For homemade salted caramel, I highly recommend making a batch in advance (it freezes well!), but if time’s tight, brands like Trader Joe’s or Ghirardelli make excellent jarred sauces.
Equipment Needed
- Mixing Bowl: A large bowl to whip the cream and mix everything.
- Electric Hand Mixer or Stand Mixer: Essential for whipping the heavy cream to stiff peaks quickly and effortlessly. You can do it by hand, but your arm might hate you.
- Spatula: For gentle folding to keep the whipped cream light and airy.
- Freezer-Safe Container: A loaf pan or plastic container with a lid works perfectly for freezing the ice cream.
- Measuring Cups and Spoons: To keep the ingredient amounts precise.
If you don’t have a stand mixer, a hand mixer is usually more budget-friendly and does the job well. Just be sure to chill your bowl and beaters beforehand for best whipping results. I’ve tried this with different equipment, and the key is whipping the cream until stiff but not overbeaten—more on that later.
Preparation Method
- Chill your tools: Place your mixing bowl and beaters in the fridge for about 15 minutes before starting. Cold equipment helps the cream whip up faster.
- Whip the heavy cream: Pour 2 cups (480 ml) of heavy cream into the chilled bowl. Using an electric mixer, beat on medium-high speed until stiff peaks form—about 3-5 minutes. You’ll know it’s ready when the cream holds a firm shape and doesn’t slump when you lift the beaters.
- Mix sweetened condensed milk and vanilla: In a separate bowl, combine 1 can (14 oz / 396 g) sweetened condensed milk with 1 teaspoon vanilla extract and a pinch of sea salt. Stir gently to combine.
- Fold the condensed milk mixture into the whipped cream: Using a spatula, carefully fold the condensed milk mixture into the whipped cream in three additions. Be gentle to maintain the fluffy texture—think light, sweeping folds rather than vigorous stirring.
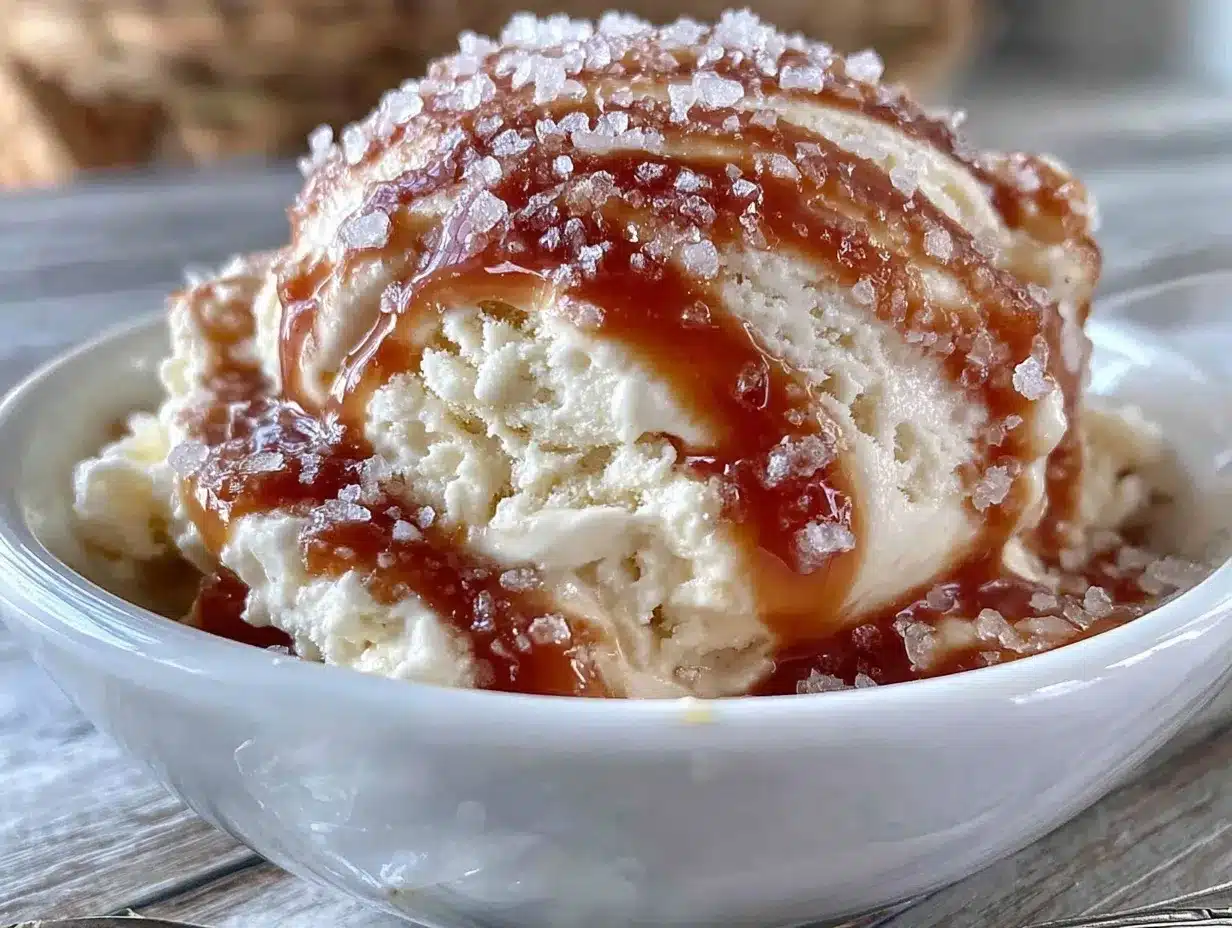
- Add the salted caramel: Pour ¾ cup (180 ml) of salted caramel sauce over the mixture. Use the spatula to swirl it in lightly—don’t overmix. You want pretty ribbons of caramel running through the ice cream, not a uniform tan color.
- Transfer and freeze: Spoon the mixture into a freezer-safe container, smoothing the top with your spatula. Cover with a lid or plastic wrap. Freeze for at least 6 hours, preferably overnight, until firm.
- Serve: When ready, let the ice cream sit out for 5 minutes to soften slightly for easy scooping. Scoop generously and enjoy!
Pro tip: If the ice cream freezes too hard, let it thaw a bit longer before scooping. And when folding in the caramel, use a butter knife for more defined swirls if you want that dramatic look.
Cooking Tips & Techniques
Making no-churn ice cream is deceptively simple, but a few tricks can make your salted caramel version truly shine:
- Don’t rush the whipping: Whip the heavy cream to stiff peaks, but stop before it starts turning grainy or buttery. Overwhipped cream loses its airiness, which makes the ice cream dense.
- Fold, don’t stir: Folding preserves the whipped cream’s volume. Use a wide spatula and a gentle motion—imagine you’re caressing the mixture rather than mixing it.
- Swirl technique: For beautiful caramel ribbons, add the caramel last and fold just enough to create streaks. Overmixing blends the caramel fully, losing that lovely contrast.
- Freezing time: Patience is key. The ice cream needs several hours to fully set. Resist the urge to dig in too soon or you’ll end up with a messy, soupy dessert.
- Multitasking: While the ice cream chills, you can prep a quick one-bowl strawberry cake to go alongside for a summer gathering. Works like a charm!
My first batch was a bit too icy because I didn’t whip the cream enough. Lesson learned: the air in the cream is what keeps that melt-in-your-mouth texture. Also, if your caramel is super thick, warm it slightly to make swirling easier.
Variations & Adaptations
This recipe is a great canvas for all sorts of tweaks and personalizations. Here are some of my favorite spins:
- Chocolate-Caramel Swirl: Add ¼ cup of melted dark chocolate drizzled in with the caramel for a double-decker flavor punch.
- Nutty Crunch: Fold in chopped toasted pecans or sea salt almonds right before freezing for a delightful texture contrast.
- Dairy-Free Version: Substitute heavy cream with full-fat coconut milk and use sweetened condensed coconut milk. The tropical twist pairs surprisingly well with salted caramel.
- Spiced Salted Caramel: Add a pinch of cinnamon or cayenne to the caramel for a warm, spicy kick that’s unexpectedly addictive.
- Seasonal Fruits: Swirl in a raspberry or blackberry jam alongside the caramel for a fruity contrast that brightens the rich flavors.
One time, I tried folding in some chopped candied ginger, and it gave a surprising zing that livened up the sweetness. It’s a fun way to play around depending on your mood or what’s in the pantry.
Serving & Storage Suggestions
This creamy no-churn salted caramel ice cream is best served just slightly softened for easy scooping—about 5-10 minutes at room temperature. The caramel ribbons stay luscious and gooey, creating those delightful pockets of flavor.
For serving, try pairing with warm desserts like the Loaded Peach Cobbler or a simple drizzle of extra salted caramel and flaky sea salt on top. A sprinkle of toasted nuts or a dusting of cocoa powder also adds a nice finishing touch.
Store leftovers in an airtight container in the freezer. It keeps well for up to 2 weeks. To re-soften, transfer to the fridge for 20-30 minutes or let sit on the counter briefly before scooping. Flavors tend to deepen after a day or two, so the caramel notes become even more pronounced.
Nutritional Information & Benefits
Each serving of this no-churn salted caramel ice cream is rich and satisfying, with roughly 250-300 calories depending on portion size. The heavy cream and sweetened condensed milk provide a good dose of calcium and fat, making it a great occasional indulgence.
Salted caramel adds flavor without needing extra sugar beyond the condensed milk, and a pinch of sea salt helps balance the sweetness for a more complex taste. This recipe is naturally gluten-free, which is great if you’re avoiding gluten.
For those mindful of dairy, the coconut milk adaptation offers a tasty alternative while keeping the creamy texture intact. Just keep in mind this version will have a slight coconut flavor that pairs nicely with caramel.
Conclusion
This creamy no-churn salted caramel ice cream recipe is proof that sometimes the best dishes come from unexpected moments and simple ingredients. It’s easy to make, deeply satisfying, and has that perfect balance of sweet and salty that keeps you coming back for more.
Feel free to make it your own—try adding nuts, chocolate, or spices to suit your taste. I love this recipe because it’s reliable, quick, and doesn’t require special equipment, which means more time enjoying the ice cream and less time stressing in the kitchen.
If you give it a go, I’d love to hear how you customized it or what you paired it with. Sharing those little tweaks makes cooking even more fun and communal!
Frequently Asked Questions About Creamy No-Churn Salted Caramel Ice Cream
Can I use store-bought caramel sauce for this recipe?
Absolutely! Store-bought caramel sauce works well—just pick a good-quality one that’s thick and not too watery for best results.
How long does the ice cream need to freeze?
It needs at least 6 hours to firm up, but overnight freezing is ideal for the best texture and flavor development.
Can I make this ice cream ahead of time for a party?
Yes! It’s a fantastic make-ahead dessert. Just prepare it the day before and keep it covered in the freezer until serving.
What if my whipped cream doesn’t reach stiff peaks?
Try chilling your bowl and beaters longer, and make sure the cream is cold. Also, avoid overwhipping—stop as soon as firm peaks form.
Is there a low-sugar version of this recipe?
You can try using a sugar-free caramel sauce and a low-sugar condensed milk alternative, but the texture and flavor might be slightly different.
Pin This Recipe!
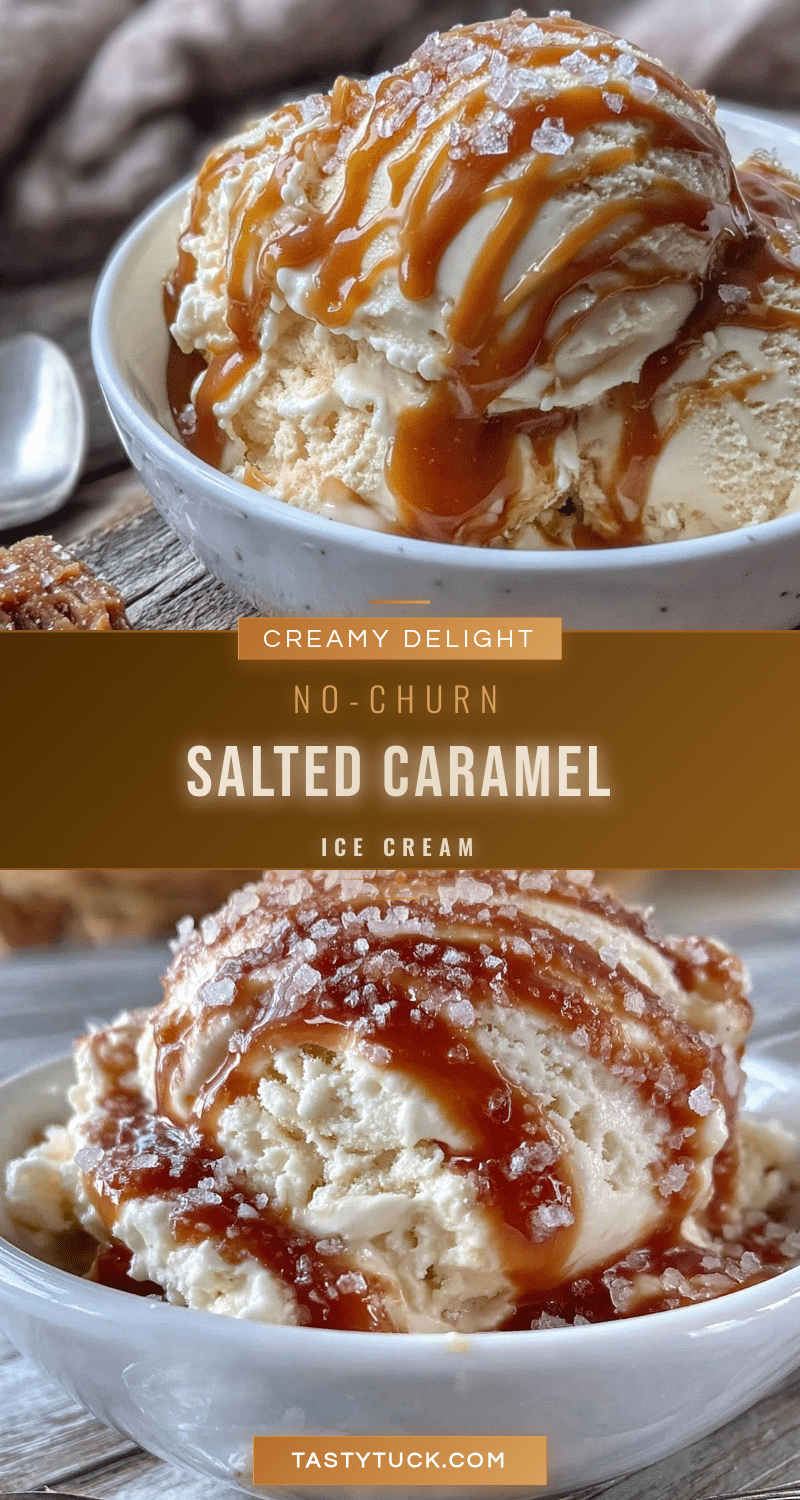
Creamy No-Churn Salted Caramel Ice Cream Recipe Easy Homemade Delight

A quick and easy no-churn ice cream recipe featuring luscious salted caramel swirls and a creamy texture, perfect for a fuss-free indulgent dessert.
- Prep Time: 15 minutes
- Cook Time: 0 minutes
- Total Time: 6 hours 15 minutes
- Yield: 8 servings 1x
- Category: Dessert
- Cuisine: American
Ingredients
- 2 cups (480 ml) heavy cream
- 1 can (14 oz / 396 g) sweetened condensed milk
- 3/4 cup (180 ml) salted caramel sauce
- 1 teaspoon vanilla extract
- Pinch of sea salt
Instructions
- Chill your mixing bowl and beaters in the fridge for about 15 minutes before starting.
- Pour 2 cups (480 ml) of heavy cream into the chilled bowl. Using an electric mixer, beat on medium-high speed until stiff peaks form, about 3-5 minutes.
- In a separate bowl, combine 1 can (14 oz / 396 g) sweetened condensed milk with 1 teaspoon vanilla extract and a pinch of sea salt. Stir gently to combine.
- Using a spatula, carefully fold the condensed milk mixture into the whipped cream in three additions, maintaining a fluffy texture.
- Pour 3/4 cup (180 ml) of salted caramel sauce over the mixture. Swirl it in lightly with the spatula to create ribbons of caramel.
- Spoon the mixture into a freezer-safe container, smooth the top, cover with a lid or plastic wrap, and freeze for at least 6 hours or overnight until firm.
- Let the ice cream sit out for 5-10 minutes to soften slightly before scooping and serving.
Notes
Chill your bowl and beaters before whipping cream for best results. Fold gently to keep the mixture airy. Use a butter knife to create defined caramel swirls. Let ice cream soften 5-10 minutes before scooping. Store leftovers in an airtight container for up to 2 weeks.
Nutrition
- Serving Size: 1/2 cup (approximate
- Calories: 275
- Sugar: 24
- Sodium: 110
- Fat: 18
- Saturated Fat: 11
- Carbohydrates: 26
- Protein: 3
Keywords: no-churn ice cream, salted caramel, easy homemade ice cream, no ice cream maker, creamy dessert, quick ice cream recipe


