Introduction
I thought making energy balls would be one of those “easy-peasy” deals — just mix a few things, roll some balls, and call it a day. It took about five minutes for that to fall apart completely, mostly because I couldn’t stop sneaking bites of the peanut butter chocolate chip mixture before it even made it to the fridge. Honestly, these no-bake energy balls turned out to be way tastier (and stickier) than I ever imagined, and that texture! Soft but with just enough chew, dotted with melty chocolate chips, and that peanut butter warmth carrying it all. What started as a quick snack fix ended up becoming my secret weapon for those days when I need a pick-me-up without the crash. I was skeptical at first — peanut butter and chocolate chips in a raw, no-bake snack? Seemed like a recipe for a mess. But the flavors balanced out perfectly, and the energy balls held their shape better than I expected (thanks, oats!).
These bites are now a staple in my kitchen, especially on mornings when I’m running late or afternoons when I want something sweet but not a sugar bomb. I guess what stuck with me about this recipe is its practicality — no oven, no fancy tools, just handfuls of ingredients that you probably already have. They’re almost like mini rewards that sneak in some good stuff without feeling like a chore to make or eat. So here’s the easy no-bake peanut butter chocolate chip energy balls recipe that I keep coming back to when life gets hectic but my snack game can’t slack.
Why You’ll Love This Recipe
From my many kitchen experiments (and occasional snack fails), this recipe stands out as a reliable, crowd-friendly option that practically makes itself. Here’s why it’s become my go-to:
- Quick & Easy: Comes together in under 15 minutes — no baking, no waiting, just mix and chill.
- Simple Ingredients: Uses pantry staples like peanut butter, oats, and chocolate chips — no need for fancy runs to specialty stores.
- Perfect for On-the-Go: Great for quick breakfasts, post-workout fuel, or mid-afternoon snacks that satisfy without weighing you down.
- Crowd-Pleaser: My friends and family always ask for these at potlucks or game nights. The chocolate chips add just the right touch of indulgence.
- Unbelievably Delicious: The mix of creamy peanut butter with chewy oats and melty chocolate is comfort food in bite-sized form.
What really sets this recipe apart is the balance of flavors and textures — it’s not just a random ball of nuts and oats. I blend the peanut butter until ultra-smooth (pro tip: this helps with the consistency), and the oats I use are rolled oats for that perfect chew. Plus, adding a pinch of sea salt rounds out the sweetness from the chocolate chips, making every bite pop. If you’re used to energy balls that are dry or crumbly, this one will pleasantly surprise you.
It’s the kind of recipe that feels like a tiny indulgence but actually packs a punch of wholesome energy. And honestly, nothing beats having a batch ready in the fridge when you’re craving a snack but want to skip the vending machine. If you want a little more dessert flair without the guilt, you might also enjoy the creamy no-bake loaded chocolate delight for a sweet twist.
What Ingredients You Will Need
This recipe uses simple, wholesome ingredients to deliver bold flavor and satisfying texture without the fuss. I love that it calls for everyday pantry staples, so you can whip it up anytime without hunting down anything special.
- Rolled oats (1 cup / 90g) – The base of the energy balls, giving them chew and fiber. I recommend old-fashioned rolled oats rather than instant for the best texture.
- Natural creamy peanut butter (1/2 cup / 128g) – Adds richness and a nutty punch. I prefer a natural version with just peanuts and salt, no added sugar. (You can swap for almond butter if you want a different nut flavor.)
- Mini chocolate chips (1/3 cup / 60g) – For those sweet melty pockets that make every bite feel like a treat. Use semi-sweet or dark chocolate to avoid overly sweet results.
- Honey or maple syrup (1/4 cup / 85g) – Acts as the natural sweetener and binder, making the energy balls stick together nicely.
- Vanilla extract (1 teaspoon) – Just a little boost of flavor that complements the peanut butter and chocolate beautifully.
- Ground flaxseed (2 tablespoons) – Optional, but adds a boost of omega-3s and fiber while helping the mixture bind together.
- Sea salt (a pinch) – Balances the sweetness and enhances the overall flavor.
If you want to get creative, swapping in chopped nuts or dried fruit works great here. For example, chopped walnuts add crunch and depth, or dried cranberries for a tart contrast. In warmer months, I like to toss in shredded coconut for a tropical vibe. And if you have dietary restrictions, you can make these vegan by using maple syrup instead of honey, or swap mini chocolate chips for dairy-free versions. This recipe plays well with substitutions — I’ve even tried swapping oats for gluten-free oat flour with decent results.
Equipment Needed
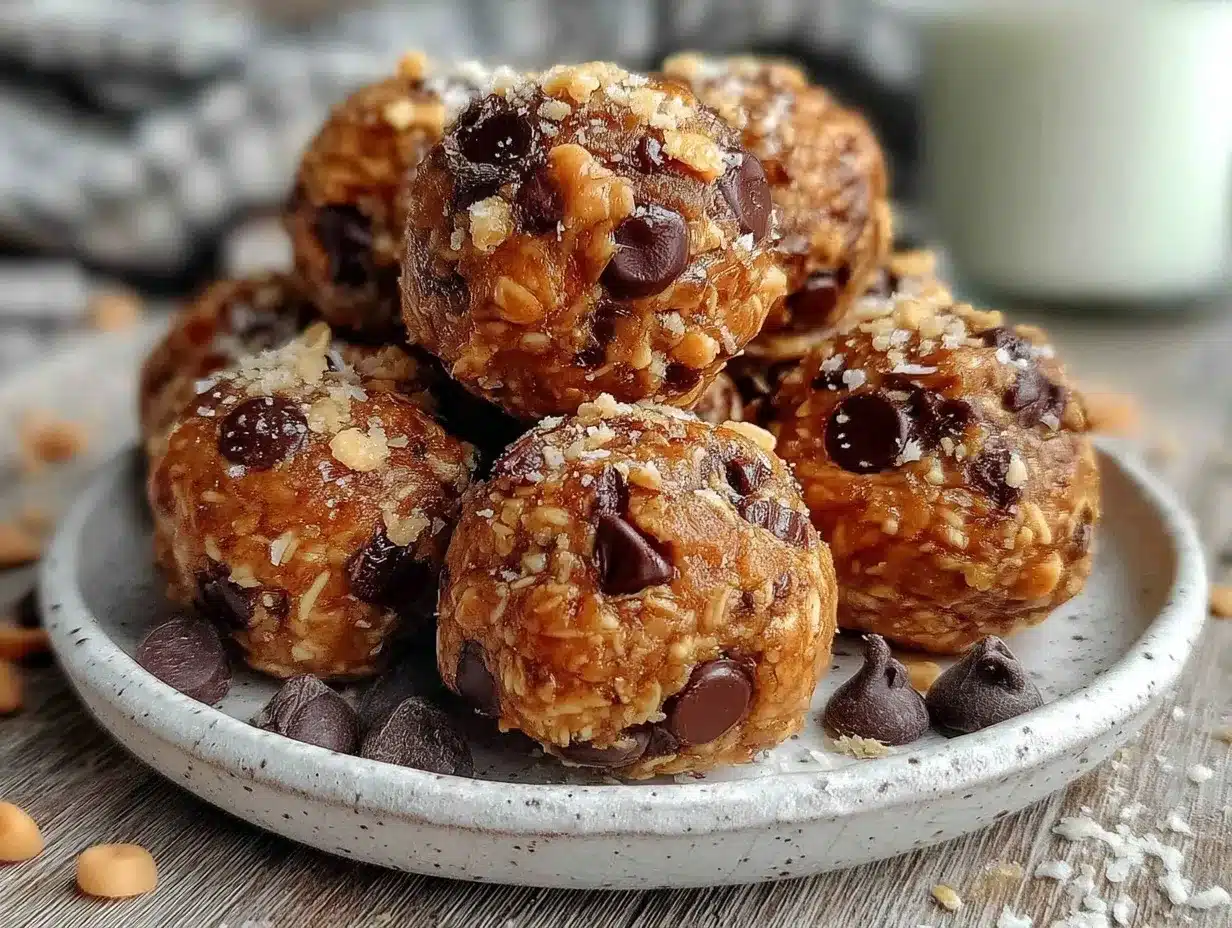
Luckily, this recipe keeps things simple on the equipment front — no mixers or fancy gadgets required.
- Mixing bowl: A medium-sized bowl to combine all ingredients comfortably.
- Spoon or rubber spatula: For stirring and folding the ingredients together.
- Measuring cups and spoons: To get the proportions just right (precision helps with texture!).
- Baking sheet or plate: For placing the rolled energy balls while chilling in the fridge.
- Optional: Food processor – If you want to pulse the oats a bit finer for a smoother texture, though not necessary.
I usually just mix by hand with a sturdy spoon — it’s satisfying to feel the mixture come together. For rolling, I keep a small bowl of water nearby to wet my hands slightly; it stops the mixture from sticking to my fingers and keeps the balls perfectly round. If you don’t have measuring tools handy, eyeballing the ingredients works too — just trust your instincts a bit. For a budget-friendly twist, any sturdy bowl and spoon from your kitchen drawer will do the trick.
Preparation Method
- Combine dry ingredients: In a medium bowl, add 1 cup (90g) rolled oats, 2 tablespoons ground flaxseed, and a pinch of sea salt. Stir briefly to distribute everything evenly. This step helps avoid clumps of flaxseed later.
- Mix wet ingredients: In a separate small bowl, whisk together 1/2 cup (128g) creamy peanut butter, 1/4 cup (85g) honey or maple syrup, and 1 teaspoon vanilla extract until smooth. If your peanut butter is too stiff, microwave for 10-15 seconds to soften (but don’t overheat!).
- Combine wet and dry: Pour the peanut butter mixture over the oats and flaxseed. Use a sturdy spoon or rubber spatula to fold everything together until a sticky dough forms. It might seem crumbly at first, but keep mixing — the honey and peanut butter will pull it all together.
- Add chocolate chips: Gently fold in 1/3 cup (60g) mini chocolate chips. Be careful not to overmix, or chips will melt or break up.
- Form balls: Wet your hands slightly and scoop about 1 tablespoon (15g) of mixture per ball. Roll firmly between your palms to create smooth, compact balls. Place them on a baking sheet or plate lined with parchment paper or wax paper.
- Chill: Refrigerate the energy balls for at least 30 minutes to firm up. This step helps them hold their shape and makes them easier to handle.
- Store: Transfer to an airtight container and keep refrigerated for up to a week. You can also freeze for longer storage — just thaw at room temperature before enjoying.
Common hiccups include the mixture being too dry or too sticky. If too dry, add a splash more honey or peanut butter; if too sticky, toss in a spoonful of oats. The texture should be pliable enough to hold together but not overly wet. When rolling, damp hands work wonders — saves you from a sticky mess. After chilling, you’ll notice the flavors meld beautifully, and the balls have a satisfying firmness without being hard.
Cooking Tips & Techniques
Here are some practical pointers I’ve picked up from making these energy balls a dozen times or more:
- Use room temperature peanut butter: It mixes easier and blends more smoothly with the honey and vanilla, making the dough less crumbly.
- Don’t skip chilling: The fridge step is key to firming up the balls so they don’t fall apart when you grab one on the go.
- Customize your oats: Rolled oats work best because they hold texture. Instant oats can make the balls mushy.
- Mix gently with chocolate chips: Too much stirring can break them down, which changes the texture and look.
- Roll firmly but don’t compact too hard: You want them to hold shape but still feel tender, not rock solid.
- Multitasking tip: While the balls chill, tidy up your kitchen or prep your morning coffee — easy productive pause!
One time, I used crunchy peanut butter by accident and the texture was all wrong — too lumpy and dry. Lesson learned: smooth peanut butter is the way to go here. Also, I’ve found that swapping honey for maple syrup changes the flavor profile subtly, so pick your fave sweetener for your palate. Lastly, if you want to speed things up, rolling slightly larger balls makes for fewer to roll and store, but I like the bite-size version best.
Variations & Adaptations
These energy balls are pretty versatile and easy to customize depending on your mood or dietary needs:
- Nut-free version: Swap peanut butter for sunflower seed butter or tahini, and use dairy-free chocolate chips if needed.
- Protein boost: Add a scoop (about 1/4 cup) of your favorite protein powder into the dry mix for extra staying power between meals.
- Seasonal flavors: Stir in a teaspoon of cinnamon or pumpkin pie spice for fall vibes. Or add shredded coconut and chopped dried pineapple for a tropical twist.
- Chocolate swap: Try dark chocolate chunks or cacao nibs instead of mini chips for a less sweet, more bitter bite.
- Energy ball bars: Press the mixture into a lined pan and chill to slice into bars — handy for packing lunches.
One version I tried recently ended up with chopped dried cherries and toasted pecans — the tartness and crunch added a whole new dimension. Also, if you want a softer ball that melts in your mouth, pulse the oats slightly in a food processor before mixing. This recipe’s flexibility means you can make it your own without breaking the rhythm.
Serving & Storage Suggestions
Serve these energy balls chilled or at room temperature — they’re perfect little pick-me-ups anytime you need a bite. I like to pop one or two alongside my morning coffee or stash them in my bag for afternoon slumps. Their size makes them super portable and mess-free.
For a fun snack platter, arrange them with fresh fruit and nuts — they fit right in with other homemade treats like the easy one-bowl loaded strawberry cake or the no-bake creamy no-bake peanut butter pie. They’re also a hit for kids’ lunchboxes or quick pre-workout snacks.
Store in an airtight container in the fridge for up to one week. If you want to keep a stash longer, freeze them in a single layer on a baking sheet, then transfer to a freezer bag for up to three months. Thaw at room temperature or in the fridge before eating. Flavors tend to deepen after chilling overnight, making them even tastier the next day.
Nutritional Information & Benefits
These peanut butter chocolate chip energy balls pack a good balance of carbs, protein, and healthy fats to keep you fueled without the crash. Approximate nutrition per ball (assuming 20 balls from the batch):
| Nutrient | Amount |
|---|---|
| Calories | 90-100 kcal |
| Protein | 3 g |
| Carbohydrates | 12 g |
| Fat | 5 g |
| Fiber | 2 g |
The peanut butter provides heart-healthy monounsaturated fats and protein, while oats add fiber that supports digestion and sustained energy release. The flaxseed boosts omega-3 fatty acids and antioxidants. Using natural sweeteners like honey or maple syrup avoids refined sugars, offering a more balanced energy source. This recipe is gluten-free if you use certified gluten-free oats and dairy-free if you choose non-dairy chocolate chips, making it adaptable for many dietary preferences.
Conclusion
These easy no-bake peanut butter chocolate chip energy balls have become a trusted staple in my snack rotation — simple to make, delicious to eat, and flexible enough to suit any mood or occasion. They’re proof that you don’t need complicated recipes or long prep times to have something satisfying and wholesome on hand. I love how they bring a little joy and energy to my day without feeling like a guilty treat. If you give them a try, feel free to tweak the flavors or mix-ins to make them truly yours. And hey, if you’re interested in more quick treat ideas, you might find the perfect no-bake loaded chocolate delight a fun next project. Happy snacking!
FAQs
Can I make these energy balls ahead of time?
Yes! They store well in the fridge for up to one week and freeze beautifully for up to three months.
Are these energy balls gluten-free?
They can be, if you use certified gluten-free rolled oats and ensure your peanut butter and chocolate chips are gluten-free.
What can I substitute for peanut butter?
Sunflower seed butter, almond butter, or tahini all work well as nut-free or alternative options.
Can I add protein powder to these?
Absolutely! Adding about 1/4 cup of your favorite protein powder to the dry ingredients boosts the protein content without changing the flavor much.
How do I prevent the energy balls from sticking to my hands?
Keep a small bowl of water nearby and wet your hands slightly before rolling. This helps the mixture roll smoothly without sticking.
Pin This Recipe!
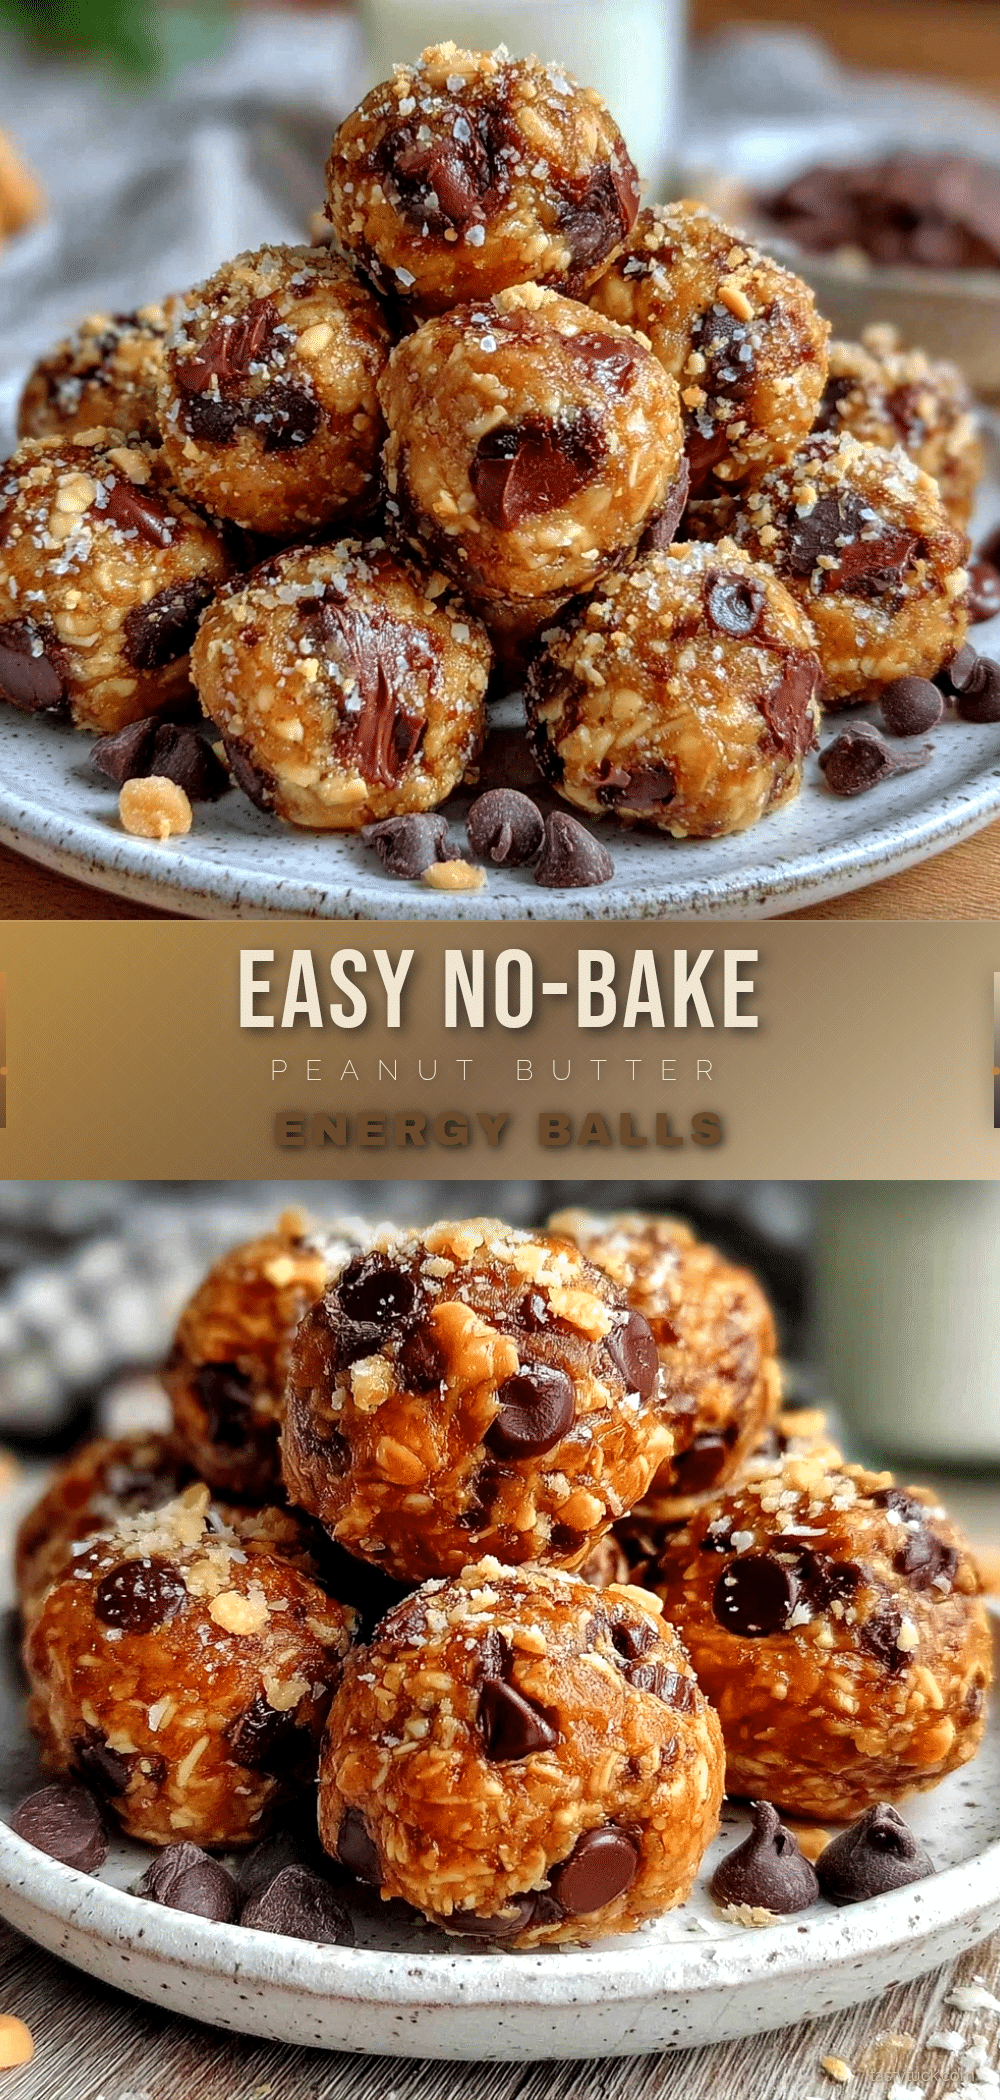
Easy No-Bake Peanut Butter Chocolate Chip Energy Balls
These no-bake energy balls combine creamy peanut butter, chewy rolled oats, and melty chocolate chips for a quick, healthy snack that requires no oven and minimal prep time.
- Prep Time: 10 minutes
- Cook Time: 0 minutes
- Total Time: 40 minutes
- Yield: 20 balls 1x
- Category: Snack
- Cuisine: American
Ingredients
- 1 cup (90g) rolled oats
- 1/2 cup (128g) natural creamy peanut butter
- 1/3 cup (60g) mini chocolate chips
- 1/4 cup (85g) honey or maple syrup
- 1 teaspoon vanilla extract
- 2 tablespoons ground flaxseed (optional)
- Pinch of sea salt
Instructions
- In a medium bowl, combine 1 cup rolled oats, 2 tablespoons ground flaxseed, and a pinch of sea salt. Stir briefly to distribute evenly.
- In a separate small bowl, whisk together 1/2 cup creamy peanut butter, 1/4 cup honey or maple syrup, and 1 teaspoon vanilla extract until smooth. Microwave for 10-15 seconds if peanut butter is too stiff.
- Pour the peanut butter mixture over the oats and flaxseed. Fold together with a spoon or spatula until a sticky dough forms.
- Gently fold in 1/3 cup mini chocolate chips, being careful not to overmix.
- Wet your hands slightly and scoop about 1 tablespoon (15g) of mixture per ball. Roll firmly between your palms to form smooth balls. Place on a baking sheet or plate lined with parchment or wax paper.
- Refrigerate the energy balls for at least 30 minutes to firm up.
- Store in an airtight container in the fridge for up to one week or freeze for up to three months. Thaw before eating.
Notes
Use room temperature peanut butter for easier mixing. Chill the balls to help them firm up and hold shape. Wet hands slightly when rolling to prevent sticking. Adjust texture by adding more honey or peanut butter if too dry, or oats if too sticky. Can substitute peanut butter with almond butter or sunflower seed butter for nut-free version. Use maple syrup instead of honey for vegan option.
Nutrition
- Serving Size: 1 energy ball (about
- Calories: 90100
- Fat: 5
- Carbohydrates: 12
- Fiber: 2
- Protein: 3
Keywords: no-bake, peanut butter, chocolate chip, energy balls, healthy snacks, quick snack, no oven, easy recipe


