My niece took one bite, looked at me with those serious seven-year-old eyes, and said, “Auntie, this tastes like Halloween in my mouth.” I laughed so hard I almost dropped the spatula. She wasn’t wrong, honestly. The deep chocolate flavor, the crackly cookie edges, the little black cat face staring up from the plate—it all came together in a way I hadn’t quite planned. I’d been messing around in the kitchen on a rainy Saturday, trying to come up with something fun for her upcoming Halloween party. I wanted it to be spooky but not scary, you know? Something a kid could help decorate without needing a pastry degree.
The first batch came out looking more like sad, melted blobs than cats. But that second attempt? That was the one. The cookie cake held its shape perfectly, the black cocoa powder gave it that dark, dramatic color without any artificial coloring, and the candy eyes made the whole thing come alive. I stuck a candle in it, sang happy birthday a month early, and watched her polish off an entire slice before anyone else got a turn. It was one of those accidental kitchen victories that just stuck.
This Easy Black Cat Halloween Cookie Cake has become our official October tradition now. It’s not fussy, it doesn’t require any special piping skills, and honestly? It tastes better than anything you’d buy at a bakery. The cookie base is soft in the middle, slightly crisp around the edges, and sturdy enough to hold whatever spooky decorations you throw at it. If you’ve ever wanted to make a Halloween dessert that actually looks impressive without making you want to pull your hair out, this is the one.
Why You’ll Love This Recipe
I’ve tested this cookie cake at least six times across different ovens and altitudes (my sister’s high-altitude kitchen in Colorado was a real challenge), and I can tell you—this recipe works. It’s not one of those finicky dessert recipes that only turns out right if the stars align. Here’s why it’s become my go-to for Halloween baking:
- Quick & Easy: From start to finish, you’re looking at about 45 minutes. The dough comes together in one bowl, no electric mixer required. I’ve made this while simultaneously helping a kid glue googly eyes onto a paper pumpkin costume.
- Simple Ingredients: Nothing weird here. Butter, sugar, eggs, flour, cocoa powder—stuff you probably already have in your pantry. The only specialty item is black cocoa powder, but I’ll tell you where to find it and what to use instead if you can’t.
- Perfect for Halloween Parties: This cookie cake is the star of any spooky spread. It’s big enough to feed a crowd, easy to transport, and kids absolutely lose their minds over the cat face design.
- Crowd-Pleaser: I’ve brought this to school parties, neighborhood gatherings, and family dinners. Adults sneak extra slices when they think no one is watching. The deep chocolate flavor is sophisticated enough for grown-ups but fun enough for kids.
- Unbelievably Delicious: The black cocoa gives it that Oreo-cookie taste, but the texture is all soft-baked cookie perfection. It’s not cakey, not dry—just this beautiful, fudgy middle with slightly crisp edges.
What makes this recipe different from every other Halloween cookie out there? The shape, honestly. Instead of cutting out individual cookies that spread into unrecognizable blobs, you’re making one big cookie cake and carving the cat silhouette right into the dough before baking. No cookie cutters needed, no chilling required, no stress. It’s the kind of recipe that makes you look like a Halloween hero without actually working that hard.
This isn’t just another sugar cookie with orange sprinkles. This is a real-deal chocolate cookie cake that happens to look like a black cat. It’s comfort food with a costume on, and honestly? That’s the best kind of Halloween treat.
What Ingredients You Will Need
This recipe uses simple, everyday ingredients to create something that tastes anything but basic. The magic happens when you combine the right cocoa powder with a few pantry staples. Let me walk you through what you’ll need and why each ingredient matters.
For the Cookie Cake
- Unsalted butter, softened – 1 cup (2 sticks or 226 grams). Make sure it’s truly softened, not melted. I leave mine out on the counter for about an hour before starting. If you forget, you can microwave it in 10-second bursts, but be careful—you don’t want it liquid.
- Granulated sugar – 1 cup (200 grams). Regular white sugar gives the cookies that perfect spread and slightly crisp edge. I’ve tried this with coconut sugar and it works, but the texture isn’t quite as nice.
- Light brown sugar, packed – 1/2 cup (100 grams). This adds moisture and a tiny hint of molasses flavor that plays beautifully with the dark cocoa. Don’t skip it—it’s what keeps the center soft.
- Large egg – 1, room temperature. I know, room temperature eggs matter more than you think. A cold egg will seize the butter and make your dough stiff. Just set it in a bowl of warm water for five minutes if you forgot.
- Vanilla extract – 2 teaspoons. Pure vanilla, not imitation, if you can swing it. The flavor really comes through in a simple cookie like this.
- All-purpose flour – 2 cups (260 grams). Spoon and level it—don’t scoop directly from the bag or you’ll end up with dry, crumbly dough.
- Black cocoa powder – 1/2 cup (50 grams). This is the secret weapon. Black cocoa is Dutch-processed cocoa that’s been heavily alkalized, giving it that dark, almost black color and a flavor similar to Oreo cookies. You can find it at specialty baking stores or online—I personally love the one from King Arthur Baking. If you can’t find it, use regular Dutch-process cocoa plus a tablespoon of black food coloring gel.
- Regular unsweetened cocoa powder – 2 tablespoons (10 grams). This rounds out the chocolate flavor and keeps the cookie from tasting one-dimensional. I use Hershey’s Special Dark for extra depth.
- Baking soda – 1 teaspoon. Make sure it’s fresh—test it by dropping a pinch into vinegar; if it fizzes, you’re good.
- Salt – 1/2 teaspoon. Don’t skip this. Salt makes chocolate taste more chocolatey. I use fine sea salt.
For Decoration
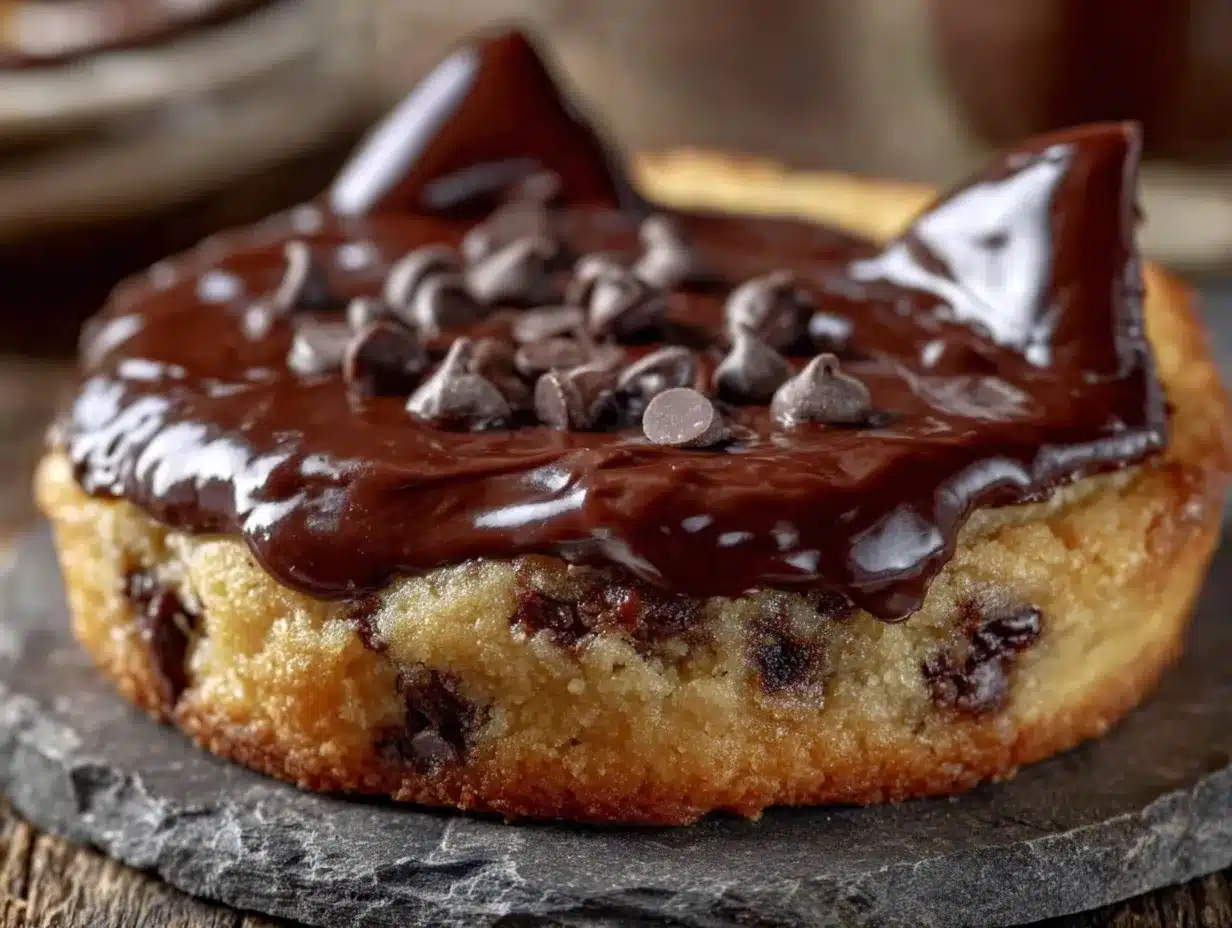
- Black sanding sugar or black sprinkles – Optional, but adds a nice sparkle. I found a jar at my local craft store for like three bucks.
- Candy eyes – 2 per cookie cake. You can find these at any grocery store in the baking aisle around Halloween. I’ve also used white frosting with a dot of black gel for the pupil.
- Black licorice strings or black frosting – For the whiskers. I prefer black frosting in a piping bag because it’s less sticky, but licorice strings give a fun texture.
- Pink frosting or a pink candy melt – For the little nose. A tiny dot of pink makes the cat face come alive.
I usually pick up my black cocoa powder online because my local grocery store doesn’t carry it year-round, but during October, I’ve spotted it at Target in the baking aisle. If you’re in a pinch, you can substitute with regular Dutch-process cocoa and add black gel food coloring to the dough. Just know the color won’t be quite as dramatic, and the flavor will be more like a standard chocolate cookie—still delicious, just different.
Equipment Needed
You don’t need a fancy kitchen to make this cookie cake. Here’s what I actually used during my testing sessions:
- Large mixing bowl – Any bowl works, but a wide one makes mixing easier. I use my grandmother’s old ceramic bowl because it feels right.
- Wooden spoon or rubber spatula – You don’t need an electric mixer. I actually prefer mixing by hand because it’s harder to overwork the dough.
- Parchment paper – Non-negotiable. This cookie cake will stick to a bare baking sheet. I buy the pre-cut sheets because I’m lazy, but a roll works fine.
- Baking sheet – A standard half-sheet pan (18×13 inches) works perfectly. Avoid dark non-stick pans—they can cause the bottom to burn before the middle is done.
- Sharp knife or bench scraper – For shaping the cat silhouette. A pizza cutter also works in a pinch.
- Cooling rack – Lets air circulate so the bottom doesn’t get soggy. If you don’t have one, just slide the parchment onto a countertop.
- Piping bag or small zip-top bag – For the frosting details. Snip a tiny corner off a sandwich bag if you don’t have piping bags.
- Offset spatula – Helpful for smoothing the dough, but honestly, your clean hands work best.
I’ve made this in a friend’s apartment that had exactly one baking sheet and a butter knife, and it turned out great. Don’t let missing equipment stop you. If you don’t have parchment paper, you can use a silicone baking mat—just reduce the baking time by a couple minutes because silicone conducts heat differently.
Preparation Method
Alright, let’s get to the fun part. I’m going to walk you through this step by step, including all the little things I learned the hard way so you don’t have to.
- Preheat your oven to 350°F (175°C). Do this first. Ovens take time to come to temperature, and you want yours fully hot when the cookie goes in. Line your baking sheet with parchment paper and set it aside.
- Cream the butter and sugars together. In your large mixing bowl, combine the softened butter, granulated sugar, and brown sugar. Use your wooden spoon or spatula to mash everything together until it’s light, fluffy, and pale in color—about 2 to 3 minutes of vigorous stirring. You’re looking for a texture that feels like soft play-dough. If you’re using an electric mixer, keep it on medium speed and stop to scrape the bowl once. Don’t over-cream, though—you don’t want to incorporate too much air, which can make the cookie cake puff up and crack.
- Add the egg and vanilla. Crack the egg into the butter mixture and pour in the vanilla. Stir until just combined. The mixture might look a little separated at this point—that’s normal. Keep stirring gently until it comes back together into a smooth, glossy paste.
- Sift the dry ingredients together. In a separate bowl, whisk together the flour, black cocoa powder, regular cocoa powder, baking soda, and salt. Sifting is important here because cocoa powder tends to clump. If you don’t have a sifter, just whisk vigorously for about 30 seconds. I once skipped this step and ended up with little pockets of dry cocoa in my baked cookie—not the end of the world, but not ideal.
- Combine wet and dry ingredients. Add the flour mixture to the butter mixture in two additions, stirring gently between each. Mix just until you no longer see streaks of flour. Overmixing at this stage develops gluten, which will make your cookie cake tough instead of tender. The dough will be thick and slightly sticky—that’s exactly what you want.
- Shape the cookie cake. Transfer the dough onto your prepared baking sheet. Using your hands (lightly dust them with flour if the dough is too sticky), press the dough into a rough circle about 9 inches in diameter and 1/2 inch thick. Don’t worry about making it perfect—you’re going to shape it into a cat silhouette next.
- Create the cat shape. Here’s where the magic happens. Using a sharp knife or bench scraper, cut the circle into a cat head shape. Think of a rounded triangle with two pointed ears at the top. You’re essentially carving away small sections of dough from the top corners to create ear shapes, and slightly tapering the bottom to form a chin. Don’t overthink it—cats have different face shapes anyway. I’ve made this look like everything from a cartoon cat to a grumpy old tom, and kids love them all. Gather the scrap dough, re-roll it, and cut out a little tail shape. Place it next to the head on the parchment.
- Add decorations (optional but fun). Before baking, sprinkle the black sanding sugar over the entire cat shape. This gives it a subtle sparkle that catches the light. If you’re adding candy eyes, wait until after baking—they’ll melt in the oven.
- Bake. Place the baking sheet on the center rack of your preheated oven. Bake for 12 to 15 minutes. Start checking at 12 minutes—you want the edges to be set and slightly firm, but the center should still look soft and slightly underdone. It will continue to cook from residual heat as it cools. If you overbake it, the cookie will be dry and crumbly instead of soft and fudgy. I learned this the hard way with batch number three.
- Cool completely. Let the cookie cake cool on the baking sheet for 10 minutes, then carefully transfer it (parchment and all) to a wire rack. Cool completely before decorating—at least 30 minutes. If you try to add frosting while the cookie is still warm, it will melt into a sad puddle. Trust me on this.
- Decorate the cat face. Once the cookie cake is completely cool, it’s time to bring your black cat to life. Pipe or place two candy eyes near the center of the face. Add a tiny pink triangle or dot for the nose just below the eyes. Use black frosting or licorice strings to create three whiskers on each side of the nose. You can also add a little smile if you want—I use a toothpick dipped in black frosting for fine details.
And there you have it. A black cat cookie cake that looks like it came from a bakery, but you made it in your own kitchen with your own hands. The first time I did this, I accidentally made the ears too pointy and it looked more like a bat than a cat. My niece still ate it and declared it “the best bat cookie ever.” So honestly? There are no mistakes here.
Cooking Tips & Techniques
After making this cookie cake more times than I care to admit, I’ve picked up a few tricks that make a real difference. Let me share what I’ve learned so you can skip the trial-and-error phase.
Temperature matters more than you think. I cannot stress this enough. If your butter is too cold, the dough won’t come together properly and you’ll end up with floury patches. If it’s too warm or melted, the cookie will spread into a flat pancake. The ideal butter temperature is around 65°F—it should give slightly when you press it with your finger but still hold its shape. If you’re in a hurry, cut the butter into small cubes and let it sit for 15 minutes. That speeds things up without risking melting.
Don’t skip the parchment paper. I know it’s tempting to just grease the pan and call it a day, but parchment paper does more than prevent sticking. It also helps the cookie bake evenly and makes cleanup a breeze. Plus, you can lift the entire cookie cake off the sheet using the parchment edges—super helpful when transferring to a cooling rack.
The finger test is your friend. Instead of guessing whether the cookie is done, use your finger to gently press the center. If it springs back slightly but still feels soft, it’s ready. If it feels firm and doesn’t give at all, you’ve overbaked it. The edges should be set and just starting to crackle on top. Remember, the cookie will continue to bake on the hot pan for several minutes after it comes out of the oven.
My biggest failure with this recipe happened when I tried to double the batch and bake two cookie cakes at the same time. The oven temperature dropped from the thermal load, and both cookies took almost 20 minutes to bake. One burned on the bottom, and the other was raw in the middle. Now I always bake one at a time on the center rack. Patience pays off.
Multitasking tip: While the cookie cake is cooling, that’s the perfect time to prepare your decorating supplies. Get your frosting into a piping bag, arrange your candy eyes, and have everything within reach. Once you start decorating, you don’t want to be hunting for a missing candy eye while the frosting dries.
For consistent results every time, use a kitchen scale to measure your ingredients. Flour is especially tricky—scooping can give you anywhere from 120 to 160 grams per cup depending on how tightly it’s packed. Weight measurements eliminate that variability. I bought a $15 scale from Amazon and it’s made a huge difference in my baking.
Variations & Adaptations
One of the best things about this cookie cake is how easy it is to customize. Here are some variations I’ve tried and loved:
Gluten-Free Version: Substitute the all-purpose flour with a 1:1 gluten-free baking flour blend. I’ve had great success with Bob’s Red Mill 1-to-1 Baking Flour. Add an extra tablespoon of milk to the dough because gluten-free flours tend to absorb more liquid. The texture will be slightly more tender and a bit crumbly, but the flavor is spot-on.
Vegan Adaptation: Use a flax egg (1 tablespoon ground flaxseed mixed with 3 tablespoons water, let sit for 5 minutes) and vegan butter. I like Miyoko’s European Style Cultured Vegan Butter for baking—it has the right fat content. The cookie will be a touch less tender, but still delicious. Just make sure your black cocoa powder is vegan (most are).
Different Shapes: Who says it has to be a cat? Use the same dough to make a pumpkin shape (round with a stem), a ghost (rounded top, wavy bottom), or a bat (use the ear-cutting technique on both sides). For Halloween parties, I sometimes make a whole collection of mini cookie cakes in different shapes. Just reduce the baking time to 8-10 minutes for smaller sizes.
Flavor Twists: Add 1/2 teaspoon of peppermint extract along with the vanilla for a chocolate-mint version that tastes like a Thin Mint. Or add 1 teaspoon of orange zest for a chocolate-orange combo that’s surprisingly festive. I made the orange version for a fall gathering and it disappeared in minutes.
Spooky Spider Web Design: Instead of a cat face, turn your cookie cake into a spider web. After baking, drizzle white chocolate in concentric circles, then drag a toothpick from the center outward to create web lines. Add a plastic spider on top for extra creep factor. This is my backup plan when the cat shape doesn’t cooperate.
Individual Cookie Cats: If you don’t want a big cake, portion the dough into 12 equal balls, flatten them into cat face shapes on the baking sheet (leave space between them), and bake for 8-10 minutes. These are perfect for classroom parties or goody bags.
Serving & Storage Suggestions
This cookie cake is best served at room temperature, but honestly? I’ve eaten it straight from the fridge and it’s still amazing. The flavors actually deepen after a day or two—the chocolate becomes more pronounced and the texture evens out.
How to serve: Place the decorated cookie cake on a large platter or cake stand. I like to surround it with a few fake spider webs and plastic spiders for a complete Halloween vibe. Cut it into wedges like a pizza—each piece should have a bit of edge and a bit of center. If you’re serving at a party, pre-cut it before guests arrive so nobody has to awkwardly saw through a cookie cake with a plastic fork.
What to serve with it: A tall glass of cold milk is the classic pairing, but vanilla ice cream takes it to another level. For an adults-only twist, try it with a scoop of coffee ice cream or a drizzle of salted caramel sauce. I’ve also served it alongside a warm mug of apple cider for a cozy fall dessert spread. If you’re planning a full Halloween dessert table, this cookie cake pairs beautifully with a no-bake Oreo dessert for contrast in texture.
Storage: Keep the undecorated cookie cake in an airtight container at room temperature for up to 5 days. If you’ve already added frosting decorations, store it in a single layer in a container—stacking will smudge the face. I’ve also wrapped individual slices in plastic wrap and kept them in the freezer for up to 3 months. Just thaw at room temperature for about 30 minutes before eating.
Reheating: Pop a slice in the microwave for 10 to 15 seconds for that fresh-from-the-oven experience. The edges get slightly crisp again and the center becomes soft and gooey. Don’t overdo it, or the cookie will become tough. If you’re reheating the whole cookie cake, place it in a 300°F oven for 5 to 7 minutes.
Flavor development: Here’s something interesting—this cookie cake actually tastes better on day two. The cocoa flavor mellows and blends with the butter and sugar, creating a more rounded chocolate taste. The texture also becomes more fudge-like as it sits. So if you’re making this for a party, bake it a day ahead and decorate it the morning of. Your future self will thank you.
Nutritional Information & Benefits
Let’s be real—this is a treat, not a health food. But that doesn’t mean it’s devoid of any redeeming qualities. Here’s the breakdown per serving (based on 12 slices):
| Nutrient | Amount Per Serving |
|---|---|
| Calories | 285 |
| Total Fat | 14g |
| Saturated Fat | 8g |
| Cholesterol | 45mg |
| Sodium | 210mg |
| Total Carbohydrates | 38g |
| Dietary Fiber | 3g |
| Sugars | 22g |
| Protein | 4g |
The black cocoa powder actually contains antioxidants called flavonoids, which are linked to heart health and reduced inflammation. Cocoa is also a good source of magnesium, iron, and zinc. Of course, the sugar and butter balance out those benefits, but hey—it’s Halloween. Everything in moderation, right?
This recipe is vegetarian and can easily be made gluten-free or vegan using the substitutions I mentioned earlier. It contains dairy, eggs, and gluten in its standard form, so keep that in mind if you’re serving guests with allergies. The black cocoa powder is naturally nut-free, but always check labels on your specific brands.
For a slightly lighter version, you can reduce the sugar to 3/4 cup granulated and 1/4 cup brown sugar, and substitute half the butter with unsweetened applesauce. The texture will be more cake-like and less cookie-like, but it’s still pretty tasty. I’ve done this for my own health-conscious weeks and it scratches the chocolate itch without completely derailing my goals.
Conclusion
This Easy Black Cat Halloween Cookie Cake has become more than just a recipe in my kitchen—it’s a little tradition now. Every October, my niece asks when we’re making “the cat cookie,” and we spend an afternoon getting flour all over the counter, arguing about whether the ears should be pointy or round, and sneaking bites of dough when we think no one is looking. That’s what I love most about this recipe. It’s not complicated. It doesn’t require a pastry degree or a trip to three different stores. It’s just good, honest baking that brings people together.
The first time I made this, I was nervous it wouldn’t look right. I almost gave up after the blob-shaped first attempt. But I kept going, and what came out of the oven was something that made a seven-year-old girl light up like it was actual magic. That’s the power of a recipe like this. It doesn’t have to be perfect to be special. Your cat might look a little lopsided. The ears might be uneven. The whiskers might be crooked. And you know what? That’s what makes it yours.
If you make this cookie cake, I’d love to hear about it. Tag me in your photos, leave a comment below, or tell me what shape you ended up making instead of a cat (I’m betting at least one person makes a ghost). And if your kids fight over the candy eyes, just know you’re not alone. Happy Halloween, friends. Go make something spooky and delicious.
Frequently Asked Questions
Can I make this cookie cake ahead of time?
Absolutely. You can bake the cookie cake up to two days in advance and store it in an airtight container at room temperature. Wait to add the frosting decorations until just before serving, or the candy eyes can soften and the frosting can smear. I often bake it on a Friday for a Saturday party, then spend ten minutes decorating right before guests arrive.
Why did my cookie cake spread too much?
This usually happens for one of three reasons: your butter was too soft or melted, you didn’t use enough flour, or your baking soda is old. Make sure your butter is just softened (not greasy), measure your flour by spooning it into the cup and leveling it off, and check that your baking soda fizzes when mixed with vinegar. If all else fails, chill the shaped dough on the baking sheet for 15 minutes before baking—that helps control spread.
Can I use regular cocoa powder instead of black cocoa?
You can, but the color will be a standard chocolate brown instead of black. The flavor will also be more like a regular chocolate cookie rather than that Oreo-like taste. If you want a darker color without buying black cocoa, use Dutch-process cocoa and add 1 to 2 tablespoons of black gel food coloring. Start with one tablespoon and add more until you’re happy with the shade.
How do I prevent the cookie cake from breaking when I cut it?
Use a sharp, serrated knife and cut with a gentle sawing motion rather than pressing straight down. Let the cookie cool completely before cutting—warm cookie cake is fragile and will crumble. For cleanest slices, you can even pop it in the fridge for 15 minutes before cutting. If you’re serving at a party, cut it into wedges before decorating so you don’t mess up the cat face.
Can I freeze this cookie cake?
Yes, and it freezes beautifully. Wrap the undecorated, completely cooled cookie cake tightly in plastic wrap, then in a layer of aluminum foil. Freeze for up to 3 months. To thaw, let it sit at room temperature for about 2 hours (still wrapped to prevent condensation). Then decorate as usual. I’ve also frozen individual slices wrapped in plastic for quick Halloween treats—just grab one from the freezer and let it thaw for 30 minutes.
Pin This Recipe!
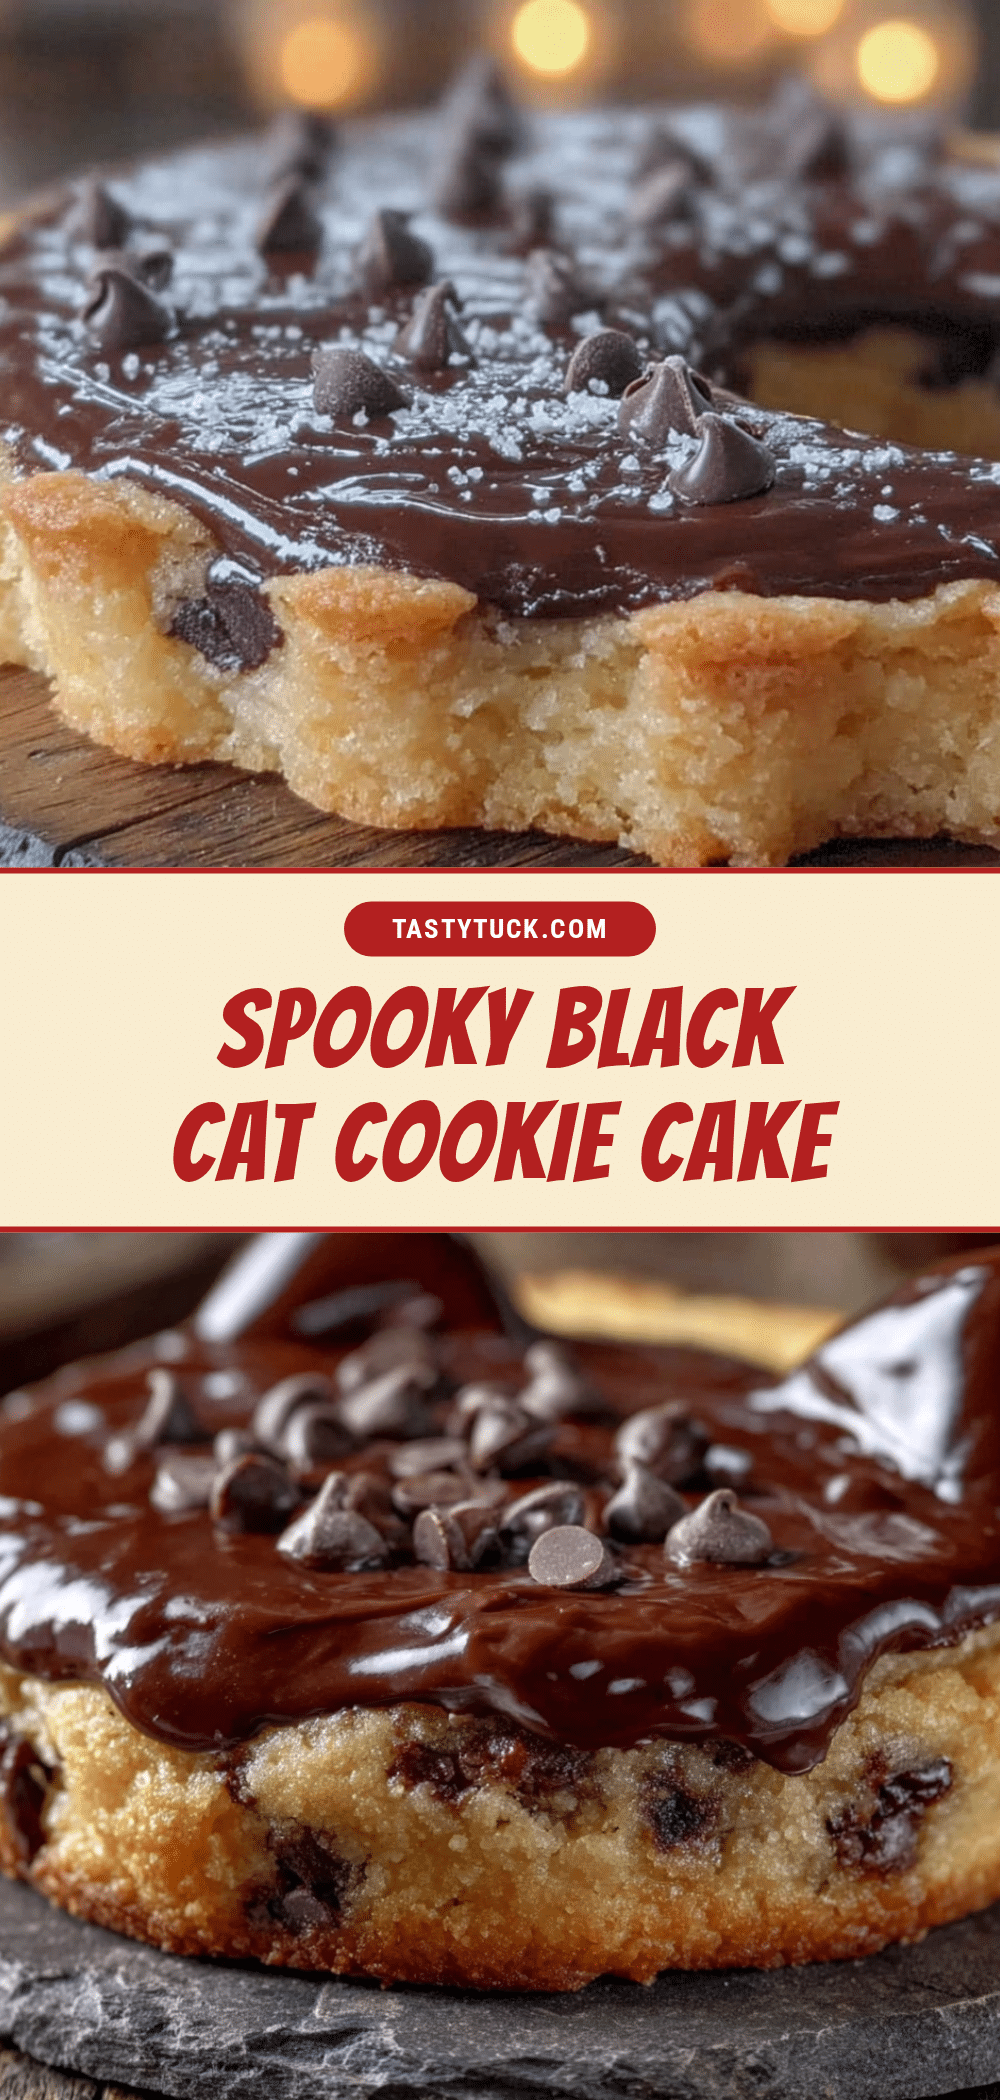
Easy Black Cat Halloween Cookie Cake Recipe

A fun and delicious Halloween dessert featuring a soft-baked chocolate cookie cake shaped like a black cat. Made with black cocoa powder for a dramatic dark color and Oreo-like flavor, this easy recipe requires no special skills and is perfect for parties.
- Prep Time: 15 minutes
- Cook Time: 15 minutes
- Total Time: 45 minutes
- Yield: 12 servings 1x
- Category: Dessert
- Cuisine: American
Ingredients
- 1 cup (2 sticks or 226 grams) unsalted butter, softened
- 1 cup (200 grams) granulated sugar
- 1/2 cup (100 grams) light brown sugar, packed
- 1 large egg, room temperature
- 2 teaspoons vanilla extract
- 2 cups (260 grams) all-purpose flour
- 1/2 cup (50 grams) black cocoa powder
- 2 tablespoons (10 grams) regular unsweetened cocoa powder
- 1 teaspoon baking soda
- 1/2 teaspoon fine sea salt
- Black sanding sugar or black sprinkles (optional, for decoration)
- Candy eyes (2 per cookie cake, for decoration)
- Black licorice strings or black frosting (for whiskers)
- Pink frosting or a pink candy melt (for the nose)
Instructions
- Preheat your oven to 350°F (175°C). Line a baking sheet with parchment paper.
- In a large mixing bowl, cream together the softened butter, granulated sugar, and brown sugar until light, fluffy, and pale in color, about 2 to 3 minutes.
- Add the egg and vanilla extract, stirring until just combined and smooth.
- In a separate bowl, whisk together the flour, black cocoa powder, regular cocoa powder, baking soda, and salt. Sift if necessary to remove clumps.
- Add the dry ingredients to the wet ingredients in two additions, stirring gently until no streaks of flour remain. The dough will be thick and slightly sticky.
- Transfer the dough to the prepared baking sheet. Using lightly floured hands, press it into a rough circle about 9 inches in diameter and 1/2 inch thick.
- Using a sharp knife or bench scraper, shape the dough into a cat head silhouette: a rounded triangle with two pointed ears at the top and a slightly tapered chin. Gather scrap dough, re-roll, and cut out a small tail shape; place it next to the head.
- If desired, sprinkle black sanding sugar over the entire cat shape before baking.
- Bake on the center rack for 12 to 15 minutes, until the edges are set and slightly firm but the center still looks soft. Do not overbake.
- Let the cookie cake cool on the baking sheet for 10 minutes, then transfer (with parchment) to a wire rack to cool completely, at least 30 minutes.
- Once completely cool, decorate: place two candy eyes near the center, add a tiny pink nose below, and pipe or place black whiskers (three on each side). Optionally add a smile with black frosting.
Notes
Butter should be softened to about 65°F—press it with a finger and it should give slightly but still hold its shape. For best results, use a kitchen scale to measure flour. The cookie cake tastes even better on day two as flavors deepen. If you don’t have black cocoa powder, substitute with Dutch-process cocoa plus 1-2 tablespoons black gel food coloring. For gluten-free, use a 1:1 gluten-free baking flour blend and add an extra tablespoon of milk. For vegan, use a flax egg and vegan butter.
Nutrition
- Serving Size: 1 slice (1/12 of coo
- Calories: 285
- Sugar: 22
- Sodium: 210
- Fat: 14
- Saturated Fat: 8
- Carbohydrates: 38
- Fiber: 3
- Protein: 4
Keywords: Halloween cookie cake, black cat cookie, chocolate cookie cake, easy Halloween dessert, black cocoa cookie, spooky cookie, kid-friendly Halloween treat


