“These are dangerous,” my sister-in-law said, reaching for a third mini pumpkin cheesecake bar from the platter. We were standing in her kitchen last October, the air smelling like cinnamon and burnt sugar, and she wasn’t wrong. I had shown up with a test batch of these Perfect Mini Pumpkin Cheesecake Bars with Gingersnap Crust, still warm from the car ride, and within twenty minutes, the pan was nearly empty. That’s when I knew I had stumbled onto something worth keeping.
I wasn’t trying to reinvent the wheel that day. I just wanted a fall dessert that didn’t require me to pull out a springform pan or deal with a water bath—you know, the kind of recipe you can actually make on a Tuesday night without regretting your life choices. The gingersnap crust came from a happy accident. I had run out of graham crackers and found a half-empty bag of gingersnaps in the back of the pantry. Honestly, it was one of those moments where laziness turned into genius.
What surprised me most was how the spicy, molasses-y crunch of the crust played off the creamy pumpkin filling. It wasn’t just another pumpkin dessert. It was the one that made people stop mid-conversation and ask for the recipe. And that’s really what I want to share with you today—not just a recipe, but the kind of dessert that makes a quiet evening feel a little more special without all the fuss.
Why You’ll Love This Recipe
Let me tell you why these mini pumpkin cheesecake bars have earned a permanent spot in my fall baking rotation. I’ve tested this recipe at least six times—once with a friend who’s a pastry chef, once at a kid’s birthday party, and once just for myself on a rainy Sunday. Every single time, the result was the same: empty plates and requests for the recipe.
- Quick & Easy : These come together in about 30 minutes of active prep time. No water bath, no complicated techniques. Just mix, press, pour, and bake.
- Simple Ingredients : You probably have most of these in your pantry right now. The gingersnaps might be the only thing you need to grab, and honestly, they’re worth the trip.
- Perfect for Fall Gatherings : Whether it’s Thanksgiving, a Friendsgiving potluck, or just a cozy night in, these bars fit right in. They’re portable, they’re individual-sized, and they disappear fast.
- Crowd-Pleaser : I’ve served these to pumpkin lovers and pumpkin skeptics alike. The cheesecake layer mellows out the pumpkin flavor just enough that even the “I don’t like pumpkin” crowd comes back for seconds.
- Unbelievably Delicious : The combination of the spicy gingersnap crust, the silky pumpkin cheesecake, and the slight tang from the cream cheese is just next-level comfort food. It’s the kind of dessert that makes you close your eyes after the first bite.
What makes this recipe different from the dozens of other pumpkin cheesecake recipes out there? It’s the crust, hands down. The gingersnaps add a warmth and depth that plain graham crackers just can’t match. Plus, the mini format means you get the perfect ratio of crust to filling in every single bite. No more fighting over the corner pieces—every bar is a corner piece.
What Ingredients You Will Need
This recipe uses simple, honest ingredients to create something that tastes way more complicated than it actually is. Here’s what you’ll need to gather before you start.
For the Gingersnap Crust
- 1 ½ cups gingersnap cookie crumbs (about 25-30 cookies, crushed finely)
- ¼ cup granulated sugar
- 6 tablespoons unsalted butter, melted
- Pinch of salt
I recommend using Nabisco Ginger Snaps or a store-brand equivalent. The key is to get cookies that have a strong molasses and ginger flavor—that’s what makes this crust so special. You can crush them in a food processor or put them in a zip-top bag and go to town with a rolling pin. Both methods work, though the food processor gives you a more even crumb.
For the Pumpkin Cheesecake Filling
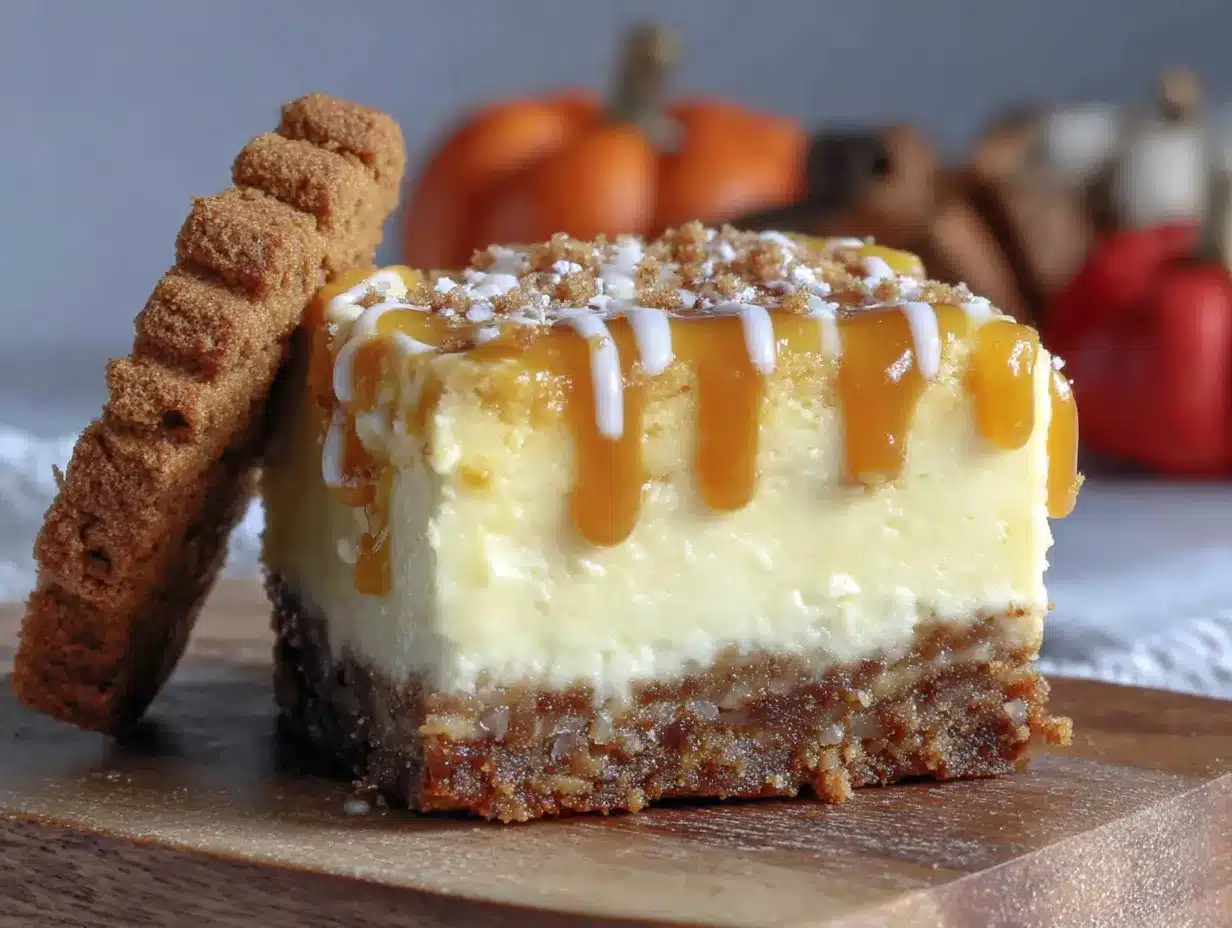
- 16 ounces cream cheese, softened to room temperature (two 8-ounce blocks)
- ¾ cup granulated sugar
- 1 cup pumpkin puree (not pumpkin pie filling)
- 2 large eggs, room temperature
- 1 teaspoon vanilla extract
- 1 ½ teaspoons pumpkin pie spice
- ½ teaspoon ground cinnamon
- ¼ teaspoon ground ginger
- ¼ teaspoon salt
Let’s talk about the cream cheese for a second. Please, please use full-fat cream cheese. I know the low-fat stuff seems like a good idea, but it has a higher water content, which can make your cheesecake filling runny and prevent it from setting properly. Philadelphia is my go-to brand, but any full-fat block cream cheese will work. Just make sure it’s softened to room temperature—this is non-negotiable. Cold cream cheese will leave you with a lumpy filling.
For the pumpkin puree, stick with Libby’s or another brand that uses Dickinson pumpkins. These pumpkins have a lower water content than the jack-o’-lantern varieties, which means your filling will be thicker and creamier. Do not use pumpkin pie filling—it’s already sweetened and spiced, and it will throw off the entire balance of the recipe.
For the Optional Sour Cream Topping
- ½ cup sour cream
- 1 tablespoon granulated sugar
- ½ teaspoon vanilla extract
This topping is completely optional, but I highly recommend it. It adds a lovely tangy finish that cuts through the richness of the cheesecake. Think of it as the cherry on top—except it’s sour cream and it’s way better.
Equipment Needed
The beauty of this recipe is that you don’t need a ton of fancy equipment. Here’s what you’ll need:
- 9×9-inch baking pan — An 8×8 pan will work too, but your bars will be a little thicker and may need an extra 5-7 minutes of baking time.
- Parchment paper — This is your best friend for easy removal. Cut two strips long enough to overhang on opposite sides of the pan, creating a sling.
- Electric hand mixer or stand mixer — You can mix the filling by hand if you have strong arms, but a mixer makes it much easier to get that silky smooth texture.
- Food processor or rolling pin — For crushing the gingersnaps.
- Mixing bowls — One medium bowl for the crust, one large bowl for the filling.
- Measuring cups and spoons
- Spatula
If you don’t have a food processor, don’t sweat it. I’ve crushed gingersnaps with a rolling pin more times than I can count, and it works perfectly fine. Just make sure the crumbs are fairly uniform in size so the crust bakes evenly.
Preparation Method
Alright, let’s get to the fun part. I’m going to walk you through this step by step, and I’ll share some little tricks I’ve picked up along the way.
Step 1: Preheat and Prep
Preheat your oven to 350°F (175°C). Line your 9×9-inch baking pan with parchment paper, leaving enough overhang on two opposite sides so you can lift the bars out later. Lightly grease the parchment with cooking spray or a little butter.
Step 2: Make the Gingersnap Crust
In a food processor, pulse the gingersnap cookies until they become fine crumbs. You should have about 1 ½ cups. Transfer the crumbs to a medium bowl, then add the sugar and salt. Pour in the melted butter and stir with a fork until the mixture looks like wet sand and holds together when you squeeze it.
Press the mixture firmly into the bottom of your prepared pan. I like to use the bottom of a measuring cup to really pack it down—this prevents the crust from crumbling when you cut the bars later. Bake the crust for 10 minutes, then set it aside to cool while you make the filling.
Step 3: Make the Pumpkin Cheesecake Filling
In a large bowl, beat the softened cream cheese with an electric mixer on medium speed until it’s smooth and creamy, about 2 minutes. Scrape down the sides of the bowl with a spatula. Add the sugar and beat for another minute until well combined.
Add the pumpkin puree, eggs, vanilla extract, pumpkin pie spice, cinnamon, ginger, and salt. Beat on low speed until everything is just combined. Do not overmix! Overmixing incorporates too much air into the batter, which can cause cracks to form on the surface of your cheesecake. You want the filling to be smooth and uniform, but not fluffy.
Step 4: Assemble and Bake
Pour the filling over the pre-baked crust and spread it into an even layer with a spatula. Give the pan a gentle tap on the counter to release any air bubbles.
Bake at 350°F (175°C) for 28-32 minutes, or until the edges are set and the center is just slightly jiggly. It will look a little underdone in the middle—that’s exactly what you want. The cheesecake will continue to set as it cools. If you overbake it, you’ll end up with a dry, cracked surface.
Step 5: Make the Sour Cream Topping (Optional)
While the cheesecake bakes, whisk together the sour cream, sugar, and vanilla extract in a small bowl. When the cheesecake comes out of the oven, let it cool for 10 minutes, then gently spread the sour cream mixture over the top. Return the pan to the oven and bake for another 5 minutes.
Step 6: Cool and Chill
Let the cheesecake cool completely on a wire rack, about 1 hour. Then, cover the pan with plastic wrap and refrigerate for at least 4 hours, but preferably overnight. This is the hardest part, I know, but the chilling time is crucial. It allows the cheesecake to fully set and makes it much easier to cut clean bars.
Step 7: Slice and Serve
Once the cheesecake is fully chilled, use the parchment paper sling to lift it out of the pan. Place it on a cutting board and use a sharp knife to cut it into 16 even bars. For the cleanest cuts, wipe your knife clean between each slice. Serve cold or at room temperature.
Cooking Tips & Techniques
I’ve made this recipe enough times to know exactly where things can go wrong. Let me save you some trouble.
Room temperature ingredients matter. I cannot stress this enough. Cold cream cheese creates lumps that are nearly impossible to get rid of. Cold eggs can cause the batter to curdle. Take everything out of the refrigerator at least 30 minutes before you start. If you’re in a rush, you can soften cream cheese in the microwave for about 10-15 seconds on low power, but watch it carefully—you want it soft, not melted.
Don’t skip the parchment paper sling. I learned this one the hard way. The first time I made these, I didn’t line the pan properly, and I spent twenty minutes trying to pry the bars out without destroying them. The parchment paper makes removal effortless. Trust me on this.
Watch your baking time. Every oven runs a little differently. Start checking your cheesecake at the 25-minute mark. The edges should be set and slightly puffed, but the center should still wobble when you gently shake the pan. If the center looks completely firm, you’ve gone too far.
Let it chill completely. I know you’re going to be tempted to cut into these while they’re still warm. Don’t do it. The bars need at least 4 hours in the refrigerator to set properly. Overnight is even better. The texture goes from good to absolutely perfect after a full chill.
Variations & Adaptations
One of the best things about this recipe is how easy it is to adapt. Here are a few variations I’ve tried and loved.
Gluten-Free Version: Swap the gingersnaps for gluten-free gingersnap cookies. The rest of the ingredients are naturally gluten-free, so you’re good to go. Just double-check your spice blend to make sure it doesn’t contain any hidden gluten.
Dairy-Free Version: Use dairy-free cream cheese (Kite Hill makes a great one) and a plant-based butter substitute. The texture will be slightly different, but it still works beautifully. I made this version for a friend with a dairy allergy, and she couldn’t tell the difference.
Spiced-Up Version: If you like things on the spicier side, add an extra ½ teaspoon of ground ginger and a pinch of cayenne pepper to the filling. The heat plays beautifully with the sweetness of the pumpkin and the molasses in the crust.
Chocolate Drizzle: Melt ½ cup of dark chocolate chips with 1 teaspoon of coconut oil and drizzle it over the chilled bars. The chocolate and pumpkin combination is surprisingly good—kind of like a pumpkin chocolate chip cookie, but way more elegant.
Pecan Praline Topping: Toast ½ cup of chopped pecans and sprinkle them over the sour cream topping before the final bake. The crunch adds a lovely contrast to the creamy filling.
Serving & Storage Suggestions
These mini pumpkin cheesecake bars are incredibly versatile when it comes to serving. I like to serve them chilled, straight from the refrigerator, with a dollop of whipped cream and a light dusting of cinnamon. They’re also delicious at room temperature, especially if you’re serving them alongside a hot cup of coffee or spiced apple cider.
For a more decadent presentation, try serving them with a drizzle of caramel sauce and a sprinkle of flaky sea salt. The salt cuts through the sweetness and makes the pumpkin flavor really pop. If you’re feeling extra fancy, you can serve them alongside a scoop of vanilla bean ice cream or a warm cast iron apple pie skillet for the ultimate fall dessert spread.
Storage: Store the bars in an airtight container in the refrigerator for up to 5 days. The flavor actually improves after a day or two as the spices meld together. You can also freeze them for up to 3 months. Wrap each bar individually in plastic wrap, then place them in a freezer-safe bag. Thaw in the refrigerator overnight before serving.
Reheating: These bars are best served cold or at room temperature, so I don’t recommend reheating them. If you prefer them slightly warm, let them sit at room temperature for about 15-20 minutes before serving.
Nutritional Information & Benefits
Here’s the nutritional breakdown for one bar (based on 16 servings, including the sour cream topping):
- Calories: 245
- Total Fat: 16g
- Saturated Fat: 9g
- Cholesterol: 65mg
- Sodium: 220mg
- Total Carbohydrates: 23g
- Dietary Fiber: 1g
- Sugars: 16g
- Protein: 4g
Pumpkin is packed with vitamin A, which is great for eye health and immune function. It’s also a good source of fiber and antioxidants. The cream cheese provides calcium and protein, while the gingersnaps offer a touch of iron from the molasses.
This recipe is not gluten-free (unless you use gluten-free gingersnaps), but it can easily be made dairy-free. It contains eggs and dairy, so it’s not suitable for vegans. If you’re watching your sugar intake, you can reduce the sugar in the filling to ½ cup without significantly affecting the texture.
Conclusion
These Perfect Mini Pumpkin Cheesecake Bars with Gingersnap Crust have become my go-to fall dessert for a reason. They’re simple enough to make on a weeknight but impressive enough to bring to a holiday gathering. The gingersnap crust adds a warmth and depth that you just don’t get with a traditional graham cracker crust, and the creamy pumpkin filling is perfectly balanced between sweet and spiced.
I’ve made these for Thanksgiving dinners, Friendsgiving potlucks, and quiet nights at home when I just needed something cozy. Every time, they deliver. The best part? You can customize them to fit your dietary needs or flavor preferences without losing what makes them special.
I’d love to hear how these turn out for you! Drop a comment below and let me know if you tried any variations or if you have a favorite way to serve them. And if you’re looking for more cozy fall desserts, be sure to check out my Cracker Barrel peach cobbler copycat recipe or these easy peach bars for when you want something fruity instead of pumpkin. Happy baking, friends!
Frequently Asked Questions
Can I use a different type of cookie for the crust?
Absolutely! While gingersnaps are my favorite for their spicy, molasses flavor, you can use graham crackers, vanilla wafers, or even shortbread cookies. Just keep in mind that the flavor profile will change. If you use a sweeter cookie, you might want to reduce the sugar in the crust slightly.
Why did my cheesecake crack on top?
Cracks usually happen for one of two reasons: overmixing or overbaking. When you overmix the batter, you incorporate too much air, which creates bubbles that burst during baking. Overbaking dries out the cheesecake and causes it to crack as it cools. Make sure you’re mixing on low speed and only until the ingredients are combined, and pull the cheesecake out of the oven when the center is still slightly jiggly.
Can I make these in a muffin tin for individual servings?
Yes! Line a standard muffin tin with paper liners and press about 1 ½ tablespoons of the crust mixture into the bottom of each cup. Bake for 8 minutes, then add the filling and bake for another 18-20 minutes. The baking time will be shorter, so keep a close eye on them. You’ll get about 12-14 mini cheesecakes.
How do I know when the cheesecake is done baking?
The edges should be set and slightly puffed, but the center should still wobble when you gently shake the pan. It’s better to underbake slightly than to overbake. The residual heat and the chilling process will finish setting the center. If you’re unsure, you can use an instant-read thermometer—the center should read 150°F (65°C).
Can I use fresh pumpkin instead of canned?
You can, but you’ll need to make sure the puree is very thick. Fresh pumpkin contains more water than canned pumpkin, which can make your filling runny. After roasting and pureeing the pumpkin, let it drain in a cheesecloth-lined strainer for at least an hour to remove excess moisture. You want the puree to be about the same consistency as canned pumpkin before you add it to the filling.
Pin This Recipe!
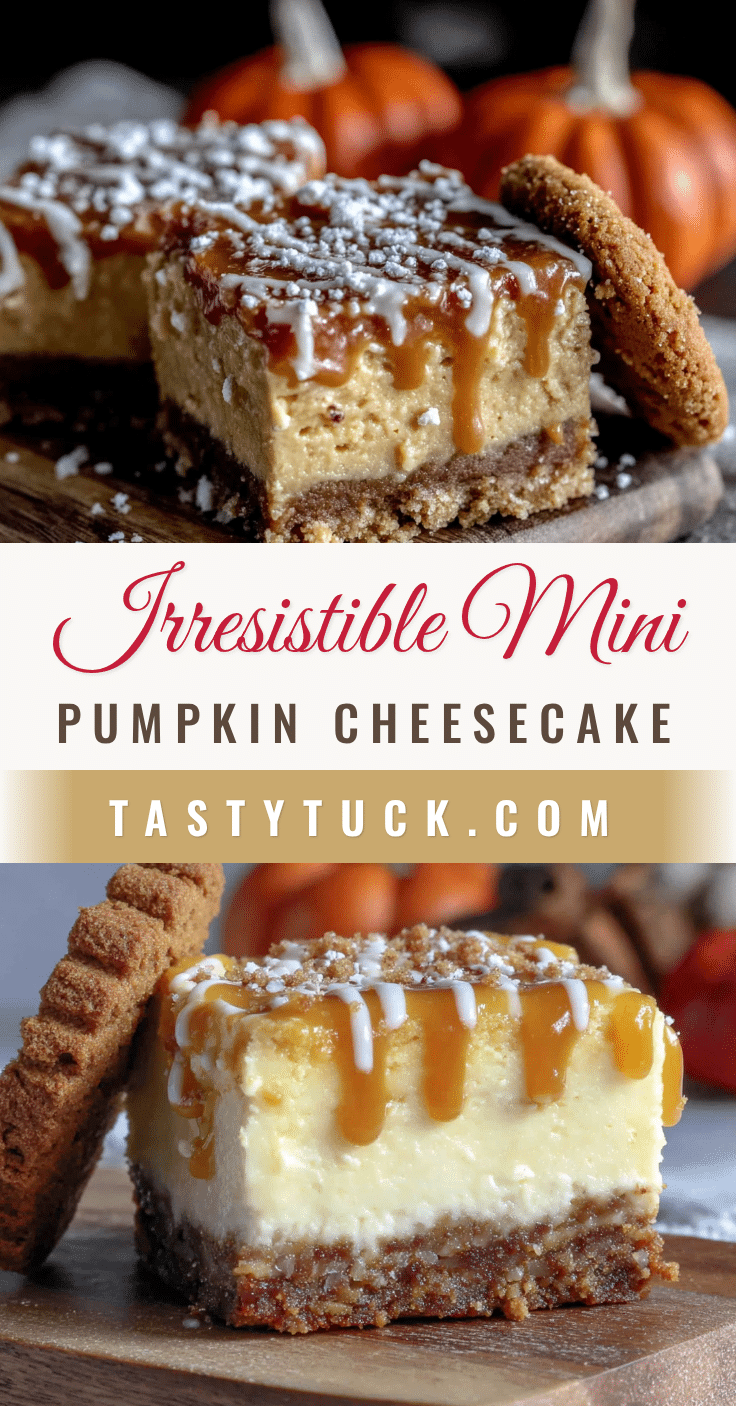
Perfect Mini Pumpkin Cheesecake Bars with Gingersnap Crust
These mini pumpkin cheesecake bars feature a spicy gingersnap crust and a creamy pumpkin filling, making them the perfect easy fall dessert. No water bath or springform pan required, and they’re always a crowd-pleaser.
- Prep Time: 30 minutes
- Cook Time: 38 minutes
- Total Time: 5 hours 8 minutes (includes chilling time)
- Yield: 16 bars 1x
- Category: Dessert
- Cuisine: American
Ingredients
- 1 ½ cups gingersnap cookie crumbs (about 25–30 cookies, crushed finely)
- ¼ cup granulated sugar
- 6 tablespoons unsalted butter, melted
- Pinch of salt
- 16 ounces cream cheese, softened to room temperature (two 8-ounce blocks)
- ¾ cup granulated sugar
- 1 cup pumpkin puree (not pumpkin pie filling)
- 2 large eggs, room temperature
- 1 teaspoon vanilla extract
- 1 ½ teaspoons pumpkin pie spice
- ½ teaspoon ground cinnamon
- ¼ teaspoon ground ginger
- ¼ teaspoon salt
- ½ cup sour cream (optional topping)
- 1 tablespoon granulated sugar (optional topping)
- ½ teaspoon vanilla extract (optional topping)
Instructions
- Preheat your oven to 350°F (175°C). Line a 9×9-inch baking pan with parchment paper, leaving overhang on two opposite sides. Lightly grease the parchment.
- Make the crust: In a food processor, pulse gingersnap cookies into fine crumbs. Transfer to a medium bowl, add ¼ cup sugar and a pinch of salt. Pour in melted butter and stir until mixture resembles wet sand.
- Press the crust mixture firmly into the bottom of the prepared pan using the bottom of a measuring cup. Bake for 10 minutes, then set aside to cool.
- Make the filling: In a large bowl, beat softened cream cheese with an electric mixer on medium speed until smooth, about 2 minutes. Scrape down sides, add ¾ cup sugar, and beat for another minute.
- Add pumpkin puree, eggs, vanilla extract, pumpkin pie spice, cinnamon, ginger, and ¼ teaspoon salt. Beat on low speed until just combined. Do not overmix.
- Pour the filling over the pre-baked crust and spread evenly. Tap the pan gently on the counter to release air bubbles.
- Bake at 350°F (175°C) for 28-32 minutes, until edges are set and center is slightly jiggly.
- Optional sour cream topping: While cheesecake bakes, whisk together sour cream, 1 tablespoon sugar, and ½ teaspoon vanilla. After cheesecake cools for 10 minutes, spread topping over the surface and bake for another 5 minutes.
- Cool the cheesecake completely on a wire rack (about 1 hour), then cover with plastic wrap and refrigerate for at least 4 hours, preferably overnight.
- Once fully chilled, use the parchment sling to lift the cheesecake out of the pan. Cut into 16 even bars with a sharp knife, wiping the blade clean between cuts. Serve cold or at room temperature.
Notes
Use full-fat cream cheese for best results. Room temperature ingredients are crucial to avoid lumps. Do not overmix the filling to prevent cracks. The cheesecake is done when edges are set and center is slightly jiggly. Chilling overnight yields the best texture. For gluten-free, use gluten-free gingersnaps. For dairy-free, use dairy-free cream cheese and plant-based butter.
Nutrition
- Serving Size: 1 bar
- Calories: 245
- Sugar: 16
- Sodium: 220
- Fat: 16
- Saturated Fat: 9
- Carbohydrates: 23
- Fiber: 1
- Protein: 4
Keywords: pumpkin cheesecake bars, mini cheesecake, gingersnap crust, fall dessert, Thanksgiving dessert, pumpkin dessert, cheesecake bars, easy cheesecake


