That evening, I was rummaging through the freezer, hoping to find something sweet but not wanting to embark on a full-blown baking marathon. Honestly, I’d had one of those days where the idea of turning on the oven felt like a personal challenge. Then I spotted a jar of caramel sauce I’d impulsively bought last month — half-forgotten, yet promising. I thought, “What if I could just whip up a creamy salted caramel ice cream without all that churning fuss?” Skeptical at first, I gave it a shot with some simple ingredients I had on hand. The result? Surprisingly smooth, perfectly sweet with that hint of saltiness that just melts in your mouth. It’s funny how sometimes the best recipes come from those “I don’t wanna try too hard” moments.
This creamy no-churn salted caramel ice cream recipe has stuck around because it’s just that easy — no fancy equipment, no complicated steps, and it feels like a little celebration every time you scoop it out. I remember the first time I served it to friends; they kept asking if I’d secretly used an ice cream maker. Nope, just a few folds, some patience in the freezer, and a little caramel magic. It’s the kind of treat that turns a quiet night in into something cozy and indulgent without the stress. Honestly, it’s become my go-to when I want homemade ice cream but don’t want to fuss over the details.
Why You’ll Love This Recipe
This recipe isn’t just another no-churn ice cream; it’s a silky, luscious dessert that feels like it took hours but really doesn’t. Here’s why it’s won me over and why you’ll likely find yourself making it again and again:
- Quick & Easy: Ready in about 15 minutes of prep, then just freeze. Perfect for those last-minute dessert cravings or when you want something sweet without the hassle.
- Simple Ingredients: No need for fancy or hard-to-find items. Most of these are pantry staples, and the salted caramel sauce can be homemade or store-bought.
- Perfect for Any Occasion: Whether it’s a weekend family treat, an impromptu dinner party dessert, or a cool summer snack, this ice cream fits the bill.
- Crowd-Pleaser: The balance of rich caramel sweetness and a touch of salt makes it a hit with both kids and adults. It’s that kind of comfort food everyone loves.
- Unbelievably Delicious: The texture is creamy and smooth, thanks to folding in whipped cream gently, and that salted caramel swirl adds a depth of flavor that’s hard to beat.
What sets this recipe apart is the perfect harmony between the sweet and salty notes, and the way the no-churn method keeps it light yet indulgent. I’ve tried other recipes that use heavy cream or egg yolks, but this version feels both accessible and foolproof. Plus, I love that you can tweak it to suit your mood — adding nuts, chocolate chips, or even a splash of bourbon if you’re feeling fancy.
What Ingredients You Will Need
This recipe uses simple, wholesome ingredients to deliver bold flavor and a satisfying creamy texture without any fuss. You probably have most of these in your kitchen already, and if not, they’re easy to find at any grocery store.
- Sweetened Condensed Milk (1 can, 14 oz / 396 g): The base that brings creaminess and sweetness without needing extra sugar.
- Heavy Whipping Cream (2 cups / 480 ml): Whipped to soft peaks, this adds lightness and the smooth texture that makes the ice cream so dreamy.
- Salted Caramel Sauce (3/4 cup / 180 ml): You can use store-bought or make your own. I recommend Trader Joe’s brand for a reliable, buttery flavor.
- Vanilla Extract (1 teaspoon): Adds warmth and depth to the overall flavor profile.
- Sea Salt Flakes (a pinch for sprinkling): To enhance the salted caramel flavor and provide that signature finish.
Optional additions:
- Chopped toasted pecans or walnuts (1/2 cup / 60 g) for some crunch.
- Chocolate chips or chunks (1/3 cup / 60 g) for a bit of contrast.
- A splash of bourbon (1 tablespoon) for an adult twist.
If you want to make this gluten-free or dairy-free, swap the heavy cream with coconut cream and use a dairy-free caramel sauce. Just remember the texture might vary slightly but still be delicious. For a lower-sugar version, try a sugar-free caramel sauce, but I haven’t tested that as thoroughly yet.
Equipment Needed
One of the best things about this creamy no-churn salted caramel ice cream recipe is that it requires minimal equipment. Here’s what you’ll need:
- Mixing Bowls: At least two — one for whipping cream, one for folding in ingredients. Glass or metal bowls work best because they help keep the cream cold.
- Electric Mixer or Hand Whisk: An electric stand mixer or hand mixer makes whipping the cream so much easier. If you don’t have one, a sturdy whisk and some patience will do.
- Rubber Spatula: Essential for gently folding the condensed milk and caramel into the whipped cream without deflating it.
- Freezer-Safe Container: Any airtight container that fits in your freezer. I like a loaf pan with a lid or a rectangular plastic container for easy scooping.
- Measuring Cups and Spoons: For accuracy, especially with the caramel and salt.
If you don’t have an electric mixer, chilling your mixing bowl and whisk in the freezer for 10-15 minutes before whipping can help. I’ve also found that silicone spatulas are gentler when folding, preserving that fluffy texture. Budget-friendly tip: a hand mixer under $20 can be a game changer for no-churn ice cream recipes and many desserts.
Preparation Method
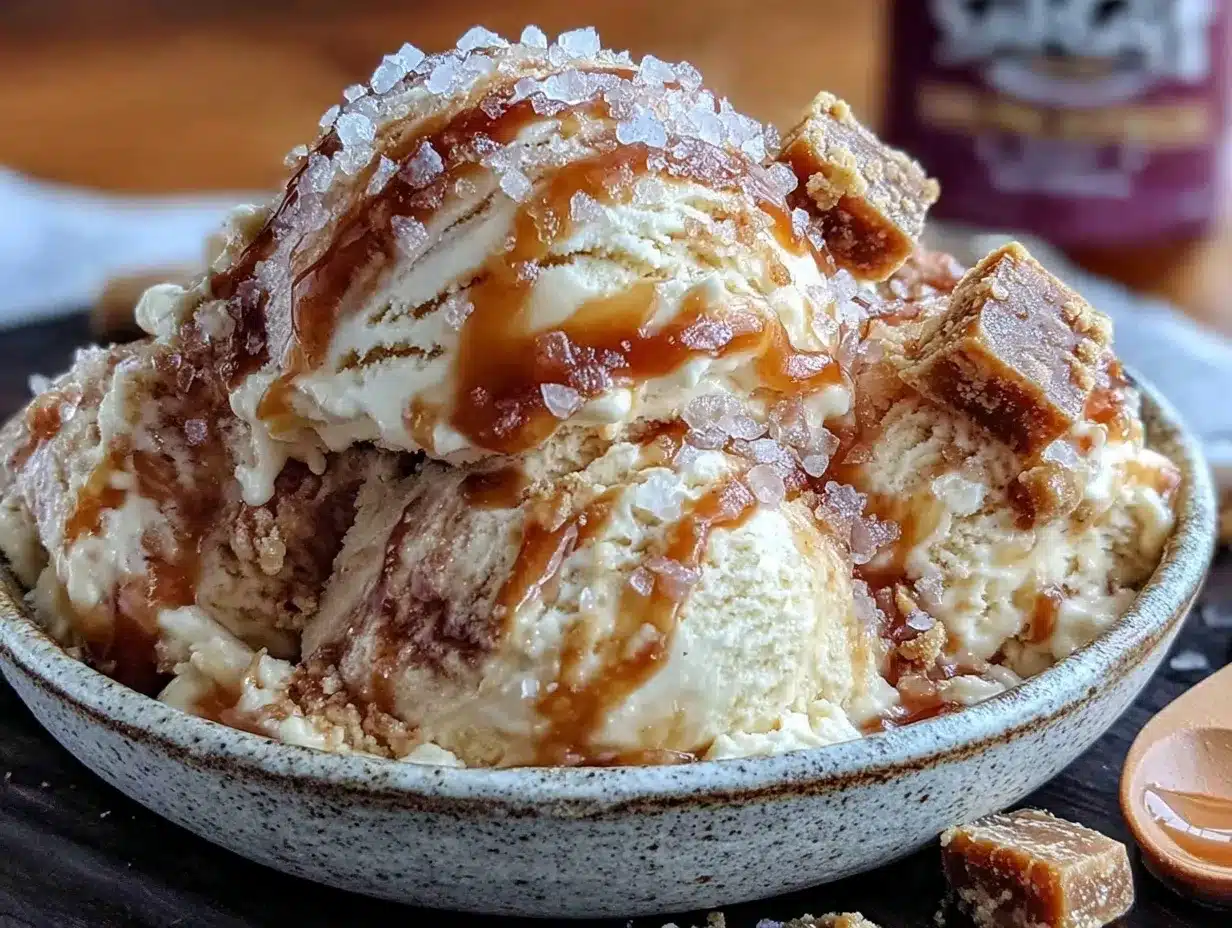
- Chill your mixing bowl and beaters for about 15 minutes in the fridge or freezer. Cold tools help the cream whip faster and better.
- Pour 2 cups (480 ml) of heavy whipping cream into the chilled bowl. Beat on medium-high speed until soft peaks form. This usually takes about 3-5 minutes. You’ll know it’s ready when the cream holds shape but is still smooth.
- In a separate large bowl, combine 1 can (14 oz / 396 g) of sweetened condensed milk with 3/4 cup (180 ml) of salted caramel sauce and 1 teaspoon of vanilla extract. Stir gently until smooth and well mixed.
- Gently fold the whipped cream into the condensed milk mixture using a rubber spatula. Use a light hand and fold in thirds, turning the bowl with each fold. The goal is to retain as much air as possible for that creamy texture. This step usually takes 2-3 minutes.
- If you want to add mix-ins like nuts or chocolate chips, fold them in now, reserving a small handful to sprinkle on top for presentation.
- Transfer the mixture into a freezer-safe container. Spread evenly with the spatula and drizzle a little extra salted caramel sauce on the surface. Use a knife or skewer to swirl the caramel for visual appeal.
- Sprinkle a pinch of sea salt flakes on top to finish.
- Cover tightly and freeze for at least 6 hours, preferably overnight. The longer it freezes, the firmer it gets. Before serving, let it sit out for 5-10 minutes for easier scooping.
Common hiccups: if your cream doesn’t whip to soft peaks, it might be too warm or over-beaten. Just start fresh or chill the bowl and cream again. Also, folding too aggressively can deflate the mixture, resulting in icy texture instead of creamy. Patience and gentle folding are your friends here.
Cooking Tips & Techniques
Making no-churn ice cream might seem straightforward, but there are a few tricks I’ve learned that make all the difference:
- Chilling everything helps: The cream whips better when both the bowl and cream are cold. I keep my mixing bowl in the fridge before starting.
- Soft peaks, not stiff: When whipping the cream, aim for soft peaks. Stiff peaks can make the ice cream too dense and less creamy.
- Gentle folding: This is key to maintaining airiness. Think of folding like tucking in a blanket—slow and careful to keep the fluff.
- Use good quality caramel sauce: The flavor depends heavily on it. I’ve tried homemade caramel, but store-bought sauces like Trader Joe’s or Ghirardelli give consistent results.
- Salt balance matters: Sea salt flakes on top bring out the caramel flavor perfectly. Regular table salt can be too harsh.
- Freezing time: Don’t rush it. At least 6 hours is needed to set properly, but overnight is best. I’ve learned the hard way that scooping too early leads to melty messes.
- Serving tip: Let it sit at room temperature for a few minutes before scooping. It softens just enough for smooth, perfect scoops.
Once, I tried mixing in caramel sauce too early and ended up with a sticky mess at the bottom. Now, I swirl it on top at the end for neat ribbons of flavor and a pretty presentation. You can multitask while it freezes by prepping a quick dessert like the loaded peach cobbler for a full dessert spread.
Variations & Adaptations
One of the best parts about this creamy no-churn salted caramel ice cream recipe is how flexible it is. You can tweak it to suit your preferences or dietary needs:
- Nutty Caramel Crunch: Stir in 1/2 cup (60 g) toasted pecans or walnuts for texture and a toasty flavor. I love how the nuts add a bit of crunch without overpowering the caramel.
- Chocolate Swirl: Add 1/3 cup (60 g) mini chocolate chips or chopped dark chocolate. The bittersweet chocolate pairs beautifully with the sweet caramel.
- Bourbon Infused: Mix in 1 tablespoon of bourbon for a boozy twist. Perfect for a grown-up dessert night.
- Dairy-Free Version: Use full-fat coconut cream whipped to soft peaks and swap caramel sauce for a dairy-free brand or homemade coconut caramel.
- Fruit Twist: Add chopped roasted apples or pears for a caramel fruit combo reminiscent of the loaded apple pie skillet. It’s like ice cream meets pie, and honestly, it’s addictive.
For different textures, try freezing the ice cream in popsicle molds for caramel ice cream bars. Adjust sweetness by reducing the caramel sauce slightly if you prefer less sugary desserts. I once substituted Greek yogurt for part of the cream to add a tangy note, but it changed the texture noticeably — still tasty, just different.
Serving & Storage Suggestions
Serve this creamy no-churn salted caramel ice cream chilled but not rock hard — about 5-10 minutes out of the freezer is perfect. Scoop it into bowls or cones and drizzle an extra spoonful of warm salted caramel sauce on top for an indulgent finish.
This ice cream pairs wonderfully with warm desserts like a slice of strawberry cake or alongside a fudgy brownie. The contrast of hot and cold, sweet and salty, is just irresistible.
Store leftovers in an airtight container in the freezer for up to 2 weeks. To avoid ice crystals, press a piece of parchment or plastic wrap directly on the surface before sealing. When reheating, avoid the microwave — instead, let it soften naturally at room temperature for the best texture.
Over time, the flavors meld and deepen, so sometimes I make this a day ahead to let the salted caramel notes really settle in. It’s a subtle difference but worth the wait if you have the patience.
Nutritional Information & Benefits
Each serving of this creamy no-churn salted caramel ice cream (about 1/2 cup or 125 g) contains roughly:
| Calories | 270 |
|---|---|
| Fat | 15 g |
| Saturated Fat | 9 g |
| Carbohydrates | 30 g |
| Sugars | 28 g |
| Protein | 3 g |
While this dessert is indulgent, the key ingredients like heavy cream provide calcium and fat-soluble vitamins. The salted caramel adds a small amount of sodium, which balances flavor but should be enjoyed in moderation. This recipe is gluten-free by default and can be adapted for dairy-free eaters.
From a wellness standpoint, I like to think of this as a treat that’s satisfying enough to prevent overindulgence. The rich flavor means a little goes a long way, so savoring each spoonful feels like a reward, not just empty calories.
Conclusion
This creamy no-churn salted caramel ice cream recipe has been a quiet little win in my kitchen — a sweet surprise born from low-effort moments yet delivering big on flavor and texture. It’s perfect for anyone who wants homemade ice cream without the fuss of churners or complicated ingredients.
Feel free to make it your own by adding your favorite mix-ins or pairing it with warm desserts like the no-bake loaded chocolate delight. Honestly, it’s the kind of recipe that makes you smile while scooping and look forward to dessert without any stress.
I’d love to hear how you customize this recipe or the moments it makes sweeter for you — sharing your tweaks or stories makes this kitchen even cozier. So, grab your bowl, whip up some cream, and enjoy every salty caramel-laced bite!
Frequently Asked Questions
Can I make this ice cream without heavy cream?
You can substitute heavy cream with coconut cream for a dairy-free version. It whips up well but will add a slight coconut flavor. Regular milk won’t work because it won’t whip properly.
How long does the ice cream need to freeze?
At least 6 hours, but overnight is best for firm, scoopable texture. If you try to scoop too soon, it will be soft and melty.
Can I use homemade caramel sauce instead of store-bought?
Absolutely! Homemade caramel adds a wonderful depth of flavor, just make sure it’s cooled before mixing it into the ice cream base.
Is this recipe freezer-friendly for longer than 2 weeks?
It’s best enjoyed within 2 weeks to maintain optimal texture and flavor. Beyond that, ice crystals can form, affecting creaminess.
Can I add mix-ins like nuts or chocolate chips?
Yes, folding in nuts, chocolate chips, or even swirls of fudge is a great way to customize the ice cream. Just fold gently to keep it airy.
Pin This Recipe!
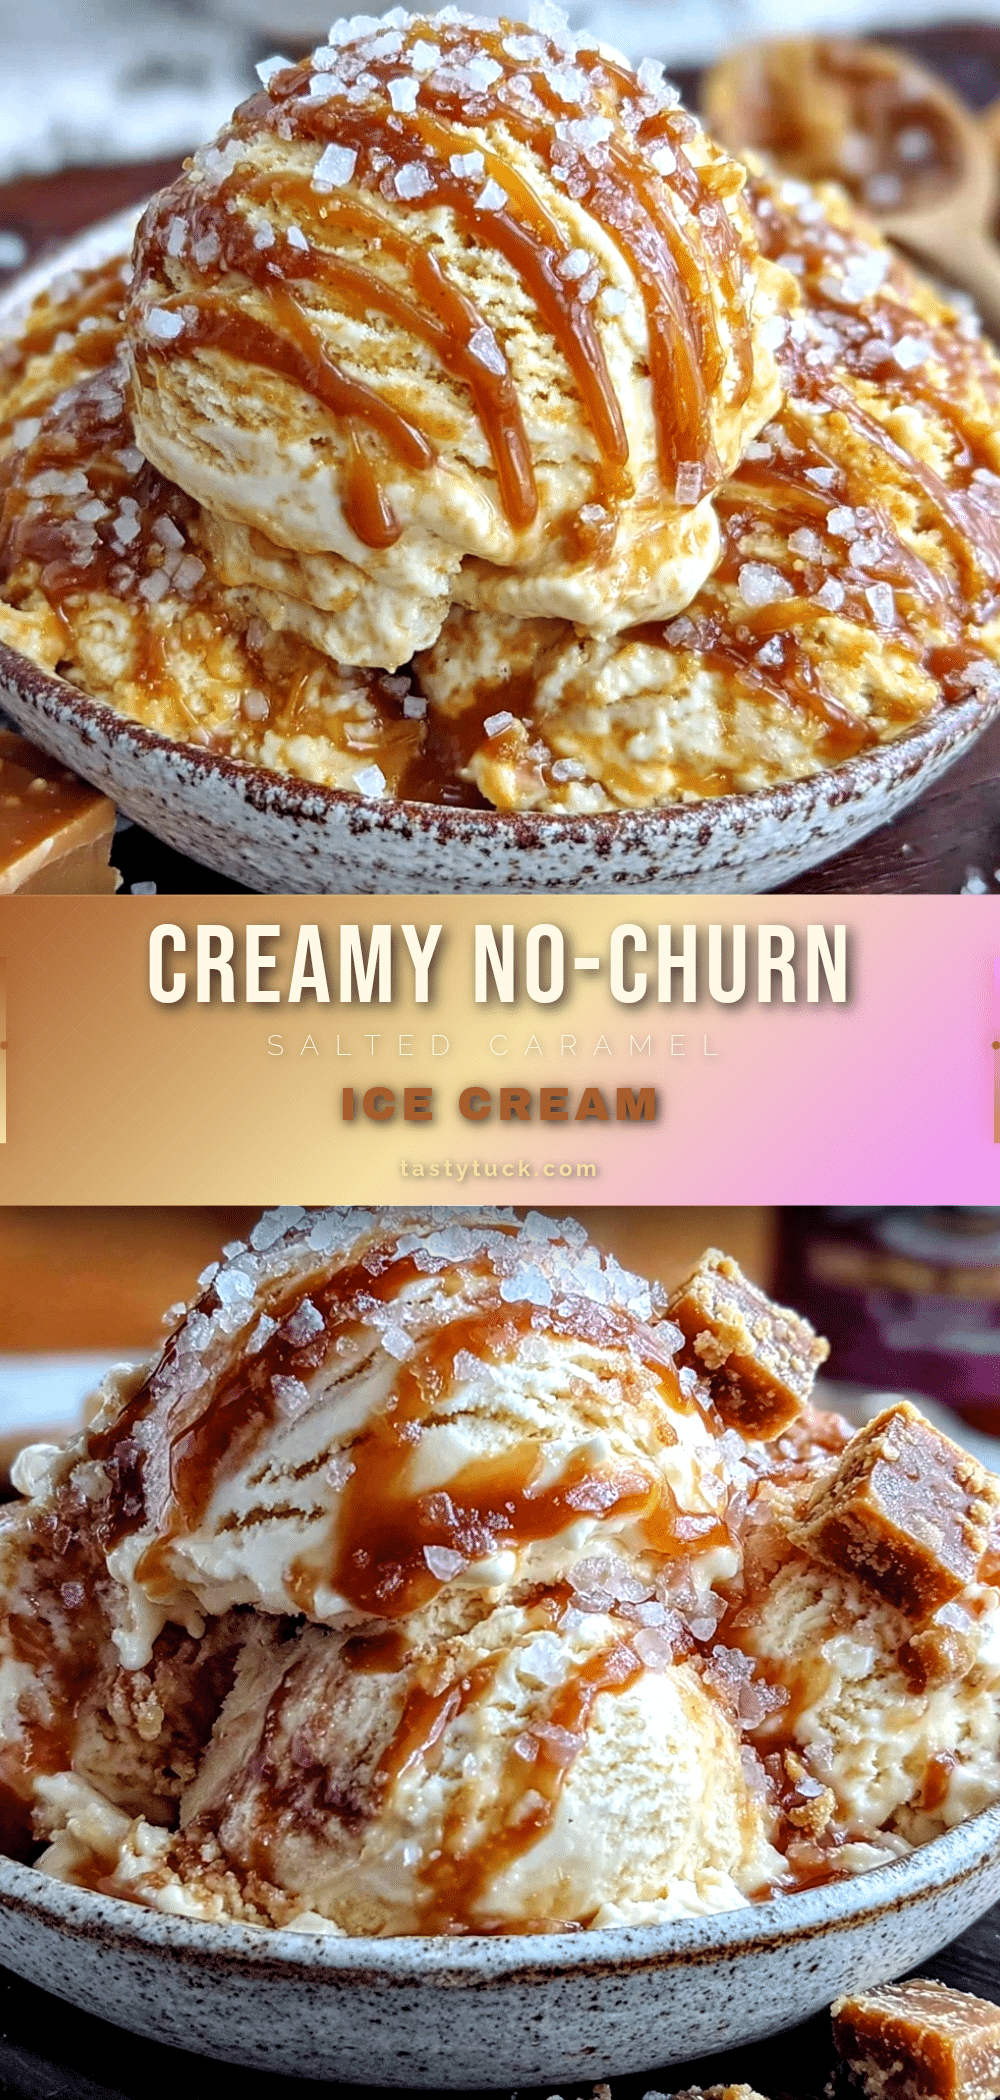
Creamy No-Churn Salted Caramel Ice Cream

A silky, luscious no-churn ice cream featuring rich salted caramel flavor, easy to make with simple ingredients and minimal equipment. Perfect for a quick homemade dessert without the fuss of an ice cream maker.
- Prep Time: 15 minutes
- Cook Time: 0 minutes
- Total Time: 6 hours 15 minutes
- Yield: 8 servings 1x
- Category: Dessert
- Cuisine: American
Ingredients
- 1 can (14 oz / 396 g) sweetened condensed milk
- 2 cups (480 ml) heavy whipping cream
- 3/4 cup (180 ml) salted caramel sauce (store-bought or homemade)
- 1 teaspoon vanilla extract
- Pinch of sea salt flakes
- Optional: 1/2 cup (60 g) chopped toasted pecans or walnuts
- Optional: 1/3 cup (60 g) chocolate chips or chunks
- Optional: 1 tablespoon bourbon
Instructions
- Chill your mixing bowl and beaters for about 15 minutes in the fridge or freezer.
- Pour 2 cups (480 ml) of heavy whipping cream into the chilled bowl. Beat on medium-high speed until soft peaks form, about 3-5 minutes.
- In a separate large bowl, combine 1 can (14 oz / 396 g) sweetened condensed milk with 3/4 cup (180 ml) salted caramel sauce and 1 teaspoon vanilla extract. Stir gently until smooth.
- Gently fold the whipped cream into the condensed milk mixture using a rubber spatula, folding in thirds to retain air, about 2-3 minutes.
- If desired, fold in optional mix-ins like nuts or chocolate chips, reserving some for topping.
- Transfer the mixture into a freezer-safe container. Spread evenly and drizzle extra salted caramel sauce on top. Use a knife or skewer to swirl the caramel.
- Sprinkle a pinch of sea salt flakes on top.
- Cover tightly and freeze for at least 6 hours, preferably overnight. Before serving, let sit at room temperature for 5-10 minutes for easier scooping.
Notes
Chill mixing bowl and beaters before whipping cream for best results. Fold whipped cream gently to keep mixture airy and creamy. Use good quality caramel sauce for best flavor. Freeze at least 6 hours or overnight for firm texture. Let ice cream soften 5-10 minutes before scooping. Can be adapted for dairy-free by substituting coconut cream and dairy-free caramel sauce.
Nutrition
- Serving Size: 1/2 cup (125 g)
- Calories: 270
- Sugar: 28
- Fat: 15
- Saturated Fat: 9
- Carbohydrates: 30
- Protein: 3
Keywords: no-churn ice cream, salted caramel, easy dessert, homemade ice cream, no ice cream maker, creamy ice cream, quick dessert


