“You really think this no-bake cheesecake will hold up?” my friend asked, eyeing the colorful layers with a hint of doubt. Honestly, I wasn’t sure either when I first threw this together for a last-minute Fourth of July picnic. The sun was blazing, the grill was smoking, and I was scrambling to whip up something festive without turning on the oven. The result? These creamy red white and blue cheesecake bars surprised us all—bright, cool, and perfectly sweet, with a velvety texture that felt like a little slice of summer in every bite.
Funny how sometimes the best recipes come from a bit of chaos and a dash of “let’s just try this.” I’d been playing around with no-bake desserts for a while, testing out different mix-ins and presentations, but this one stuck because it’s just so easy and fun to make. Plus, it captures the spirit of the holiday with those patriotic colors without fussing over complicated baking steps.
What really sold me wasn’t just the taste but how it brought everyone together—kids sneaking bites before the party even started, neighbors asking for the recipe, and even my skeptical friend admitting it’s now a summer staple. This creamy red white and blue cheesecake bars recipe is a little celebration on a plate, and honestly, it’s one I trust to deliver every time. I keep coming back to it, especially when I want a festive dessert that feels homemade but isn’t a stress-fest.
So if you’re looking for a no-bake delight that’s creamy, colorful, and crowd-pleasing, this cheesecake bars recipe might just become your go-to for summer gatherings and patriotic celebrations alike.
Why You’ll Love This Recipe
After testing this creamy red white and blue cheesecake bars recipe several times, I can honestly say it’s one of those rare desserts that balances ease and wow-factor like a pro. You don’t have to be a dessert whiz to pull this off, which makes it a winner for busy cooks and last-minute hosts.
- Quick & Easy: Ready in under 30 minutes, no oven required—perfect for those hot summer days when you want dessert but not heat.
- Simple Ingredients: Most are pantry staples or easy to find in the dairy aisle. No complicated or exotic items needed.
- Perfect for Summer & Holidays: The red, white, and blue layers make it a festive choice for Independence Day, Memorial Day, or any patriotic celebration.
- Crowd-Pleaser: Kids love the fun colors, and adults appreciate the creamy, balanced sweetness that isn’t overpowering.
- Unbelievably Delicious: The texture is smooth and light, thanks to the blend of cream cheese and whipped topping, with bursts of fresh berries that brighten every bite.
- Unique No-Bake Technique: Unlike other cheesecakes, this recipe skips the oven entirely and sets in the fridge, making it fuss-free and perfect for warm weather.
What sets this cheesecake bars recipe apart is its foolproof layering and the way the flavors stay fresh and vibrant. The crust has just the right crunch, the creamy middle melts in your mouth, and the berries give that pop of real fruitiness. It’s not just a dessert; it’s a little happy moment you can slice and share.
Honestly, this recipe feels like the kind of treat that makes you pause and savor—close your eyes and enjoy the contrast of creamy and fruity, cool and sweet. It’s the kind of dessert that turns casual get-togethers into memorable celebrations.
What Ingredients You Will Need
This recipe uses simple, wholesome ingredients to deliver bold flavor and satisfying texture without the fuss. Most of these are probably sitting in your fridge or pantry right now, and the fresh berries can be swapped based on what’s in season or your preference.
- For the Crust:
- 1 1/2 cups graham cracker crumbs (about 10 full sheets; I prefer Honey Maid for a classic flavor)
- 1/4 cup granulated sugar
- 6 tablespoons unsalted butter, melted (adds richness and holds the crust together)
- For the Cheesecake Filling:
- 16 oz (450 g) cream cheese, softened (use full fat for best creaminess)
- 1 cup powdered sugar (sifted to avoid lumps)
- 1 teaspoon pure vanilla extract
- 1 1/2 cups heavy whipping cream, cold (whipped to stiff peaks)
- For the Red Layer:
- 1 cup fresh strawberries, hulled and sliced (or frozen, thawed, and drained)
- 2 tablespoons sugar (optional, depending on berry sweetness)
- For the Blue Layer:
- 1 cup fresh blueberries (can also use frozen, thawed)
- 2 tablespoons sugar (optional)
- For the White Layer:
- Additional whipped cream or reserved cheesecake mixture to keep it creamy and bright
Ingredient tips: For the berries, I like to buy organic when possible, but conventional works fine too. If you want to keep this dairy-free, swap cream cheese and heavy cream with plant-based alternatives like vegan cream cheese and coconut cream whipped topping (texture will vary slightly).
Equipment Needed
- 8×8-inch (20×20 cm) baking pan or similar size dish for layering the bars
- Mixing bowls – at least two: one for the crust and one for the filling
- Electric mixer or stand mixer to whip the cream and cream cheese smoothly
- Spatula for folding in whipped cream and smoothing layers
- Measuring cups and spoons for precise ingredient amounts
- Food processor or blender (optional) to puree berries if you prefer a smooth layer
If you don’t have a stand mixer, a hand mixer works just fine. I once whipped cream by hand during a camping trip—it took a while, but it totally worked (patience is key!). For the crust, pressing it down firmly with the back of a spoon or glass helps create an even base. No fancy equipment needed here, which is part of the charm.
Preparation Method
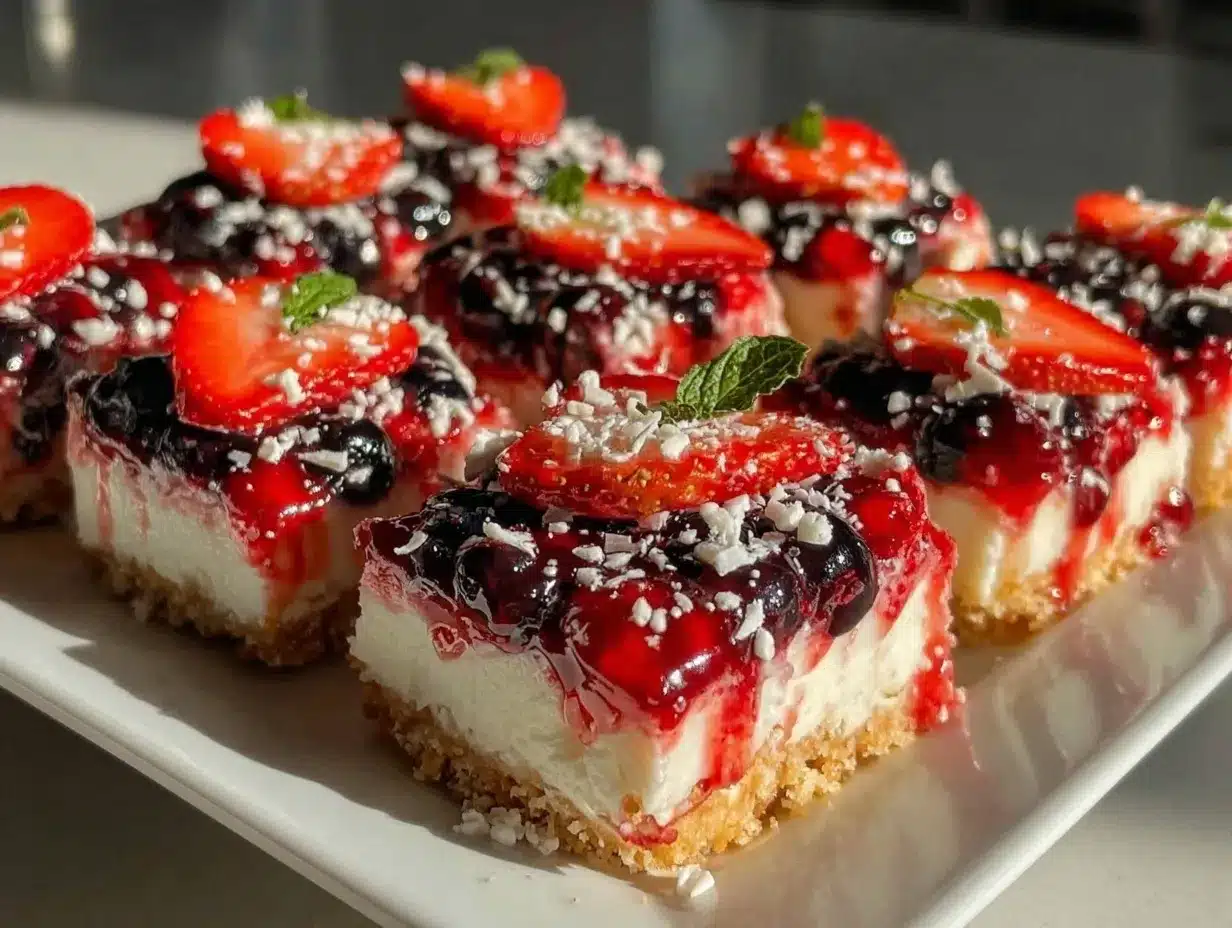
- Make the Crust: In a medium bowl, combine 1 1/2 cups graham cracker crumbs with 1/4 cup granulated sugar. Pour in 6 tablespoons melted butter and stir until the mixture is evenly moistened and looks like wet sand. Press this firmly into the bottom of the 8×8 pan, making sure it’s packed tight and even. Place it in the fridge while preparing the filling (about 10 minutes) so it firms up.
- Prepare the Cheesecake Filling: In a large bowl, beat the softened cream cheese with 1 cup powdered sugar and 1 teaspoon vanilla extract until completely smooth and creamy—this usually takes about 2-3 minutes on medium speed. You want no lumps here; it should look silky.
- Whip the Cream: In a cold bowl, whip 1 1/2 cups heavy cream to stiff peaks. This means when you lift the beaters, the cream stands up firmly without drooping. Gently fold the whipped cream into the cream cheese mixture in two additions, being careful not to deflate the air. The result should be light and fluffy.
- Prepare the Red Layer: Puree 1 cup strawberries with 2 tablespoons sugar in a blender or food processor until smooth. If you prefer some texture, pulse briefly instead of fully pureeing. Spread this puree evenly over the chilled crust and return to the fridge for about 15 minutes to set slightly.
- Add the White Layer: Spread about one-third of the cheesecake filling gently over the red strawberry layer, smoothing it evenly with a spatula. Refrigerate for 15 minutes to help it firm up before adding the next layer.
- Prepare the Blue Layer: Blend the blueberries with sugar in the same way as the strawberries. Spread evenly over the white layer and chill again for 15 minutes.
- Final White Layer: Spread the remaining cheesecake filling on top and smooth the surface. Chill the entire pan for at least 4 hours, preferably overnight, to allow the layers to set completely and flavors to meld.
- Serve: Once set, cut into 12 bars using a sharp knife. For neat slices, dip the knife in hot water and wipe it dry between cuts.
Pro tip: If your cheesecake filling feels too soft, a little extra chilling time helps it firm up nicely. Also, layering gently instead of aggressively keeps the layers distinct and pretty.
Cooking Tips & Techniques
When it comes to no-bake cheesecake bars, the key is patience and attention to texture. You want that silky creaminess without it being too runny or dense.
- Softened Cream Cheese: Make sure your cream cheese is at room temperature before mixing. Cold cream cheese lumps up and makes mixing a pain.
- Whip Cream Just Right: Whip the cream to stiff peaks, not overbeat, or it’ll become grainy. Watch closely near the end.
- Folding Technique: Fold gently to keep the airy texture. Using a rubber spatula, cut through the center and fold over the sides, rotating the bowl with each fold.
- Chilling Time: Don’t rush the chilling. The layers need time to set for clean slices and proper texture.
- Berry Prep: Fresh berries add brightness, but if you only have frozen, thaw and drain well to avoid watering down your layers.
I once tried layering everything at once and skipping the fridge breaks—let’s just say the layers mixed into a messy swirl. Breaking it up into stages is so worth the extra wait.
Variations & Adaptations
This recipe is flexible and welcomes tweaks for different tastes or dietary needs.
- Dietary Swap: Use gluten-free graham crackers or almond flour crust for gluten-free options. Dairy-free cream cheese and coconut whipped cream work for vegan versions.
- Flavor Twists: Try raspberry or cherry puree instead of strawberries for the red layer, or swap blueberries for blackberries or a blueberry-lavender combo.
- Layer Styles: Blend the berries with a bit of gelatin or agar-agar to create firmer, jelly-like layers if you prefer a more solid texture.
- Mini Versions: Make individual servings in small jars or ramekins for easy portion control and presentation.
Personally, I once swapped in a lemon curd layer between the white and blue layers for a zesty punch—unexpected but delicious. And if you’re into fun cakes, you might enjoy this perfect individual flag cupcakes recipe for a handheld patriotic treat.
Serving & Storage Suggestions
These cheesecake bars are best served chilled, right out of the fridge. The cool creaminess is part of the charm, especially on warm days.
- Serve with fresh berries on the side or a dollop of whipped cream for extra indulgence.
- Pair with light beverages like iced tea, lemonade, or a sparkling rosé for a festive touch.
- Store leftovers covered tightly in the refrigerator for up to 4 days. They keep well but start to lose the fresh berry brightness after a couple of days.
- You can freeze these bars for up to 2 months—wrap well in plastic wrap and foil. Thaw overnight in the fridge before serving.
- Reheat is not recommended; these are best cold. Flavors actually meld beautifully after a day in the fridge, so making them ahead of time is a smart move.
If you enjoy easy no-bake treats, consider checking out the creamy no-bake loaded peanut butter pie recipe on the site for another luscious dessert that’s just as effortless.
Nutritional Information & Benefits
Each creamy red white and blue cheesecake bar (assuming 12 bars per pan) contains approximately:
| Calories | 320 |
|---|---|
| Fat | 22g (mostly from cream cheese and butter) |
| Carbohydrates | 25g (including sugars from berries and added sugar) |
| Protein | 5g |
The cream cheese and heavy cream provide calcium and vitamin A, while the fresh berries add antioxidants and vitamin C. It’s not a diet food, but a well-portioned treat that includes real fruit and wholesome ingredients.
For gluten-free needs, simply swap the graham cracker crust with a gluten-free alternative. Those watching sugar can reduce the added sugars or use sugar substitutes, but keep in mind it may alter texture slightly.
Overall, this dessert strikes a balance between indulgence and freshness, making it a feel-good choice for celebrations without the heaviness of a traditional baked cheesecake.
Conclusion
This creamy red white and blue cheesecake bars recipe deserves a spot in your summer dessert lineup. It’s simple, colorful, and satisfying all at once, making it perfect for those moments when you want something special but easy. The no-bake method keeps things cool and fuss-free, and the fresh berries add that unmistakable burst of summer flavor.
I love how this recipe brings a little excitement to the table without stress. It’s one of those desserts that invites smiles and second helpings, and every time I make it, I’m reminded why I keep coming back for more.
Give it a try, tweak it your way, and share your variations—I always enjoy hearing how people make it their own. After all, the best recipes are the ones that become personal favorites.
FAQs About Creamy Red White and Blue Cheesecake Bars
Can I make these cheesecake bars ahead of time?
Yes! They actually taste better after chilling overnight. Just cover tightly and keep refrigerated until serving.
What can I use instead of graham cracker crumbs for the crust?
Crushed digestive biscuits, vanilla wafers, or gluten-free cookies work well as substitutes for the crust.
Can I use frozen berries in this recipe?
Absolutely, but thaw and drain them well to avoid excess moisture that can make the layers watery.
Is there a way to make these bars vegan or dairy-free?
Swap the cream cheese and heavy cream with plant-based alternatives like vegan cream cheese and coconut cream whipped topping, though texture will be slightly different.
How do I get clean layers without mixing the colors?
Chill each layer in the fridge for about 15 minutes before adding the next one. Spread gently to keep layers distinct and neat.
Pin This Recipe!
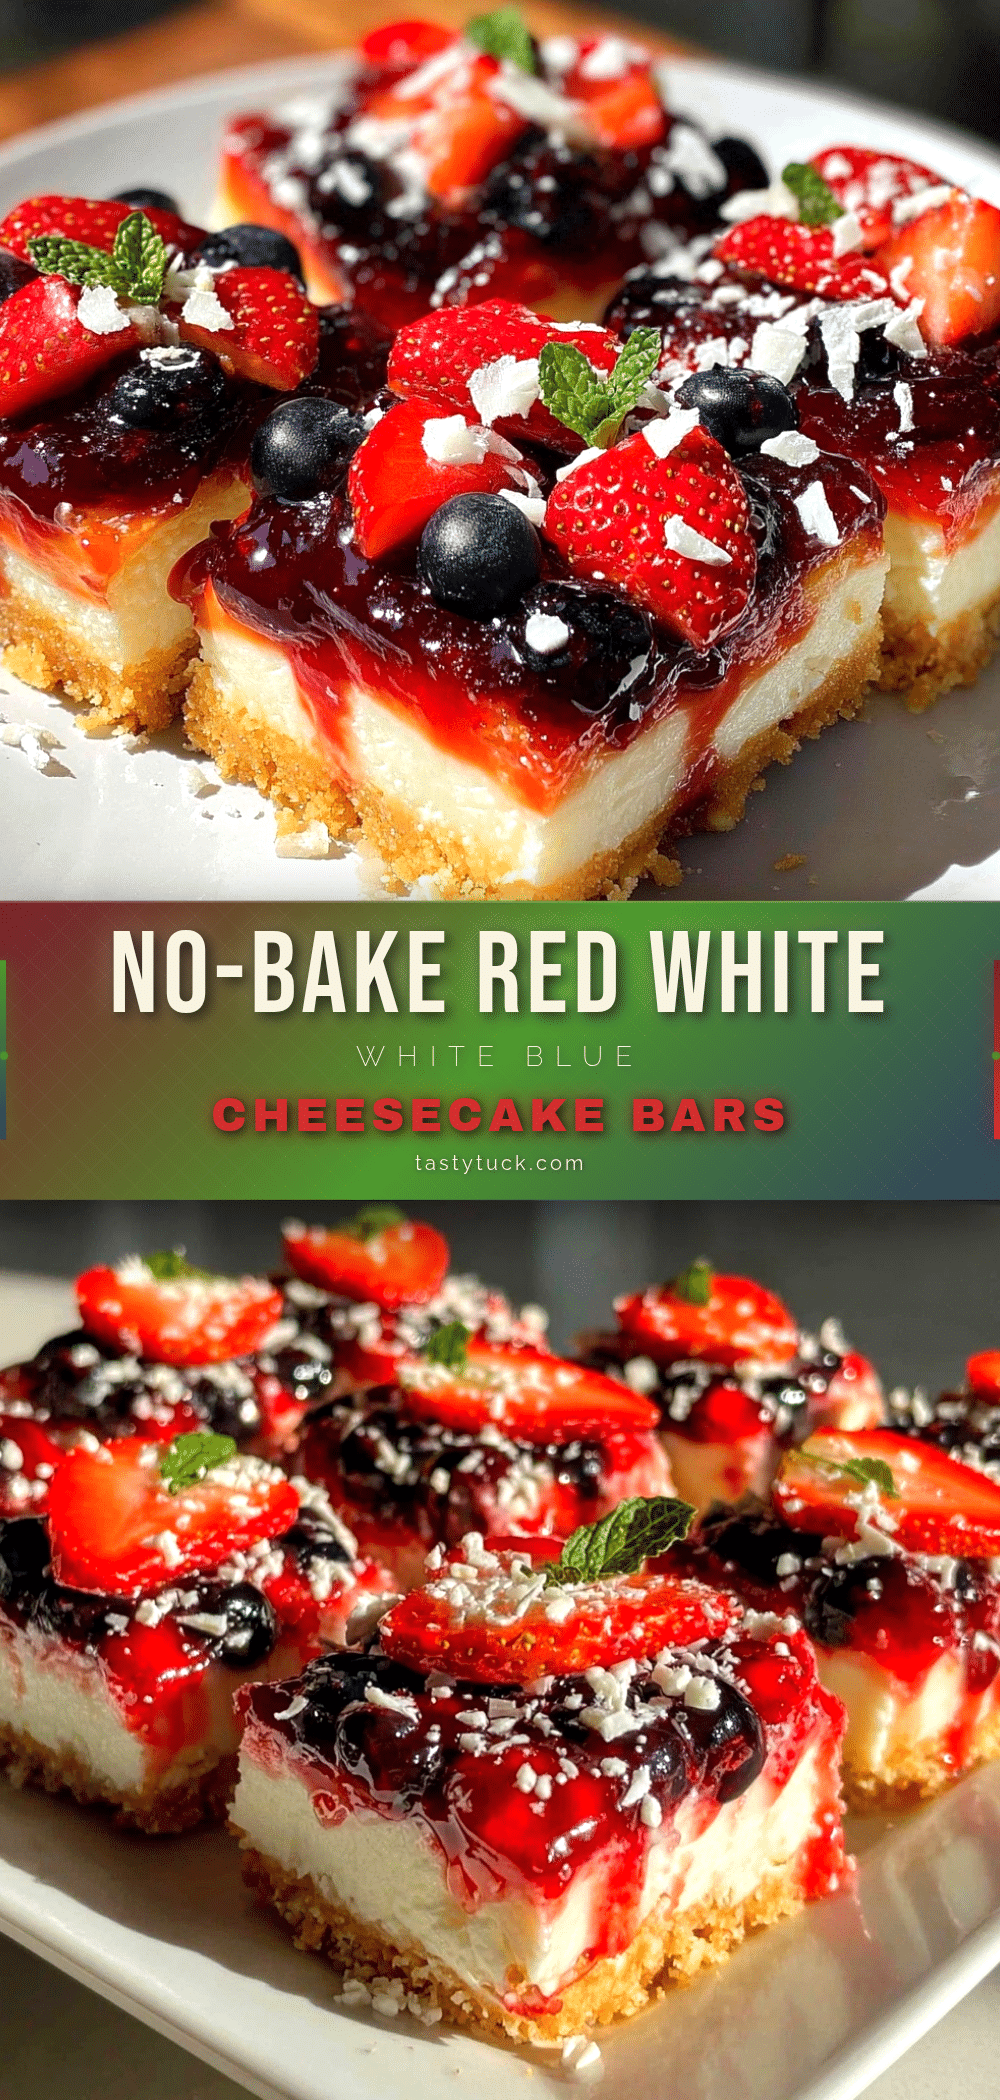
Creamy Red White and Blue Cheesecake Bars
A no-bake, colorful, and creamy cheesecake bars recipe perfect for summer and patriotic celebrations. This easy dessert features layered fresh berries and a smooth cream cheese filling on a crunchy graham cracker crust.
- Prep Time: 20 minutes
- Cook Time: 0 minutes
- Total Time: 4 hours 20 minutes
- Yield: 12 servings 1x
- Category: Dessert
- Cuisine: American
Ingredients
- 1 1/2 cups graham cracker crumbs (about 10 full sheets)
- 1/4 cup granulated sugar
- 6 tablespoons unsalted butter, melted
- 16 oz (450 g) cream cheese, softened
- 1 cup powdered sugar
- 1 teaspoon pure vanilla extract
- 1 1/2 cups heavy whipping cream, cold
- 1 cup fresh strawberries, hulled and sliced
- 2 tablespoons sugar (optional, for red layer)
- 1 cup fresh blueberries
- 2 tablespoons sugar (optional, for blue layer)
- Additional whipped cream or reserved cheesecake mixture for white layer
Instructions
- Make the Crust: In a medium bowl, combine graham cracker crumbs and granulated sugar. Pour in melted butter and stir until mixture is evenly moistened. Press firmly into the bottom of an 8×8-inch pan. Refrigerate for about 10 minutes to firm up.
- Prepare the Cheesecake Filling: Beat softened cream cheese with powdered sugar and vanilla extract until smooth and creamy.
- Whip the Cream: In a cold bowl, whip heavy cream to stiff peaks. Gently fold whipped cream into the cream cheese mixture in two additions until light and fluffy.
- Prepare the Red Layer: Puree strawberries with sugar in a blender until smooth or pulse for texture. Spread evenly over chilled crust and refrigerate for 15 minutes.
- Add the White Layer: Spread about one-third of the cheesecake filling over the red layer and refrigerate for 15 minutes.
- Prepare the Blue Layer: Puree blueberries with sugar similarly to the red layer. Spread evenly over the white layer and chill for 15 minutes.
- Final White Layer: Spread remaining cheesecake filling on top and smooth the surface. Chill the entire pan for at least 4 hours or overnight.
- Serve: Cut into 12 bars using a sharp knife dipped in hot water and wiped dry between cuts.
Notes
Use room temperature cream cheese for smooth mixing. Whip cream to stiff peaks but do not overbeat. Chill each layer for about 15 minutes to keep layers distinct. For dairy-free or vegan versions, substitute cream cheese and heavy cream with plant-based alternatives. Use gluten-free graham crackers for gluten-free option. Fresh berries preferred but frozen can be used if thawed and drained well.
Nutrition
- Serving Size: 1 bar (1/12 of recip
- Calories: 320
- Fat: 22
- Carbohydrates: 25
- Protein: 5
Keywords: no bake cheesecake, red white and blue dessert, patriotic dessert, cheesecake bars, summer dessert, easy no bake, Fourth of July dessert


