“Are you bringing the snacks?” my friend asked just as I was scrambling to get ready for an unexpected get-together. Honestly, the last thing I wanted was to stress over complicated finger foods. I glanced around my kitchen, spotted some cheeses, crackers, and a few odds and ends in the fridge, and thought, “Why not just throw it all together?” What started as a low-key, last-minute throw-together turned into a surprisingly stunning charcuterie board that everyone kept asking about. It felt like magic—simple, effortless, but somehow impressive enough to steal the show.
That night changed how I approach entertaining. Making an easy charcuterie board isn’t about fussing over fancy ingredients or spending hours prepping. It’s about mixing flavors and textures in a way that feels natural and welcoming. Since then, I’ve found myself assembling these boards multiple times a week, whether for a casual evening or an unexpected guest. It’s become my go-to for stunning entertaining without the panic.
What’s funny is how this simple idea stuck with me. It’s not just a platter of stuff thrown together—it’s a little canvas where you get to share your favorite flavors and invite people to nibble, chat, and savor the moment. This guide isn’t about perfection; it’s about making something deliciously approachable that anyone can pull off, even if you’re not really a “chef.”
So, let’s walk through how to build an easy charcuterie board that looks like you spent hours planning but really came together in minutes. Trust me, your guests will notice—and you’ll find yourself reaching for this idea whenever company drops by or you want to treat yourself to a cozy, flavorful night in.
Why You’ll Love This Recipe
Here’s the thing: I’ve tested countless charcuterie boards, tweaking the combinations, balancing flavors, and adjusting presentations until I hit on a formula that’s both simple and crowd-pleasing. This easy charcuterie board guide has earned its place in my entertaining arsenal for plenty of reasons:
- Quick & Easy: You can have this board ready in under 20 minutes—perfect for those last-minute hosting moments or low-effort celebrations.
- Simple Ingredients: No need for exotic items or specialty stores. Most ingredients are pantry staples or easy-to-find supermarket picks.
- Perfect for Any Occasion: Whether it’s a casual brunch, a cozy evening in, or a fancy holiday gathering, this board fits right in.
- Crowd-Pleaser: From kids to adults, everyone finds something to love here. The variety means there’s a little something for every taste.
- Unbelievably Delicious: The mix of creamy, crunchy, salty, and sweet hits that perfect comfort-food note that keeps people coming back for more.
What sets this guide apart isn’t just the ingredients, but how you arrange and pair them. For example, layering creamy goat cheese with a drizzle of local honey and pairing it with crunchy Marcona almonds creates a snack that feels fancy without fuss. Or tossing in a handful of spicy pickles adds a surprising tang that wakes up the palate. These little touches come from many evenings spent experimenting—and honestly, a few happy accidents.
This isn’t your run-of-the-mill charcuterie board. It’s designed to be approachable yet impressive, so you can relax and enjoy your gathering instead of stressing over the details. And if you want some dessert ideas to follow up your spread, you might enjoy this cozy peach cobbler or an easy strawberry cake mix recipe—both are perfect sweet endings that pair beautifully with an assortment of cheeses.
What Ingredients You Will Need
This easy charcuterie board guide relies on simple, wholesome ingredients to deliver bold flavors and satisfying textures without a fuss. Most are pantry-friendly, and you can mix and match based on what you have on hand or what’s fresh.
- Cheeses:
- Sharp cheddar (adds robust flavor)
- Soft goat cheese (for creamy tang)
- Brie or Camembert (mild and buttery, perfect for spreading)
- Hard cheese like Manchego or Parmesan (for a salty bite)
- Cured Meats:
- Thinly sliced prosciutto (delicate and salty)
- Soppressata or salami (adds spice and texture)
- Chorizo slices (for smoky depth)
- Crunchy Elements:
- Assorted crackers (I like a mix of water crackers and multigrain)
- Marcona almonds or spiced nuts (adds buttery crunch)
- Baguette slices, toasted lightly (great for layering)
- Fresh and Pickled:
- Seedless grapes or fresh figs (seasonal sweetness)
- Pickled cornichons or olives (adds tang and pop)
- Cherry tomatoes or sliced cucumbers (fresh crunch)
- Accents and Spreads:
- Local honey or fig jam (for sweetness and balance)
- Dijon mustard (a sharp kick)
- Herb-infused olive oil (optional drizzle for freshness)
Feel free to swap ingredients based on what you love or what’s available. For a gluten-free option, almond crackers or vegetable sticks work beautifully. If you want a creamy alternative to goat cheese, try a dairy-free spreadable cheese. During summer, fresh berries can replace grapes for a juicy burst of flavor.
Equipment Needed
- Large wooden or slate board: The base for your charcuterie. Wood adds rustic charm, while slate feels sleek and modern.
- Cheese knives and spreaders: A small set makes slicing and serving easier. If you don’t have these, a sharp paring knife works fine.
- Small bowls or ramekins: Great for holding spreads, nuts, or olives without mixing flavors.
- Serving tongs or toothpicks: Helps guests grab items without mess.
- Cutting board and sharp knife: For slicing meats, cheeses, and bread.
Not everyone has a fancy charcuterie board, and that’s totally okay. I’ve used a clean baking sheet or even a large plate when pressed. The key is to have enough space to arrange items attractively without crowding. If you want a budget-friendly option, thrift stores often have beautiful wooden trays or platters that add character without breaking the bank.
Preparation Method
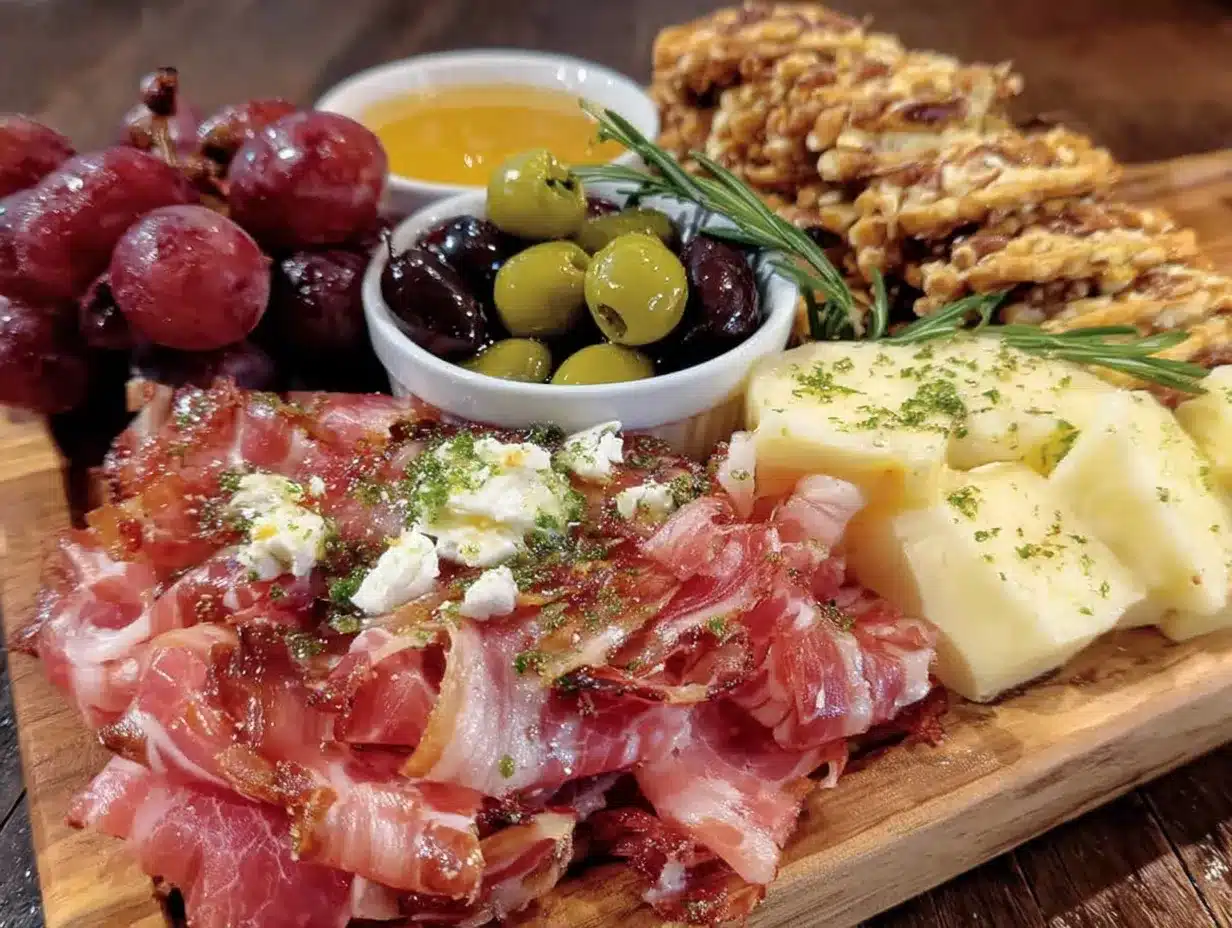
- Start with the cheeses: Remove cheeses from the fridge 20-30 minutes before assembling so they soften to room temperature. This brings out their full flavor and makes them easier to cut. Slice some cheeses into bite-sized pieces and leave others whole or in wedges for variety. (About 10 minutes)
- Prepare the meats: Arrange thin slices of prosciutto, salami, and chorizo so they’re easy to pick up—folding or rolling slices adds visual interest and makes grabbing simpler. (5 minutes)
- Arrange crunchy elements: Place crackers and toasted baguette slices around the board’s edges or in small clusters. Fill in gaps with nuts like Marcona almonds for texture contrast. (5 minutes)
- Add fresh and pickled items: Scatter grapes, olives, pickles, and cherry tomatoes in small piles or bowls. This breaks up the visual monotony and adds brightness. (5 minutes)
- Place spreads and accents: Spoon local honey or fig jam into small ramekins, and tuck them between cheeses. Add a small dish of Dijon mustard or herb olive oil if you like. (3 minutes)
- Final touches: Garnish with fresh herbs like rosemary or thyme sprigs for an aromatic boost and pretty finish. Take a step back to see if the board feels balanced—add or shift items as needed to avoid empty spots. (3-5 minutes)
When you’re done, the board should look abundant but not overcrowded. The key is mixing colors, shapes, and flavors so each bite offers something new. Don’t fret if you don’t have every ingredient listed; it’s the combination and presentation that make this board stunning. Also, if you want to keep things extra fresh, prepare the board just before guests arrive—though it can hold up well for an hour or two at room temperature.
Cooking Tips & Techniques
One trick I learned the hard way was to always bring cheeses to room temperature before serving. Cold cheese just doesn’t have the same depth of flavor—or the right texture for spreading or biting. Another tip: when arranging meats, folding slices into loose rosettes not only looks inviting but helps prevent them from drying out.
Don’t overcrowd the board. It’s tempting to pile on everything, but a cluttered platter makes it harder to appreciate individual flavors. Leave negative space to create visual breathing room. I also recommend grouping items by texture or flavor family (sweet, salty, creamy) so guests can mix and match intuitively.
Multi-task by prepping spreads and slicing cheeses while the bread toasts or the nuts roast lightly in a pan. It’s amazing how these little steps can take your board from basic to next-level without extra effort. I remember once rushing to finish a spread and forgetting to toast the baguette slices—definitely noticed the difference in crunch and overall enjoyment.
Variations & Adaptations
- Vegetarian Version: Skip the cured meats and add more nuts, fresh veggies like radishes and bell peppers, plus a variety of cheeses and dips such as hummus or baba ganoush. This makes a colorful, satisfying spread.
- Seasonal Twist: In fall, swap fresh figs for sliced apples or pears and add roasted pumpkin seeds. During summer, fresh berries and light cheeses like mozzarella pair beautifully.
- Spicy Kick: Add pickled jalapeños, spicy chorizo, or a sprinkle of chili flakes on soft cheeses to wake up the palate for those who like heat.
- Gluten-Free Option: Use gluten-free crackers or vegetable sticks instead of bread and standard crackers. I’ve tried almond flour crackers from a local bakery with great success.
- Personal Favorite: I like to drizzle a bit of balsamic glaze over the goat cheese and figs—adds a subtle tang that guests always rave about. It’s a small touch that makes a big impact.
Serving & Storage Suggestions
Serve your charcuterie board at room temperature to let all the flavors shine. I usually bring it out about 15 minutes before guests arrive so the cheeses soften and the aromas mingle. Presentation matters, so try to keep the board on a sturdy surface and provide plenty of small plates and napkins.
This board pairs wonderfully with a light white wine like Sauvignon Blanc or even sparkling water with a twist of lemon. For a heartier option, a bold red like a Pinot Noir works nicely, especially with the cured meats.
If you have leftovers (rare, but it happens), wrap cheeses tightly and refrigerate. Most cured meats can last a few days if stored properly. Crackers and bread are best fresh but can be kept in airtight containers. When reheating toasted bread, pop it briefly in the oven or toaster to regain crunch.
Flavors tend to blend and mellow after a day, so if you make the board ahead, it can actually taste richer the next day—though the texture of some items may soften. Just refresh with some fresh fruit or nuts before serving again.
Nutritional Information & Benefits
This easy charcuterie board combines protein from cheeses and meats with healthy fats from nuts and olive oil. The fresh fruits and vegetables add fiber and vitamins, making this a balanced snack or appetizer. Depending on your choices, it can fit into gluten-free, low-carb, or vegetarian diets with simple swaps.
Key ingredients like goat cheese offer probiotics and are easier to digest for some, while nuts provide heart-healthy fats. The variety means you get a little bit of everything—flavor, texture, and nutrition—in one inviting spread. Just watch portions if you’re keeping an eye on calories, as cured meats and cheeses can be rich.
Conclusion
The easy charcuterie board guide is my secret weapon for making entertaining feel effortless and enjoyable. It’s flexible enough to fit whatever ingredients you have and stylish enough to impress without stress. I love how it brings people together, encouraging sharing and conversation over simple, delicious bites.
Feel free to customize your board with flavors you love or seasonal finds—this recipe is really just a jumping-off point to your own snack masterpiece. If you’ve enjoyed this guide, I’d love to hear how you put your own spin on it or any favorite combinations you’ve discovered.
Remember, good entertaining doesn’t have to be complicated—it’s about sharing great food and moments that make everyone feel welcome and satisfied.
FAQs About Easy Charcuterie Boards
What are the best cheeses to include on a charcuterie board?
A mix of textures and flavors works best: a soft cheese like Brie, a tangy goat cheese, a sharp cheddar, and a hard cheese such as Manchego or Parmesan create a balanced selection.
How far in advance can I prepare a charcuterie board?
Assemble most of the board about 30 minutes before serving to let cheeses soften. You can prep ingredients earlier but wait to arrange fresh fruits or crackers to avoid sogginess.
Can I make a charcuterie board if I’m vegetarian or gluten-free?
Absolutely! Substitute meats with nuts, roasted veggies, and dips, and use gluten-free crackers or veggies instead of bread to suit dietary needs.
How do I make the board look visually appealing?
Use a variety of colors, shapes, and textures. Fold meats into rosettes, slice cheeses in different ways, and add small bowls for spreads or pickles to break up the layout.
What drinks pair well with a charcuterie board?
Light white wines like Sauvignon Blanc, sparkling wines, or even craft beers complement the flavors nicely. For non-alcoholic options, sparkling water with citrus or herbal iced teas work well.
Pin This Recipe!
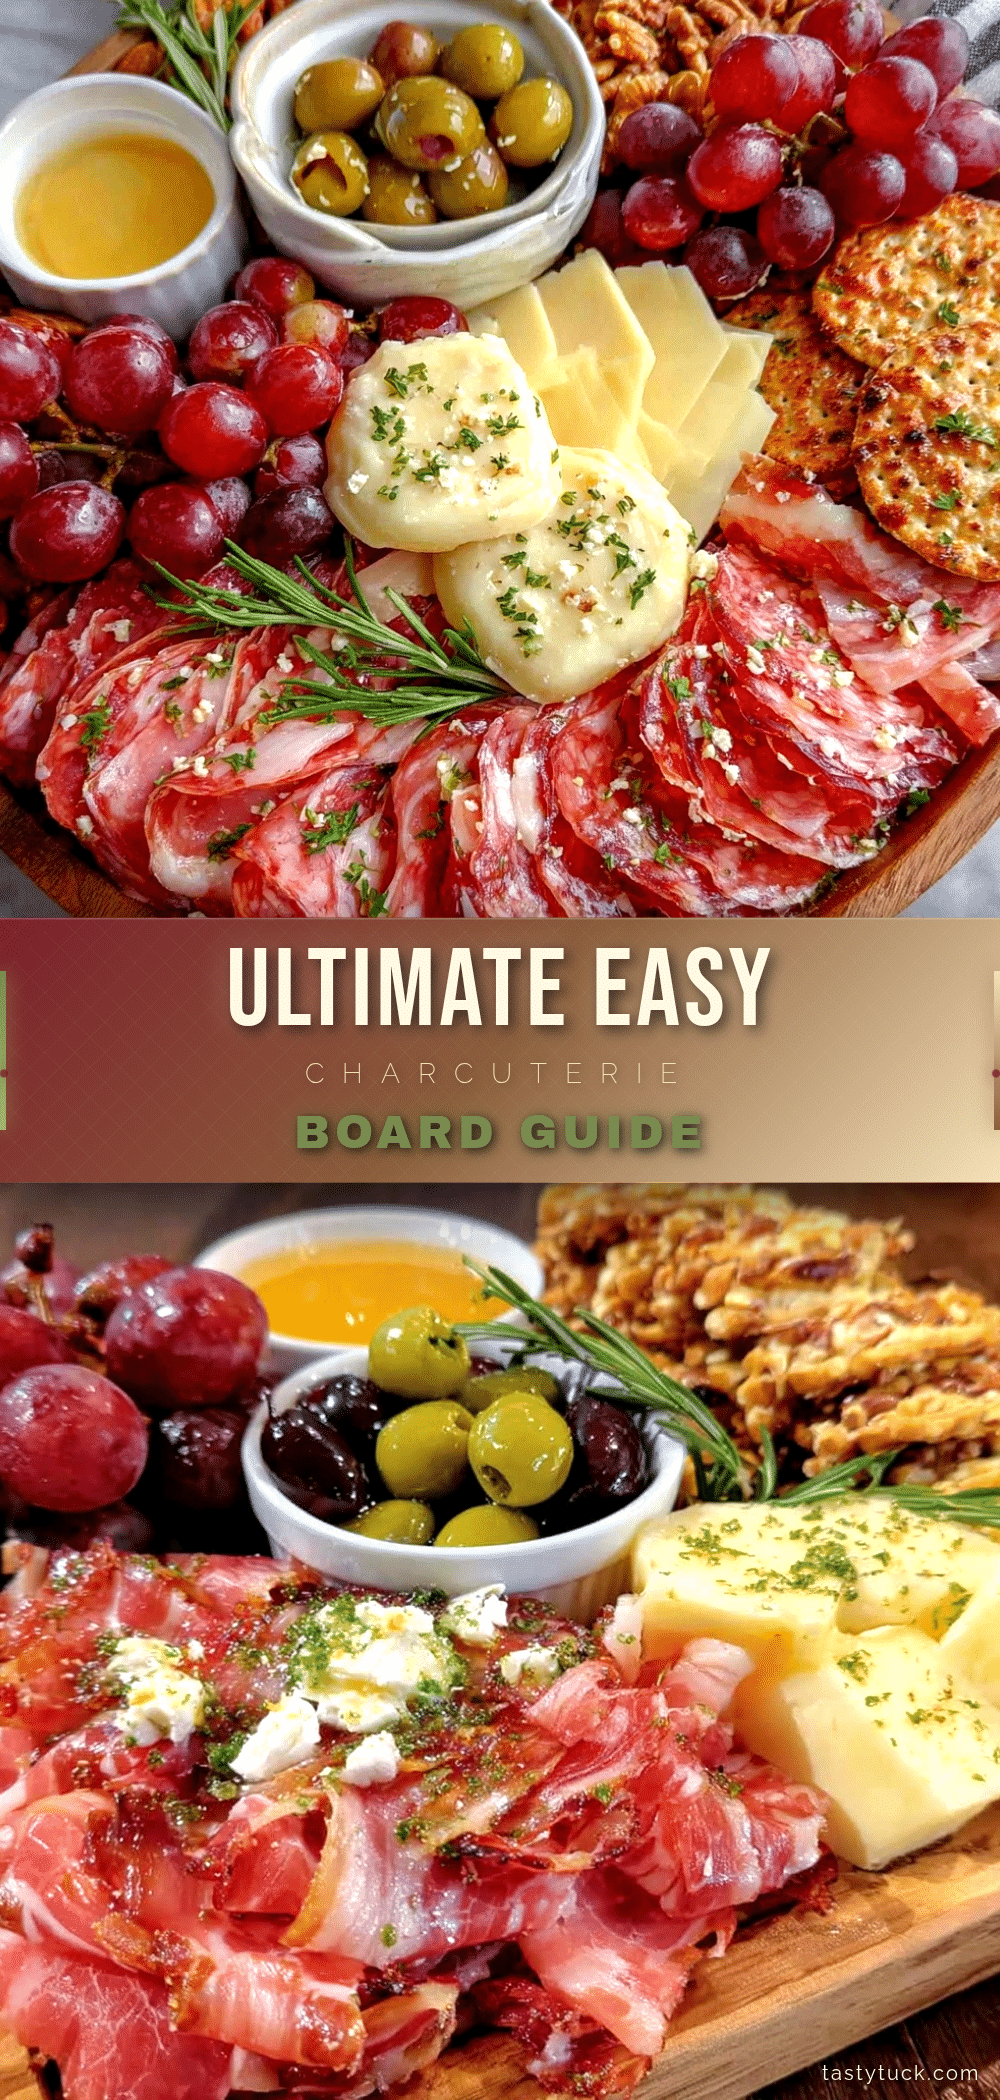
Easy Charcuterie Board Guide 2024 Perfect for Stunning Entertaining

A simple, quick, and crowd-pleasing charcuterie board guide that combines a variety of cheeses, cured meats, crunchy elements, fresh and pickled items, and spreads for effortless entertaining.
- Prep Time: 15 minutes
- Cook Time: 0 minutes
- Total Time: 15 minutes
- Yield: 6-8 servings
- Category: Appetizer
- Cuisine: American
Ingredients
- Sharp cheddar cheese
- Soft goat cheese
- Brie or Camembert cheese
- Hard cheese like Manchego or Parmesan
- Thinly sliced prosciutto
- Soppressata or salami
- Chorizo slices
- Assorted crackers (water crackers and multigrain)
- Marcona almonds or spiced nuts
- Baguette slices, toasted lightly
- Seedless grapes or fresh figs
- Pickled cornichons or olives
- Cherry tomatoes or sliced cucumbers
- Local honey or fig jam
- Dijon mustard
- Herb-infused olive oil (optional)
Instructions
- Remove cheeses from the fridge 20-30 minutes before assembling to soften to room temperature. Slice some cheeses into bite-sized pieces and leave others whole or in wedges for variety. (About 10 minutes)
- Arrange thin slices of prosciutto, salami, and chorizo so they’re easy to pick up—folding or rolling slices adds visual interest and makes grabbing simpler. (5 minutes)
- Place crackers and toasted baguette slices around the board’s edges or in small clusters. Fill in gaps with nuts like Marcona almonds for texture contrast. (5 minutes)
- Scatter grapes, olives, pickles, and cherry tomatoes in small piles or bowls to add brightness and break up the visual monotony. (5 minutes)
- Spoon local honey or fig jam into small ramekins, and tuck them between cheeses. Add a small dish of Dijon mustard or herb olive oil if desired. (3 minutes)
- Garnish with fresh herbs like rosemary or thyme sprigs for an aromatic boost and pretty finish. Adjust arrangement to avoid empty spots and create balance. (3-5 minutes)
Notes
Bring cheeses to room temperature before serving for best flavor and texture. Fold meats into rosettes to prevent drying and add visual appeal. Avoid overcrowding the board to maintain balance and ease of picking. Prepare the board just before guests arrive for freshness, but it can hold up for 1-2 hours at room temperature. For gluten-free, use almond crackers or vegetable sticks. For vegetarian, skip meats and add more nuts, fresh veggies, and dips like hummus.
Nutrition
- Serving Size: Approximately 1/6 to
- Calories: 0.3004
- Sugar: 6
- Sodium: 550
- Fat: 22
- Saturated Fat: 8
- Carbohydrates: 15
- Fiber: 3
- Protein: 12
Keywords: charcuterie board, easy charcuterie, entertaining, appetizers, cheese board, party snacks, quick snacks, crowd-pleaser


