That moment when you open your fridge and spot a jar of homemade pickles just waiting to be devoured—that’s a small victory, you know? I stumbled upon this easy tangy refrigerator bread and butter pickles recipe when I was scrambling for a quick snack to bring to a last-minute backyard barbecue. Honestly, I was skeptical at first. Pickling felt like a whole science experiment, and I wasn’t sure if a no-cook, fridge-only method could deliver that perfect crunch and tang.
But after slicing up some cukes and tossing them in a simple vinegar-sugar-spice mix, I tucked the jar away in the fridge and tried to forget about it. Three days later, the smell hit me like a wave—sweet, tangy, with just a hint of spice. I popped one in my mouth, and wow, it was exactly what I needed: a crunchy, flavorful bite that was both refreshing and satisfying. That little jar has been my secret weapon for easy entertaining and snacking ever since.
What makes this recipe stick for me is how it balances that classic bread and butter pickle sweetness with a bright tang, all without the fuss of canning. Plus, it’s a recipe that fits neatly into a busy life, needing just a bit of prep and then some patient chilling time. If you’ve ever been hesitant about making pickles, this one’s worth a shot—just a few ingredients, minimal effort, and a fridge to keep it company. It’s comfort food in a jar, ready whenever you need a quick flavor boost.
Why You’ll Love This Recipe
After countless trials and a few too many bitter batches, this easy tangy refrigerator bread and butter pickles recipe finally hit the sweet spot. I’ve tested it to make sure it’s foolproof, fast, and utterly delicious. Here’s why it’s become a staple in my kitchen:
- Quick & Easy: Ready in under 10 minutes of hands-on time; just let the fridge do the rest.
- Simple Ingredients: Uses everyday pantry staples—no need for specialty stores or obscure spices.
- Perfect for Any Occasion: Whether it’s a casual snack, a picnic side, or a tangy contrast on your burger, these pickles shine.
- Crowd-Pleaser: Kids and adults alike go back for seconds, which is no small feat with pickles!
- Unbelievably Delicious: The balance of sweet, tangy, and a touch of spice makes these pickles stand out from the usual store-bought jars.
This isn’t just another bread and butter pickle recipe—it’s the one where the vinegar and sugar hit just right without overpowering the crisp cucumber crunch. I like to think the secret lies in the mustard seeds and celery seeds, which add a subtle earthy warmth that makes these pickles uniquely satisfying. Plus, the fridge method means you don’t have to fuss with boiling jars or canning safety. Honestly, it’s a game-changer if you want fresh, tangy pickles without the hassle.
It’s the kind of recipe that makes you pause, close your eyes after that first bite, and think, “Yep, this is going in my regular rotation.” And if you’re into easy snacks that feel homemade but don’t eat up your whole afternoon, this one fits the bill perfectly.
What Ingredients You Will Need
This recipe uses simple, wholesome ingredients to deliver bold flavor and satisfying texture without the fuss. Most of these are pantry staples, and the cucumbers are the star—fresh, crisp, and ready to soak up that tangy, sweet brine.
- Cucumbers (about 6 medium Kirby or pickling cucumbers, sliced into 1/4-inch thick rounds) – These are firm and hold up well in the brine.
- Yellow Onion (1 medium, thinly sliced) – Adds a mild sharpness and crunch.
- Granulated Sugar (1 cup / 200 grams) – Sweetens the brine just right.
- Distilled White Vinegar (2 cups / 480 ml) – The backbone of the tangy flavor.
- Water (1 cup / 240 ml) – To balance the acidity.
- Salt (2 tablespoons / 30 grams, pickling or kosher salt preferred) – Essential for flavor and crispness.
- Mustard Seeds (1 tablespoon) – Gives that classic bread and butter pickle bite.
- Celery Seeds (1 teaspoon) – Adds subtle aromatic depth.
- Ground Turmeric (1/2 teaspoon) – For color and mild earthiness.
- Ground Black Pepper (1/4 teaspoon) – A touch of heat.
For best results, I often reach for brands like McCormick for spices and Bragg’s for vinegar if I want a bit more tang. If you can’t find pickling cucumbers, Persian cucumbers are a fine substitute, though they may be a tad less crunchy.
If you’re looking to tweak the recipe, you can swap the white vinegar for apple cider vinegar to bring a fruitier note, or use coconut sugar for a less refined sweetener. For a gluten-free option, all ingredients here are naturally gluten-free, so no worries!
Equipment Needed
- Sharp Knife – For slicing cucumbers and onions cleanly.
- Cutting Board – A sturdy surface to prep your veggies.
- Mixing Bowl – To combine the cucumbers and onions with salt before pickling.
- Medium Saucepan – For heating the brine ingredients.
- Large Jar or Container (at least 1-quart / 1-liter capacity) – To store the pickles in the fridge; I like using glass jars with airtight lids.
- Measuring Cups and Spoons – Accuracy matters for balance in pickling.
If you don’t have a sharp knife handy, a mandoline slicer works wonders for even cucumber slices, but be careful! I’ve nicked myself a few times—nothing like a little kitchen battle scar to prove your dedication. For the jar, old Mason jars with metal lids are budget-friendly and easy to find, and they keep the pickles fresh without transferring any off-flavors.
Preparation Method
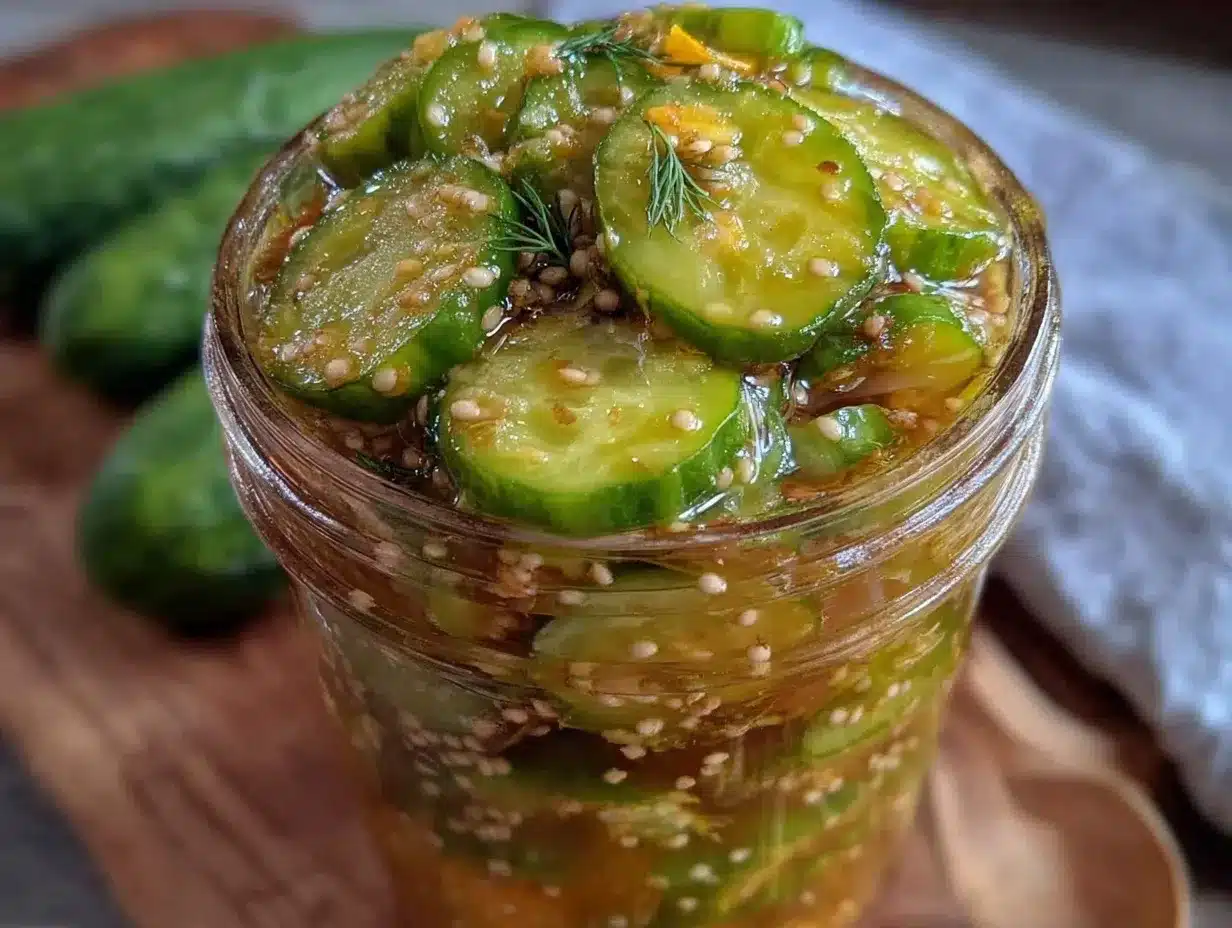
- Prepare the cucumbers and onions: Rinse about 6 medium Kirby cucumbers well and slice into 1/4-inch thick rounds. Peel and thinly slice 1 medium yellow onion. This should take about 10 minutes.
- Salt the veggies: Place the sliced cucumbers and onions into a large mixing bowl. Sprinkle 2 tablespoons (30 grams) of pickling or kosher salt over them. Toss to coat evenly. This step draws out excess water for a crisper pickle. Let sit for 1 hour, tossing halfway through.
- Make the brine: While the cucumbers sweat, combine 1 cup (200 grams) granulated sugar, 2 cups (480 ml) distilled white vinegar, 1 cup (240 ml) water, 1 tablespoon mustard seeds, 1 teaspoon celery seeds, 1/2 teaspoon ground turmeric, and 1/4 teaspoon ground black pepper in a medium saucepan. Bring to a boil over medium heat, stirring to dissolve sugar. Once boiling, remove from heat.
- Rinse and drain the cucumbers: After the hour, drain the liquid from the cucumbers and onions. Rinse them briefly under cold water to remove excess salt, then drain well. This keeps your pickles from being too salty.
- Combine and jar: Pack the cucumbers and onions tightly into a clean 1-quart (1-liter) jar or container. Pour the hot brine over the veggies, making sure they’re fully submerged. Use a spoon or small weight if needed to keep them under the liquid.
- Cool and refrigerate: Let the jar cool to room temperature (about 30 minutes), then seal and place in the refrigerator. The pickles need at least 3 days to develop their signature tang and crunch.
- Serve and enjoy: After chilling, taste a pickle to see if it’s reached your preferred flavor. They keep well in the fridge for up to 4 weeks.
Tip: If you notice the pickles floating, pressing them down with a clean weight or the back of a spoon helps keep them submerged and evenly flavored. Also, stirring the jar gently every couple of days helps all the flavors mingle perfectly.
Cooking Tips & Techniques
Let’s face it—pickling can seem intimidating, but this recipe breaks it down into manageable steps. Here’s what I’ve learned through trial and error:
- Salting is key: Don’t skip the salt soak. It’s the secret to crunchy pickles. Too little salt and you’ll end up with soggy slices.
- Slice evenly: Using a sharp knife or mandoline ensures uniform slices that pickle at the same rate. Uneven pieces can lead to inconsistent texture.
- Don’t rush the chill: The fridge time is where the magic happens. I’ve been tempted to dig in after a day or two, but those extra 24 hours make a noticeable difference.
- Use fresh cucumbers: Older cucumbers tend to be watery and less crisp. Look for firm, blemish-free ones.
- Spice balance: Mustard and celery seeds add a subtle complexity—don’t skimp on them or rely solely on powdered spices.
- Keep it submerged: Air exposure can lead to soft pickles or spoilage. If you lack a proper weight, a small clean jar lid inside your jar can work wonders.
One time, I forgot to rinse the salted cucumbers and ended up with pickles that were borderline inedible—too salty to enjoy. Lesson learned! These small steps really add up to a flawless pickle every time. And if you’re into multitasking, you can toss the cucumbers in salt early in the morning and finish the pickling by evening—easy and efficient.
Variations & Adaptations
This easy tangy refrigerator bread and butter pickles recipe is pretty forgiving and lends itself well to tweaks:
- Spicy Kick: Add 1/2 teaspoon red pepper flakes or a sliced jalapeño to the brine for a little heat. I tried this once and it added a lovely zing that woke up the flavors.
- Herbal Twist: Toss in fresh dill sprigs or a bay leaf for more herbal aroma. This variation pairs beautifully with sandwiches or burgers.
- Vinegar Swap: Use apple cider vinegar instead of white vinegar for a fruitier, milder tang. It’s a nice switch if you want a less sharp pickle.
- Sweetener Alternatives: Replace granulated sugar with honey or maple syrup for a different sweetness profile, perfect for a more natural touch.
- Low-Sodium Option: Reduce the salt by half and extend soaking time slightly to keep crunch without overwhelming sodium.
I once tried a version with smoked paprika and it added a subtle smokiness that was surprisingly addictive. Feel free to experiment, but keep the core brine ratio balanced for best results.
Serving & Storage Suggestions
These pickles are best served chilled straight from the fridge. Their crisp texture and tangy-sweet flavor make them a fantastic snack on their own, or a crunchy topping for sandwiches and burgers. They’re especially great alongside rich dishes like pulled pork or fried chicken, cutting through the heaviness with a refreshing bite.
If you’re planning a picnic or BBQ, pack a jar of these pickles alongside a batch of walking taco casserole or some loaded lasagna for a crowd-pleasing combo.
Store your pickles tightly sealed in the fridge for up to 4 weeks. Over time, the flavors mellow and deepen, so if you prefer a stronger tang, wait a few extra days before opening. To reheat, just bring them to room temperature, but cold pickles are where the magic is at.
Nutritional Information & Benefits
These refrigerator bread and butter pickles are low in calories—about 15-20 calories per 2-tablespoon serving—and naturally fat-free. The cucumbers provide hydration and a bit of fiber, while the vinegar is known for its digestive benefits.
Watch for sodium content if you’re monitoring salt intake, but using pickling or kosher salt helps control the flavor without excess additives. This recipe is gluten-free and dairy-free, making it accessible for many dietary needs.
Honestly, having a jar of these pickles handy is a win for anyone who wants a flavorful, guilt-free snack that adds a bit of crunch and brightness to their day.
Conclusion
Making easy tangy refrigerator bread and butter pickles is one of those simple kitchen wins that feels surprisingly satisfying. It’s a recipe that doesn’t demand hours or fancy equipment, yet rewards you with a fresh, crunchy, perfectly balanced pickle that’s ready when you are. I love how it brings a little homemade charm to everyday meals without complicating my busy schedule.
Feel free to play with the spices and sweetness to fit your taste buds. Whether you’re an experienced pickler or just starting out, this recipe offers a straightforward way to enjoy crisp, tangy pickles that beat store-bought hands down.
If you give it a try, I’d love to hear how you customize your batch or what dishes you pair them with—drop a comment below and share your pickle adventures!
Here’s to crunchy bites and the joy of easy homemade snacks.
FAQs about Easy Tangy Refrigerator Bread and Butter Pickles
How long do refrigerator bread and butter pickles last?
They typically stay fresh and tasty for up to 4 weeks when kept sealed in the fridge.
Can I use regular cucumbers instead of pickling cucumbers?
You can, but pickling cucumbers have a firmer texture and less watery flesh, which helps keep the pickles crisp.
Do I need to boil the brine for this recipe?
Yes, boiling helps dissolve the sugar and blend the flavors, but since it’s a refrigerator pickle, there’s no canning involved.
Can I make these pickles vegan and gluten-free?
Absolutely! This recipe is naturally vegan and gluten-free as long as you use gluten-free vinegar and sugar brands.
Why should I rinse the cucumbers after salting?
Rinsing removes excess salt that would make the pickles too salty, while keeping enough for crunch and flavor.
Pin This Recipe!
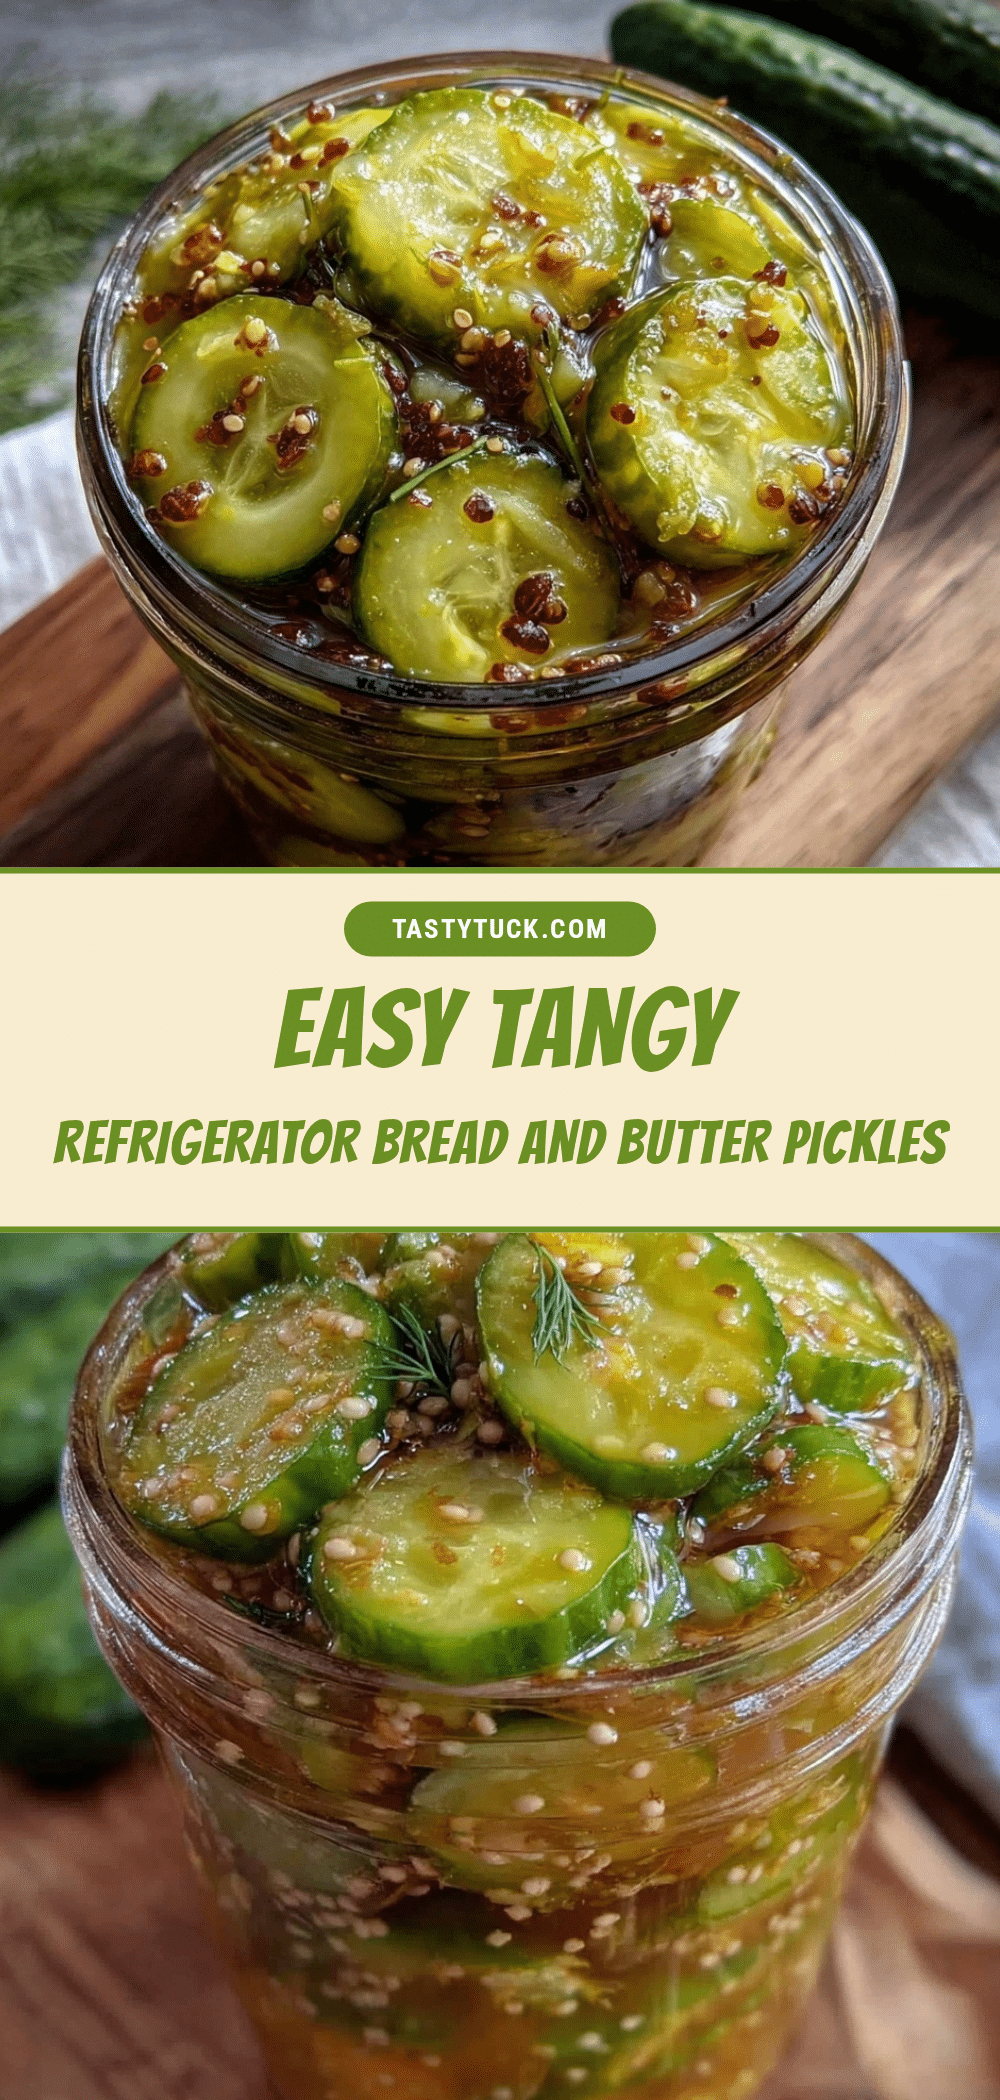
Easy Tangy Refrigerator Bread and Butter Pickles Recipe for Perfect Homemade Snack
A quick and easy no-cook refrigerator pickle recipe that delivers crunchy, tangy, and sweet bread and butter pickles with minimal effort and simple pantry ingredients.
- Prep Time: 15 minutes
- Cook Time: 10 minutes
- Total Time: 3 days 25 minutes
- Yield: About 1 quart (4 servings) 1x
- Category: Snack
- Cuisine: American
Ingredients
- 6 medium Kirby or pickling cucumbers, sliced into 1/4-inch thick rounds
- 1 medium yellow onion, thinly sliced
- 1 cup (200 grams) granulated sugar
- 2 cups (480 ml) distilled white vinegar
- 1 cup (240 ml) water
- 2 tablespoons (30 grams) pickling or kosher salt
- 1 tablespoon mustard seeds
- 1 teaspoon celery seeds
- 1/2 teaspoon ground turmeric
- 1/4 teaspoon ground black pepper
Instructions
- Rinse about 6 medium Kirby cucumbers well and slice into 1/4-inch thick rounds. Peel and thinly slice 1 medium yellow onion. This should take about 10 minutes.
- Place the sliced cucumbers and onions into a large mixing bowl. Sprinkle 2 tablespoons (30 grams) of pickling or kosher salt over them. Toss to coat evenly. Let sit for 1 hour, tossing halfway through.
- While the cucumbers sweat, combine 1 cup (200 grams) granulated sugar, 2 cups (480 ml) distilled white vinegar, 1 cup (240 ml) water, 1 tablespoon mustard seeds, 1 teaspoon celery seeds, 1/2 teaspoon ground turmeric, and 1/4 teaspoon ground black pepper in a medium saucepan. Bring to a boil over medium heat, stirring to dissolve sugar. Once boiling, remove from heat.
- After the hour, drain the liquid from the cucumbers and onions. Rinse them briefly under cold water to remove excess salt, then drain well.
- Pack the cucumbers and onions tightly into a clean 1-quart (1-liter) jar or container. Pour the hot brine over the veggies, making sure they’re fully submerged. Use a spoon or small weight if needed to keep them under the liquid.
- Let the jar cool to room temperature (about 30 minutes), then seal and place in the refrigerator. The pickles need at least 3 days to develop their signature tang and crunch.
- After chilling, taste a pickle to see if it’s reached your preferred flavor. They keep well in the fridge for up to 4 weeks.
Notes
Salting the cucumbers and onions is key to achieving a crisp texture. Rinse well after salting to avoid overly salty pickles. Keep the pickles submerged in brine to prevent spoilage. Stir the jar gently every couple of days for even flavor distribution. Variations include adding red pepper flakes for heat or swapping white vinegar for apple cider vinegar for a fruitier tang.
Nutrition
- Serving Size: 2 tablespoons
- Calories: 15
- Sugar: 3.5
- Sodium: 600
- Carbohydrates: 4
- Fiber: 0.3
Keywords: bread and butter pickles, refrigerator pickles, easy pickles, tangy pickles, homemade pickles, quick pickles, no-cook pickles, snack, pickle recipe


