I figured banana bread required a stand mixer, three bowls, and at least twenty minutes of cleanup. It took about one overly ambitious Sunday morning for that to fall apart completely.
I was halfway through dragging out my heavy KitchenAid, already mentally preparing for the dish pile, when I stopped and thought—why? Bananas are practically mush already. They don’t need to be creamed. They don’t need air whipped into them. They just need to be stirred. So I tossed everything into one bowl, grabbed a wooden spoon, and made banana bread the way it should have been made all along.
The result was the moistest, most tender loaf I’d ever pulled from my oven. The walnuts stayed crunchy, the edges were perfectly golden, and the center held that soft, almost pudding-like texture that makes banana bread feel like a hug. No mixer. No extra bowls. No fuss. That one-bowl banana walnut bread became my go-to, and honestly, I haven’t washed my stand mixer since.
This recipe is the kind of thing you make when you want something warm and homemade without turning your kitchen into a disaster zone. It’s forgiving, fast, and somehow tastes better than the complicated versions. That’s the thing about simple cooking—sometimes the best results come when you stop overthinking and just stir.
Why You’ll Love This Recipe
Let’s be real for a second. Banana bread recipes are everywhere. Everyone’s grandma has one, every food blog has one, and you probably have three saved on your phone already. So why does this one deserve a spot in your rotation?
- One Bowl, No Mixer : This is the whole point. You mix everything in a single bowl with a spoon. Less cleanup, less stress, more time to actually enjoy your coffee while it bakes.
- Simple Ingredients : You likely have everything in your kitchen right now. Butter, sugar, eggs, flour, bananas, walnuts. No specialty flours, no obscure extracts, no trips to three different stores.
- Perfect for Overripe Bananas : You know those sad, spotty bananas sitting on your counter? The ones nobody will eat? They’re perfect here. This recipe was practically designed for them.
- Crowd-Pleaser : I’ve brought this to brunches, potlucks, and casual work gatherings. It disappears every single time. Kids love it, adults love it, and people always ask for the recipe.
- Unbelievably Moist : The texture is what sets this apart. It’s not dry or crumbly. It’s tender, moist, and stays that way for days—if it lasts that long.
What makes this different from every other banana bread recipe out there? It’s the technique. Or rather, the lack of one. By skipping the mixer and the extra bowls, you’re actually treating the batter more gently. You’re less likely to overmix, which means your bread stays tender instead of turning tough. It’s counterintuitive, but it works.
This isn’t just another version of banana bread. It’s the version you’ll actually make on a Tuesday morning when you’re tired and craving something warm. It’s the version that feels like comfort without the work. And honestly? That’s the kind of recipe worth keeping.
What Ingredients You Will Need
This recipe uses simple, wholesome ingredients to deliver bold flavor and satisfying texture without the fuss. Most of these are pantry staples, so you can probably get started right now.
For the Batter
- 3 large ripe bananas, mashed (about 1 ½ cups or 340g) — The riper, the better. You want them spotted and soft. Green bananas won’t give you the same sweetness or moisture.
- ½ cup unsalted butter, melted (113g) — I use salted butter in a pinch and just reduce the added salt slightly. Let it cool slightly before mixing so it doesn’t cook the eggs.
- ¾ cup granulated sugar (150g) — Regular white sugar works perfectly. You can swap in coconut sugar for a deeper flavor, but it’ll be slightly less sweet.
- 2 large eggs, room temperature — Cold eggs can seize the melted butter. Let them sit out for 15 minutes or place them in warm water for a few minutes.
- 1 teaspoon vanilla extract — Pure vanilla is best, but imitation works fine here since banana flavor is dominant anyway.
- 1 ½ cups all-purpose flour (190g) — Spoon and level your flour. Scooping directly from the bag packs it down and gives you too much, making the bread dry.
- 1 teaspoon baking soda — This is your leavening agent. Make sure it’s fresh. Test it by dropping a bit into vinegar—if it fizzes, it’s good.
- ½ teaspoon salt — Balances the sweetness and enhances the banana flavor. Don’t skip it.
- ½ teaspoon ground cinnamon (optional but highly recommended) — Adds warmth and depth. You can also add a pinch of nutmeg or allspice.
- 1 cup walnut halves or pieces, roughly chopped (100g) — Toast them first if you have time. It brings out their nutty flavor and keeps them crunchier in the batter.
Ingredient Selection Tips
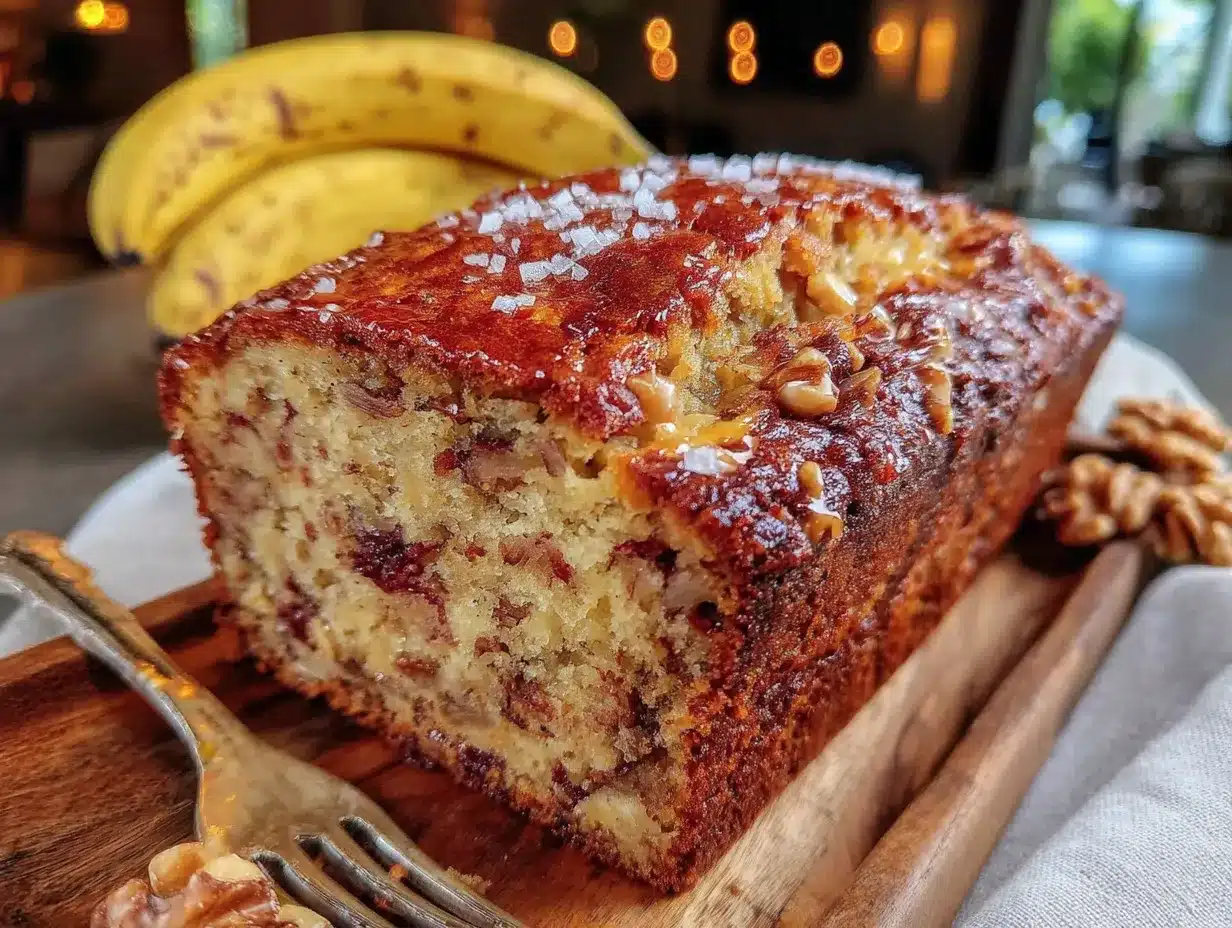
I prefer using Diamond of California walnuts for their consistent flavor and crunch. They’re widely available and don’t have that bitter edge some cheaper brands have. For the bananas, look for ones that are heavily speckled with brown spots. If they’re completely black, they’re still fine—just a bit sweeter and softer to work with.
If you’re out of walnuts, pecans work beautifully. So do chopped almonds or even hazelnuts. For a nut-free version, you can swap in chocolate chips or leave them out entirely. The bread will still be delicious, just a little less texturally interesting.
Equipment Needed
The beauty of this recipe is how little you actually need. Here’s what you’ll want to have on hand:
- Large mixing bowl — Any medium-to-large bowl works. I use a ceramic one because it’s heavy and doesn’t slide around, but glass or stainless steel is fine too.
- Wooden spoon or rubber spatula — A wooden spoon is my preferred tool here. It’s sturdy enough to mash bananas and mix thick batter without flexing. A silicone spatula works too, but you’ll need a bit more elbow grease.
- 9×5-inch loaf pan — Standard size. If you use an 8×4-inch pan, your bread will be taller and可能需要 longer baking time. A 9-inch round cake pan also works in a pinch.
- Parchment paper — Not strictly necessary, but it makes lifting the bread out so much easier. You can also grease the pan generously with butter.
- Cooling rack — Lets air circulate around the bread so it cools evenly and doesn’t get soggy on the bottom.
- Measuring cups and spoons — For accuracy. A kitchen scale is even better if you have one.
That’s it. Seriously. No electric mixer, no food processor, no stand mixer. Just a bowl and a spoon. If you’ve ever been intimidated by baking, this is the recipe that proves you don’t need fancy equipment to make something wonderful.
I’ve made this in a rental cabin with a warped loaf pan and a plastic fork. It still turned out great. So don’t stress about having the perfect tools.
Preparation Method
Preheat your oven to 350°F (175°C). Grease your 9×5-inch loaf pan or line it with parchment paper, leaving some overhang on the sides for easy lifting.
- Mash the bananas — In your large mixing bowl, add the ripe bananas. Mash them with a fork or potato masher until they’re mostly smooth with a few small lumps. You want some texture, not a complete puree. This should take about 30 seconds. Set aside.
- Add the wet ingredients — Pour in the melted butter, granulated sugar, eggs, and vanilla extract. Stir everything together with your wooden spoon until combined. The mixture will look slightly curdled if your butter was warm—that’s totally normal. Don’t worry about it.
- Mix the dry ingredients — Add the flour, baking soda, salt, and cinnamon directly into the same bowl. Stir gently until just combined. You want to see a few streaks of flour remaining. Overmixing at this stage develops gluten and makes your bread tough. Stop as soon as the flour disappears.
- Fold in the walnuts — Add the chopped walnuts to the batter. Fold them in with 3-4 gentle strokes. Make sure they’re evenly distributed, but don’t overmix. The batter should be thick and slightly lumpy.
- Pour into the pan — Scrape the batter into your prepared loaf pan. Spread it evenly with your spatula. Tap the pan gently on the counter a couple times to release any air bubbles.
- Bake — Place the pan in the preheated oven. Bake for 50-60 minutes, or until a toothpick inserted in the center comes out clean or with just a few moist crumbs. If the top is browning too quickly after 40 minutes, tent it loosely with aluminum foil.
- Cool — Let the bread cool in the pan for 10 minutes. Then lift it out using the parchment paper and transfer to a cooling rack. Let it cool completely before slicing—about 1 hour. I know it’s hard to wait, but slicing too early will give you a gummy, crumbly mess.
Sensory cues : At the 30-minute mark, your kitchen should smell like warm bananas and toasted nuts. The top will be golden brown and cracked in places. When you tap the center, it should feel firm but spring back slightly. The toothpick test is your best friend here.
My personal tip : I like to reserve a handful of walnut pieces and press them into the top of the batter before baking. They toast beautifully and make the bread look more rustic and appealing. Plus, you get that satisfying crunch on the first bite.
Cooking Tips & Techniques
I’ve made this recipe more times than I can count, and I’ve learned a few things the hard way. Here are the tips that actually matter.
Don’t overmix the batter. This is the number one mistake people make. Once the flour hits the wet ingredients, gluten starts developing. Stir until the flour just disappears, and then stop. A few streaks are fine. Overmixed banana bread is dense and tough, and there’s no fixing it after it bakes.
Toast your walnuts first. Spread them on a baking sheet and toast at 350°F for 5-7 minutes until fragrant. This brings out their natural oils and deepens their flavor. It also keeps them crunchier in the finished bread instead of turning soft and mealy. I learned this after making a batch where the walnuts basically disappeared into the batter. Never again.
Check your baking soda. If your baking soda is old, your bread won’t rise properly. Test it by dropping a small amount into vinegar. If it fizzes vigorously, it’s good. If it barely bubbles, toss it and buy new. This seems like a small thing, but it makes a huge difference in texture.
Use the spoon-and-level method for flour. Scooping flour directly from the bag packs it down and adds an extra 20-30 grams per cup. That extra flour makes your bread dry and dense. Instead, spoon the flour into your measuring cup and level it off with a knife. Or better yet, use a kitchen scale for accuracy.
Let it cool completely. I know it’s tempting to cut into warm banana bread. I’ve done it. And every time, I end up with a crumbly, gummy slice that falls apart. The bread continues to set as it cools. Give it a full hour on the rack. Your patience will be rewarded with clean, beautiful slices.
One more thing : If your bananas aren’t quite ripe enough, you can speed things up by placing them on a baking sheet in a 300°F oven for 15-20 minutes. They’ll soften and sweeten, though they won’t have quite the same depth of flavor as naturally ripened bananas. It works in a pinch, though.
Variations & Adaptations
This recipe is incredibly forgiving, so feel free to experiment. Here are some variations I’ve tried and loved.
Chocolate Chip Banana Walnut Bread — Fold in ½ cup of semi-sweet or dark chocolate chips along with the walnuts. The combination of chocolate and banana is classic for a reason. I’ve made this for birthday breakfasts and it always feels special.
Gluten-Free Version — Substitute the all-purpose flour with a 1:1 gluten-free baking flour blend. I’ve used Bob’s Red Mill and King Arthur brands with great results. Add an extra tablespoon of milk or yogurt if the batter seems too thick, as gluten-free flours absorb more liquid.
Vegan Adaptation — Replace the eggs with two flax eggs (2 tablespoons ground flaxseed mixed with 6 tablespoons water, let sit for 5 minutes). Use melted coconut oil or vegan butter instead of dairy butter. The texture will be slightly denser but still delicious. I’ve served this to vegan friends and they couldn’t tell the difference.
Spiced Banana Bread — Add ½ teaspoon of ground ginger, ¼ teaspoon of nutmeg, and a pinch of cloves along with the cinnamon. This gives the bread a warm, chai-like flavor that’s perfect for fall. I made this version for a Thanksgiving brunch and it was gone in minutes.
Lower Sugar Option — Reduce the sugar to ½ cup (100g). The bananas provide plenty of natural sweetness, so you won’t miss the extra sugar much. You can also swap in ¼ cup of maple syrup or honey, but reduce the butter by 2 tablespoons to compensate for the extra liquid.
If you’re looking for another easy one-bowl treat, you might enjoy this one-bowl blueberry cake. It uses the same minimal-cleanup approach and is perfect for summer baking.
Serving & Storage Suggestions
This banana walnut bread is best served at room temperature or slightly warm. I like to slice it thick—about 1-inch slices—and serve it plain or with a generous smear of salted butter. The butter melts into the warm bread and takes it to another level.
For a more indulgent breakfast, toast a slice and drizzle it with honey or maple syrup. Add a dollop of Greek yogurt on the side for protein. It’s also fantastic with a cup of coffee or a cold glass of milk.
Storage : Wrap the cooled bread tightly in plastic wrap or aluminum foil. Store at room temperature for up to 4 days. Do not refrigerate—it will dry out the bread and make it stale faster. If you live in a humid climate, store it in an airtight container instead of wrapped.
Freezing : This bread freezes beautifully. Slice it first, then wrap each slice individually in plastic wrap and place them in a freezer-safe bag. They’ll keep for up to 3 months. To thaw, just leave a slice on the counter for 30 minutes or pop it in the toaster straight from frozen. I always keep a stash in my freezer for unexpected guests or lazy Sunday mornings.
Flavor development : Here’s a secret—this bread actually tastes better on day two. The flavors meld together and the texture becomes even more moist. So if you can resist eating it all on day one, you’re in for a treat.
If you’re planning a brunch spread, this bread pairs beautifully with a strawberry poppyseed salad for a sweet and savory balance.
Nutritional Information & Benefits
Here’s the approximate nutritional breakdown for one slice (based on 10 slices per loaf):
- Calories: 285
- Total Fat: 14g
- Saturated Fat: 6g
- Carbohydrates: 36g
- Fiber: 2g
- Sugar: 18g
- Protein: 5g
This bread offers some surprising health benefits. Bananas are rich in potassium and vitamin B6, which support heart health and energy metabolism. Walnuts are packed with omega-3 fatty acids and antioxidants that are great for brain health. And since this recipe uses less sugar than many store-bought versions, it’s a more balanced treat.
If you’re watching your sugar intake, the lower-sugar variation mentioned earlier works well. For a higher-protein version, you can substitute ¼ cup of the flour with almond flour or add a scoop of unflavored protein powder.
This recipe contains gluten, dairy, eggs, and tree nuts (walnuts). For allergen-friendly versions, check the variations section above.
For a savory option to balance out your baking, try this Cajun gumbo recipe for a completely different flavor profile.
Conclusion
This one-bowl banana walnut bread is proof that you don’t need fancy equipment, complicated techniques, or a sink full of dirty dishes to make something truly delicious. It’s the kind of recipe that fits into real life—busy mornings, lazy afternoons, unexpected cravings.
I love this recipe because it reminds me that cooking doesn’t have to be complicated to be good. Sometimes the simplest approach yields the best results. The bananas get perfectly sweet, the walnuts add that satisfying crunch, and the whole thing comes together with nothing more than a bowl and a spoon.
So go ahead and use those spotty bananas on your counter. Make a mess of just one bowl. And when you pull that golden loaf out of the oven, take a moment to appreciate how easy it was. Then slice it, butter it, and enjoy every bite.
I’d love to hear how yours turns out. Did you add chocolate chips? Try a different nut? Let me know in the comments below. And if you loved how simple this was, you might also enjoy this one-bowl strawberry cake for another effortless dessert.
Happy baking, friends!
Frequently Asked Questions
Can I use frozen bananas for this recipe?
Absolutely. Thaw them completely first, then drain off any excess liquid before mashing. Frozen bananas are actually sweeter and more flavorful than fresh ones, so they work wonderfully here.
Why did my banana bread sink in the middle?
This usually happens if the bread is underbaked or if the oven temperature is too low. Make sure your oven is properly preheated and use the toothpick test to check for doneness. Also, avoid opening the oven door during the first 30 minutes of baking.
Can I make this recipe without walnuts?
Yes! The walnuts are completely optional. You can leave them out entirely for a plain banana bread, or substitute with chocolate chips, pecans, dried fruit, or even shredded coconut.
How do I know when the banana bread is done?
Insert a toothpick or wooden skewer into the center of the loaf. If it comes out clean or with just a few moist crumbs, it’s done. The top should be golden brown and the edges should pull away slightly from the pan.
Can I double this recipe?
Yes, this recipe doubles beautifully. Just use a larger bowl and bake in two separate loaf pans. You may need to add 5-10 minutes to the baking time if you’re using a single large pan, so keep an eye on it.
Pin This Recipe!
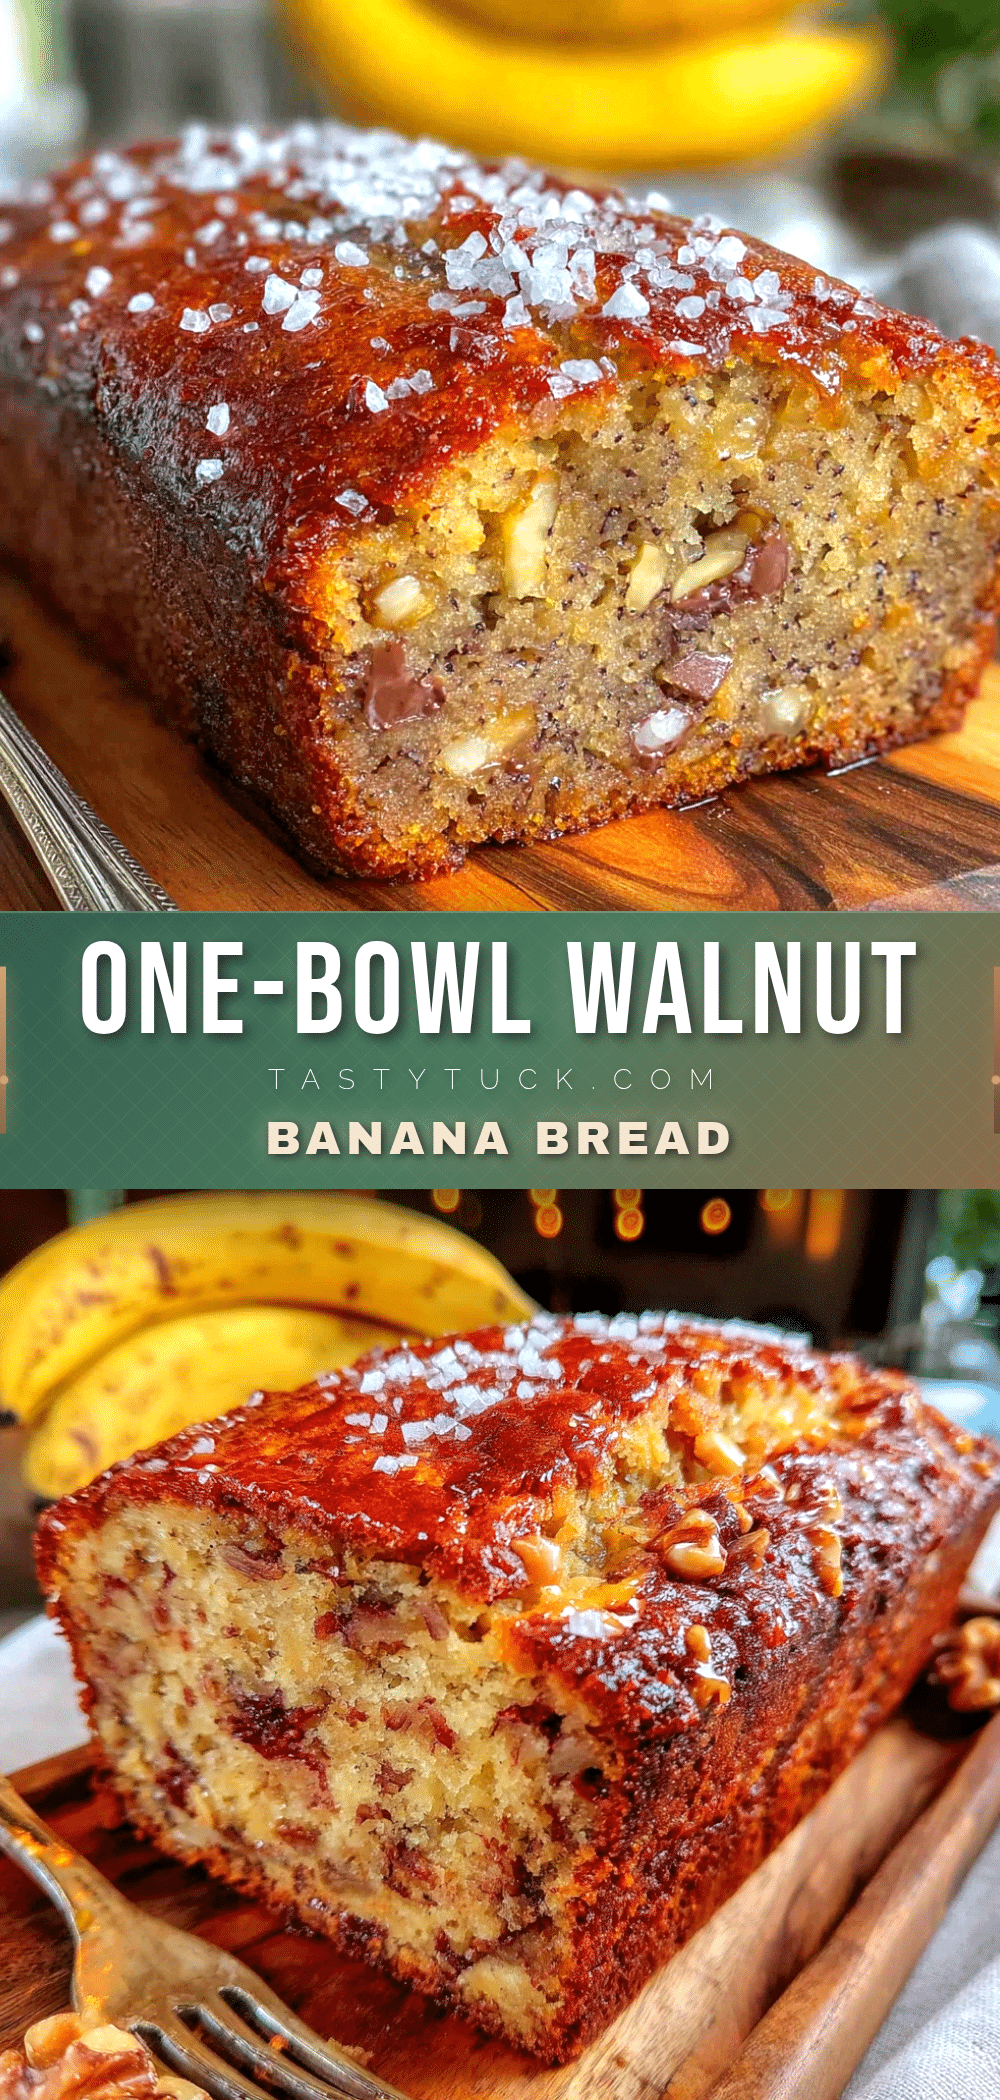
One-Bowl Banana Walnut Bread (Easy No-Mixer Recipe)
This one-bowl banana walnut bread is the moistest, most tender loaf you’ll ever make. No mixer, no extra bowls, no fuss—just simple ingredients and a wooden spoon for a delicious homemade treat.
- Prep Time: 15 minutes
- Cook Time: 55 minutes
- Total Time: 1 hour 10 minutes
- Yield: 10 servings 1x
- Category: Bread
- Cuisine: American
Ingredients
- 3 large ripe bananas, mashed (about 1 ½ cups or 340g)
- ½ cup unsalted butter, melted (113g)
- ¾ cup granulated sugar (150g)
- 2 large eggs, room temperature
- 1 teaspoon vanilla extract
- 1 ½ cups all-purpose flour (190g)
- 1 teaspoon baking soda
- ½ teaspoon salt
- ½ teaspoon ground cinnamon (optional but highly recommended)
- 1 cup walnut halves or pieces, roughly chopped (100g)
Instructions
- Preheat your oven to 350°F (175°C). Grease your 9×5-inch loaf pan or line it with parchment paper, leaving some overhang on the sides for easy lifting.
- Mash the bananas: In your large mixing bowl, add the ripe bananas. Mash them with a fork or potato masher until they’re mostly smooth with a few small lumps. Set aside.
- Add the wet ingredients: Pour in the melted butter, granulated sugar, eggs, and vanilla extract. Stir everything together with your wooden spoon until combined.
- Mix the dry ingredients: Add the flour, baking soda, salt, and cinnamon directly into the same bowl. Stir gently until just combined, with a few streaks of flour remaining.
- Fold in the walnuts: Add the chopped walnuts to the batter. Fold them in with 3-4 gentle strokes until evenly distributed.
- Pour into the pan: Scrape the batter into your prepared loaf pan. Spread it evenly with your spatula. Tap the pan gently on the counter a couple times to release any air bubbles.
- Bake: Place the pan in the preheated oven. Bake for 50-60 minutes, or until a toothpick inserted in the center comes out clean or with just a few moist crumbs. If the top is browning too quickly after 40 minutes, tent it loosely with aluminum foil.
- Cool: Let the bread cool in the pan for 10 minutes. Then lift it out using the parchment paper and transfer to a cooling rack. Let it cool completely before slicing—about 1 hour.
Notes
Don’t overmix the batter—stir until flour just disappears. Toast walnuts first for better flavor and crunch. Use the spoon-and-level method for flour. Let bread cool completely before slicing for clean slices. Bread tastes even better on day two.
Nutrition
- Serving Size: 1 slice
- Calories: 285
- Sugar: 18
- Sodium: 220
- Fat: 14
- Saturated Fat: 6
- Carbohydrates: 36
- Fiber: 2
- Protein: 5
Keywords: banana bread, walnut bread, one-bowl recipe, easy banana bread, no-mixer banana bread, moist banana bread


