This was supposed to be banana bread. I had three sad, spotty bananas on my counter, a half-empty bag of oats, and exactly forty minutes before I needed to leave for a friend’s potluck. I was already running late—my hair was still wet, and I’d just realized I was out of chocolate chips. So I grabbed the wrong measuring cup, dumped in pumpkin puree instead of mashed bananas (they’re both orange, okay?), and tossed the whole thing in the oven without a second thought. What came out was nothing like the plan—and honestly, it was better.
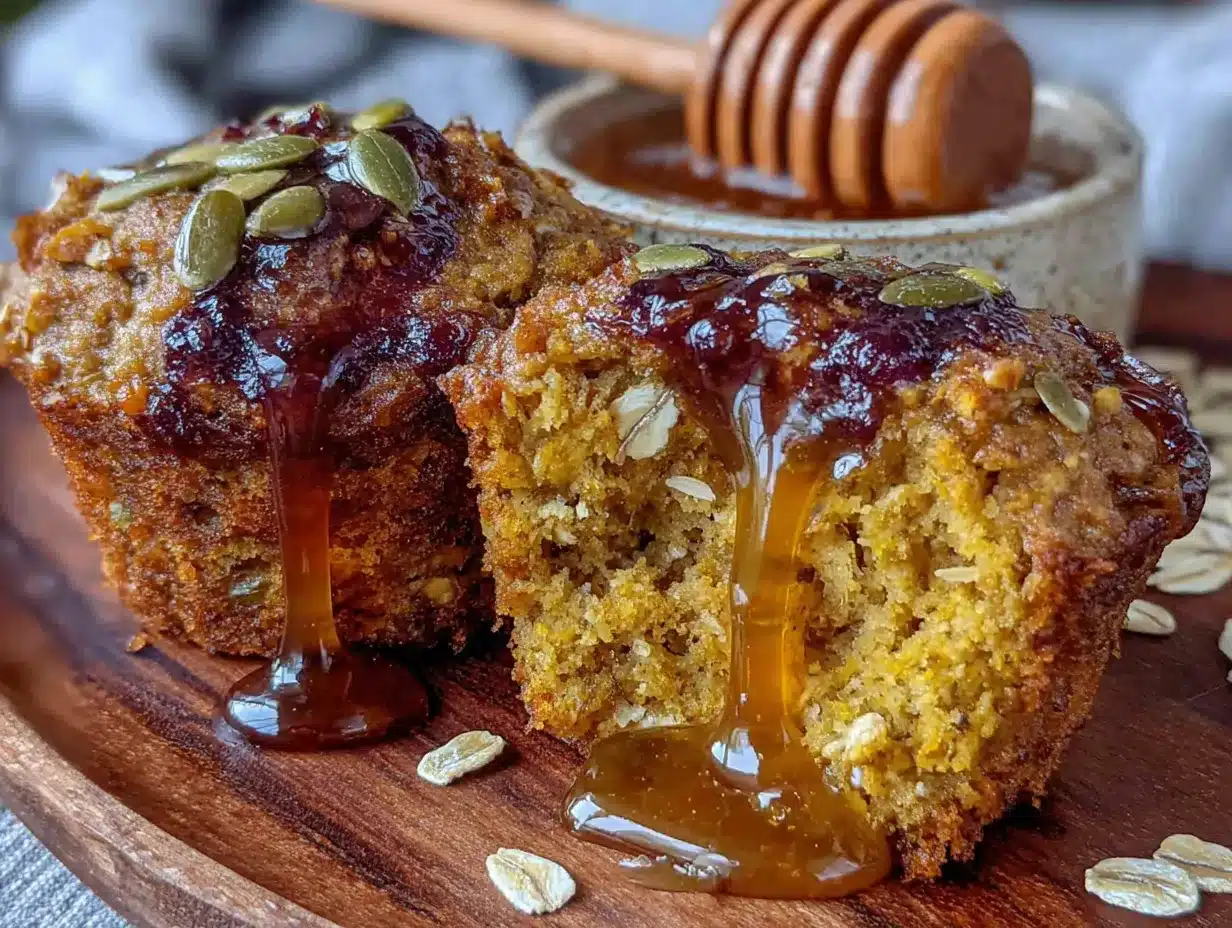
The kitchen smelled like fall had exploded inside it. Warm cinnamon, nutty oats, that deep honey sweetness that wraps around you like a favorite sweater. I pulled these golden, domed muffins out of the pan and just stood there, staring. They weren’t banana bread. They were something cozier. Something that made me forget I was late and stressed and out of chocolate chips. I mean, I brought them to the potluck anyway—still in my damp hair, still flustered—and they disappeared before I even got a plate of food.
Maybe you’ve been there. You’re trying to make one thing, your kitchen has other plans, and somehow the mistake ends up being the recipe you actually want to keep. That’s these muffins. They’re the kind of happy accident that makes you trust your gut a little more next time. And now, every time I make them—which is a lot, honestly—I remember that rushed Tuesday and the smell that made everything okay.
Why You’ll Love This Recipe
Let me tell you why these pumpkin oat muffins have earned a permanent spot in my weekly rotation. I’ve tested this recipe about seven times now—tweaking the oat-to-flour ratio, playing with the honey amount, even accidentally overbaking a batch (they were still good, just a little crispy on the edges). What I landed on is the version I actually trust to hand to a neighbor, bring to a gathering, or make on a Sunday just because.
- Quick & Easy: These come together in about 30 minutes from start to finish. Mix dry, mix wet, scoop, bake. No stand mixer needed, no complicated techniques. Perfect for those mornings when you want something warm but don’t have an hour to spare.
- Simple Ingredients: You probably already have most of these in your pantry. Oats, flour, pumpkin puree, eggs, honey, butter, and basic spices. No weird specialty items or expensive extracts.
- Perfect for Cozy Mornings: These muffins were practically made for a chilly autumn day with a hot cup of coffee. They’re also great for brunch, Thanksgiving morning, or packing in lunchboxes.
- Crowd-Pleaser: I’ve served these to kids, adults, picky eaters, and people who swear they don’t like pumpkin. Every single time, they come back for seconds. Something about the oat texture and honey sweetness just works.
- Unbelievably Delicious: The texture is what gets me—tender and moist on the inside with that slight chewiness from the oats. The honey adds a floral sweetness that pairs perfectly with warm pumpkin spice. It’s comfort food that feels wholesome, not heavy.
What makes these different from every other pumpkin muffin recipe out there? It’s the oat-to-flour balance. Most recipes use oats as an afterthought—a handful thrown in for texture. Here, the oats are the star. They give the muffin a hearty, satisfying crumb that feels like a warm hug. Plus, the honey isn’t just a sweetener—it adds moisture and a subtle floral note that granulated sugar just can’t match. This isn’t just another pumpkin muffin. It’s the one that makes you close your eyes after the first bite.
What Ingredients You Will Need
These pumpkin oat muffins use simple, wholesome ingredients to deliver that cozy, comforting flavor without any fuss. Most of these are pantry staples, so you might not even need a grocery run. Here’s what you’ll need and why each one matters.
Dry Ingredients
- Rolled oats, 1 cup (90g) — Use old-fashioned rolled oats, not quick oats. They give the muffins that hearty, chewy texture. I prefer Bob’s Red Mill for consistent results. (Quick oats will work in a pinch, but the texture will be softer.)
- All-purpose flour, 1 cup (120g) — Spoon and level your flour—don’t scoop directly from the bag or you’ll end up with dense muffins. For a whole wheat option, swap half the flour with whole wheat pastry flour.
- Brown sugar, 1/2 cup (100g), packed — Adds depth and moisture. Light or dark brown sugar both work, but dark gives a richer molasses note.
- Baking powder, 1 teaspoon — Make sure it’s fresh. Test by dropping a little in warm water—if it fizzes, it’s good.
- Baking soda, 1/2 teaspoon — Helps the muffins rise and gives them a tender crumb.
- Pumpkin pie spice, 2 teaspoons — You can use store-bought or make your own: 1 teaspoon cinnamon, 1/2 teaspoon ginger, 1/4 teaspoon nutmeg, 1/4 teaspoon cloves. I actually prefer making my own blend—it’s fresher and you can adjust the ratios.
- Salt, 1/4 teaspoon — Balances the sweetness and enhances all the other flavors.
Wet Ingredients
- Pumpkin puree, 1 cup (245g) — Use pure pumpkin puree, not pumpkin pie filling. Libby’s is my go-to brand—it’s consistently thick and not watery. (If your puree seems watery, blot it with a paper towel before using.)
- Honey, 1/3 cup (113g) — Use a mild honey like clover or orange blossom. Strong honey like buckwheat can overpower the pumpkin. Local honey is lovely if you have it—plus it’s good for seasonal allergies!
- Eggs, 2 large, room temperature — Room temperature eggs mix more evenly into the batter. If you forgot to take them out, place them in a bowl of warm water for 5 minutes.
- Unsalted butter, 1/3 cup (75g), melted and slightly cooled — Melted butter gives these muffins a rich, tender crumb. You can substitute with coconut oil for a dairy-free version—just use refined coconut oil so it doesn’t taste like coconut.
- Vanilla extract, 1 teaspoon — Pure vanilla extract is worth the splurge here. It rounds out all the warm spices.
- Milk, 1/4 cup (60ml) — Any milk works: whole, 2%, almond, oat, or buttermilk. Buttermilk makes them extra tender if you have it on hand.
Optional Topping
- Rolled oats, 2 tablespoons — For sprinkling on top before baking. It adds a nice rustic look and a little extra crunch.
- Turbinado sugar, 1 tablespoon — Also for sprinkling. That coarse sugar gives a lovely sparkly top and a slight crunch. Totally optional but very pretty.
Equipment Needed
You don’t need a fancy kitchen to make these muffins—I’ve made them in a tiny apartment with a hand-me-down mixing bowl and a warped baking sheet. Here’s what you’ll actually need:
- 12-cup muffin pan — Standard size works best. If you only have a 6-cup pan, just bake in batches. (I actually prefer baking two batches so the muffins have more room to rise.)
- Paper muffin liners — I like the unbleached brown ones—they look rustic and they never stick. You can also grease the pan well if you don’t have liners.
- Two mixing bowls — One medium, one large. Glass or stainless steel are fine. Nothing fancy needed.
- Whisk — For mixing dry ingredients and beating the eggs. A fork works in a pinch, but a whisk is easier.
- Rubber spatula — For folding the batter together without overmixing. A wooden spoon works too, but a spatula helps you scrape every bit of batter.
- Measuring cups and spoons — Dry measuring cups for flour and oats, liquid measuring cup for milk and honey. Pro tip: spray your measuring cup with nonstick spray before measuring honey—it slides right out.
- Cooling rack — Essential for getting those perfect muffin tops. If you don’t have one, you can balance the muffin pan on two cans to let air circulate underneath.
I’ve been using the same beat-up muffin pan for years—it’s got a few dark spots and the coating is wearing off, but it still makes perfect muffins every time. Don’t feel like you need brand-new equipment. Your grandmother’s old pan will work just fine.
Preparation Method
Alright, let’s make these muffins. I’ve broken this down step by step so you can follow along without any surprises. Take your time—rushing is how I ended up with pumpkin instead of banana that first time.
- Preheat your oven to 375°F (190°C). Place the rack in the center position. Line your muffin pan with paper liners or grease it well with butter or nonstick spray. I’ve forgotten to do this before—trust me, the liners make life easier.
- In a large bowl, whisk together the dry ingredients: 1 cup rolled oats, 1 cup all-purpose flour, 1/2 cup packed brown sugar, 1 teaspoon baking powder, 1/2 teaspoon baking soda, 2 teaspoons pumpkin pie spice, and 1/4 teaspoon salt. Make sure everything is evenly distributed—you don’t want a pocket of baking soda in one muffin. (I once found a bitter clump in a muffin. Not fun.)
- In a medium bowl, whisk together the wet ingredients: 1 cup pumpkin puree, 1/3 cup honey, 2 room-temperature eggs, 1/3 cup melted and slightly cooled butter, 1 teaspoon vanilla extract, and 1/4 cup milk. Whisk until smooth and fully combined. The mixture should be a uniform orange color with no streaks of egg white.
- Pour the wet ingredients into the dry ingredients. Use a rubber spatula to fold them together gently. Stir just until you no longer see dry flour—about 10 to 12 strokes. A few lumps are totally fine. Overmixing is the enemy of tender muffins. (I learned this the hard way: tough, dense muffins that nobody wanted to eat.)
- Let the batter rest for 5 minutes. This is a little trick I picked up from a bakery owner. Letting the oats absorb some liquid makes the muffins extra tender and gives them a better texture. Use this time to clean up a few dishes or just breathe.
- Scoop the batter into the prepared muffin pan. Use a 1/4-cup scoop or a large spoon. Fill each cup about 3/4 full—almost to the top. The muffins will rise nicely and form those beautiful domed tops. If you have leftover batter, resist the urge to overfill; just bake a second batch.
- Sprinkle the tops with extra rolled oats and turbinado sugar if using. This step is optional but it adds a lovely texture and makes the muffins look bakery-worthy. Press the oats gently into the batter so they stick.
- Bake for 18 to 22 minutes. Start checking at 18 minutes. The muffins are done when a toothpick inserted into the center comes out clean or with a few moist crumbs. The tops should be golden brown and spring back when lightly touched. My oven runs hot, so I always check at 18 minutes—better to underbake slightly than overbake.
- Cool in the pan for 5 minutes. This allows the muffins to set so they don’t fall apart when you remove them. After 5 minutes, transfer them to a wire rack to cool completely. If you try to remove them too early, they might stick or crumble.
- Enjoy warm or at room temperature. These muffins are absolutely glorious warm—the honey flavor really shines. But they’re also delicious at room temperature, which makes them perfect for meal prep or packing in lunchboxes.
Cooking Tips & Techniques
After making these pumpkin oat muffins more times than I can count, I’ve collected a few tricks that make the process smoother and the results more consistent. Here are the lessons I wish someone had told me sooner.
Don’t overmix the batter. This is the number one mistake people make with muffins. Mix until the flour just disappears—a few lumps are your friend. Overmixing develops gluten, which makes muffins tough and dense instead of tender and fluffy. I learned this after a batch that could have doubled as hockey pucks.
Use room temperature ingredients. Cold eggs and cold milk can make the melted butter solidify into little clumps, which leads to uneven texture. Take your eggs and milk out of the fridge 30 minutes before you start. If you forget, place the eggs in a bowl of warm water for 5 minutes and microwave the milk for 10 seconds.
Measure your flour correctly. Scooping flour directly from the bag compacts it, and you can end up with 20% more flour than you need. Use the spoon-and-level method: fluff the flour with a spoon, spoon it into your measuring cup, then level it off with a knife. This simple step makes a huge difference in muffin texture.
Let the batter rest. That 5-minute rest I mentioned isn’t just a suggestion—it’s a game-changer. The oats absorb moisture and soften, which gives the muffins a better texture. Plus, the baking powder activates during this time, which helps the muffins rise higher. I once skipped this step when I was in a hurry, and the muffins were noticeably flatter.
Rotate the pan halfway through baking. Most ovens have hot spots. Rotating the pan at the 10-minute mark ensures even browning and consistent doneness. I forgot to do this once and ended up with half the muffins perfectly golden and half pale and underdone.
Use a cookie scoop for even muffins. A 1/4-cup cookie scoop gives you perfectly portioned batter every time. This means all your muffins bake evenly and look uniform. If you don’t have a scoop, use a spoon and try to portion them as evenly as possible.
Variations & Adaptations
One of the best things about this recipe is how flexible it is. I’ve played around with different versions, and here are some of my favorites. Feel free to experiment based on what you have in your pantry or what you’re craving.
Gluten-Free Version: Swap the all-purpose flour with a 1:1 gluten-free baking flour blend. I’ve had good results with Bob’s Red Mill 1-to-1 Baking Flour. Make sure your oats are certified gluten-free if needed. The texture will be slightly more delicate, but still delicious.
Dairy-Free Version: Use melted coconut oil or a neutral vegetable oil instead of butter, and swap the milk with almond milk, oat milk, or any non-dairy milk. I’ve made these with oat milk and coconut oil, and honestly, I couldn’t tell the difference. They were just as tender and flavorful.
Add-In Ideas: Fold in 1/2 cup of chocolate chips, chopped pecans, walnuts, or dried cranberries after mixing the batter. I love adding dark chocolate chips and a pinch of sea salt on top—it’s like a fancy bakery muffin. Dried cranberries add a nice tartness that balances the sweet honey.
Less Sweet Version: Reduce the honey to 1/4 cup and the brown sugar to 1/3 cup. The muffins will still be sweet from the pumpkin and the natural sugars, but they’ll be more subtly flavored. I’ve made this version for friends who prefer less sweet breakfasts, and they loved it.
Pumpkin Spice Upgrade: If you want even more pumpkin flavor, add 1/4 teaspoon of ground ginger and a pinch of ground cardamom along with the pumpkin pie spice. Cardamom adds this warm, slightly floral note that’s absolutely beautiful with pumpkin. Trust me on this one.
Mini Muffins: Use a mini muffin pan and bake for 10 to 12 minutes. These are perfect for kids, parties, or when you just want a little bite of something cozy. I’ve made them for Thanksgiving brunch and they disappeared in minutes.
Serving & Storage Suggestions
These pumpkin oat muffins are incredibly versatile when it comes to serving. Here’s how I like to enjoy them and how to keep them fresh.
Serving Temperature: These muffins are best served warm, right out of the oven. The honey flavor is at its peak, and the texture is incredibly tender. If you’re serving them later, warm them in the microwave for 10 to 15 seconds or in a 300°F oven for 5 minutes.
Pairing Suggestions: A warm muffin with a pat of butter melting into it is pure comfort. I also love them with a drizzle of extra honey or a smear of cream cheese. For drinks, they’re perfect with coffee, chai tea, or a cold glass of milk. Honestly, they’re good with just about anything.
For Breakfast or Brunch: Serve these alongside scrambled eggs, fresh fruit, and yogurt for a complete breakfast. They also make a great grab-and-go option for busy mornings. I’ve packed them for road trips and picnics—they travel beautifully.
Storage Instructions: Store leftover muffins in an airtight container at room temperature for up to 3 days. If your kitchen is warm or humid, you can store them in the refrigerator for up to 5 days. Place a paper towel in the container to absorb excess moisture—this keeps the muffins from getting soggy.
Freezing Instructions: These muffins freeze wonderfully. Let them cool completely, then place them in a single layer in a freezer-safe bag or container. They’ll keep for up to 3 months. To thaw, leave them at room temperature for about an hour, or microwave for 20 to 30 seconds. I always keep a stash in my freezer for those mornings when I need something cozy in a hurry.
Flavor Development: Here’s something interesting—these muffins actually taste even better the next day. The flavors meld together overnight, and the honey and spices become more pronounced. So don’t worry if you have leftovers. They might just be better the second day.
Nutritional Information & Benefits
I’m not a nutritionist, but I’ve done my homework on these ingredients. Here’s a rough estimate of what’s in one muffin (based on 12 muffins):
| Nutrient | Per Muffin (approx.) |
|---|---|
| Calories | 195 |
| Total Fat | 8g |
| Saturated Fat | 4.5g |
| Cholesterol | 45mg |
| Sodium | 180mg |
| Total Carbohydrates | 28g |
| Dietary Fiber | 2g |
| Sugars | 14g |
| Protein | 4g |
Health Benefits: Pumpkin is packed with vitamin A and fiber, which supports eye health and digestion. Oats are a great source of soluble fiber, which helps keep you full and supports heart health. Honey provides antioxidants and has natural antibacterial properties. Plus, these muffins have less refined sugar than many bakery versions, thanks to the honey and pumpkin’s natural sweetness.
Dietary Considerations: This recipe can easily be made gluten-free and dairy-free (see variations above). It’s nut-free as written, making it a safe option for school lunches. The muffins are also relatively low in added sugar compared to many muffin recipes—the honey provides natural sweetness without a huge sugar spike.
Conclusion
These cozy pumpkin oat muffins with honey started as a complete accident—a rushed, distracted mistake that somehow turned into something I genuinely look forward to making. They’re the kind of recipe that proves you don’t need to be perfect in the kitchen. Sometimes the best things come from grabbing the wrong ingredient, forgetting to check the oven, or just going with your gut when things go sideways.
I love that these muffins feel like a warm hug on a chilly morning. They’re simple enough for a weekday breakfast but special enough for a holiday brunch. The oats give them heartiness, the honey adds that floral sweetness, and the pumpkin makes everything taste like fall. And honestly? They make my whole kitchen smell incredible while they’re baking.
I’d love to hear how yours turn out. Did you add chocolate chips? Swap the honey for maple syrup? Forget the liners and have to eat them out of the pan with a spoon? (No judgment—I’ve been there.) Drop a comment below and let me know how they came out. And if you’re looking for more cozy breakfast ideas, you might like these cinnamon roll overnight oats or this apple cider donut bread. Happy baking, friend!
Frequently Asked Questions
Can I use quick oats instead of rolled oats?
Yes, you can use quick oats, but the texture will be softer and less chewy. Rolled oats give these muffins their signature hearty texture. If you only have quick oats, reduce the milk by 1 tablespoon since quick oats absorb less liquid.
Can I substitute the honey with maple syrup?
Absolutely! Maple syrup works beautifully in this recipe. Use the same amount (1/3 cup), but note that maple syrup is slightly thinner than honey, so the batter might be a touch runnier. The flavor will be more maple-forward, which is lovely with pumpkin.
Why did my muffins turn out dense and heavy?
This usually happens from overmixing the batter. Mix just until the flour disappears—a few lumps are fine. Another culprit could be too much flour from scooping directly from the bag. Always spoon and level your flour for light, tender muffins.
Can I make these muffins vegan?
Yes! Replace the eggs with flax eggs (2 tablespoons ground flaxseed mixed with 6 tablespoons water, let sit for 5 minutes). Use melted coconut oil instead of butter, and choose a non-dairy milk. The texture will be slightly denser but still delicious.
How do I know when the muffins are done baking?
Insert a toothpick into the center of a muffin. If it comes out clean or with a few moist crumbs, they’re done. The tops should be golden brown and spring back when lightly pressed. Start checking at 18 minutes to avoid overbaking.
Pin This Recipe!
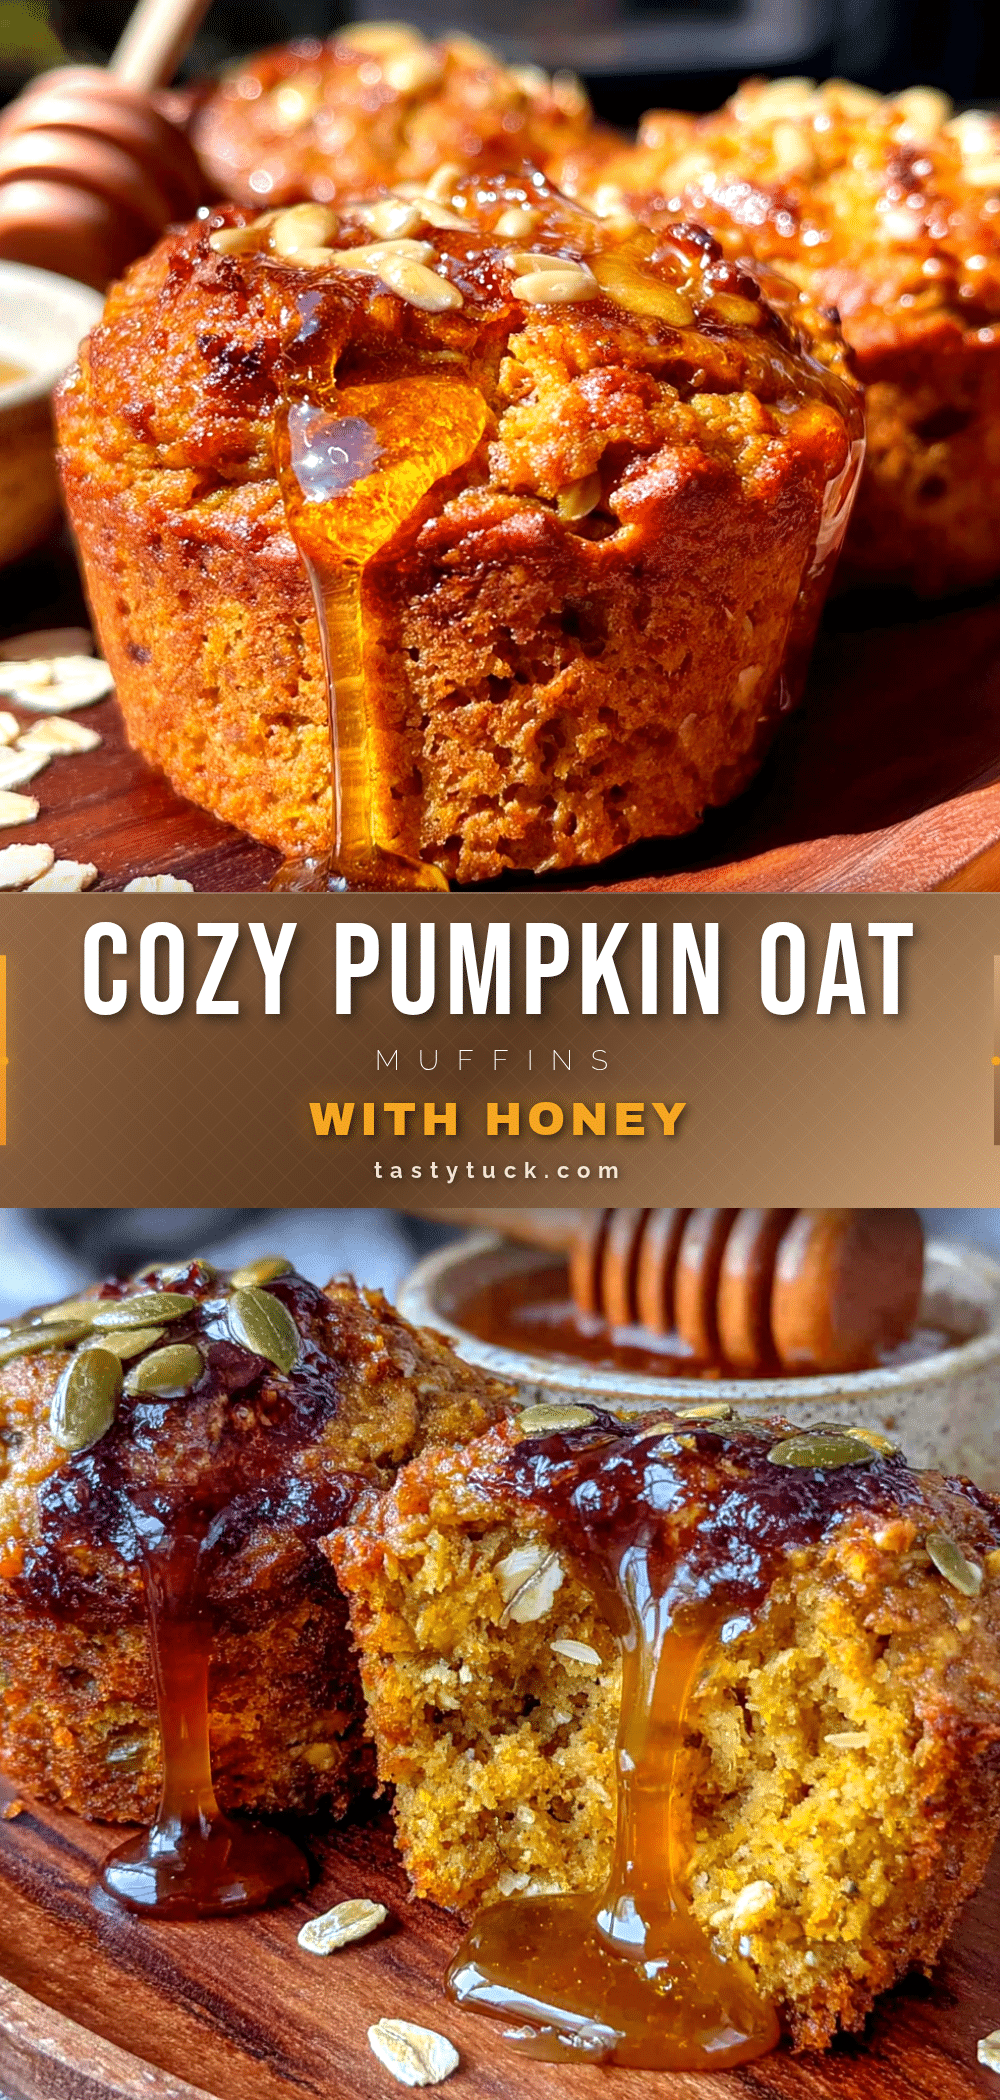
Best Easy Pumpkin Oat Muffins with Honey
These cozy pumpkin oat muffins with honey started as a happy accident—a rushed, distracted mistake that turned into something genuinely delicious. They’re simple enough for a weekday breakfast but special enough for a holiday brunch, with hearty oats, floral honey sweetness, and warm pumpkin spice.
- Prep Time: 10 minutes
- Cook Time: 20 minutes
- Total Time: 30 minutes
- Yield: 12 muffins 1x
- Category: Breakfast
- Cuisine: American
Ingredients
- 1 cup (90g) rolled oats
- 1 cup (120g) all-purpose flour
- 1/2 cup (100g) packed brown sugar
- 1 teaspoon baking powder
- 1/2 teaspoon baking soda
- 2 teaspoons pumpkin pie spice
- 1/4 teaspoon salt
- 1 cup (245g) pumpkin puree
- 1/3 cup (113g) honey
- 2 large eggs, room temperature
- 1/3 cup (75g) unsalted butter, melted and slightly cooled
- 1 teaspoon vanilla extract
- 1/4 cup (60ml) milk
- 2 tablespoons rolled oats (for topping, optional)
- 1 tablespoon turbinado sugar (for topping, optional)
Instructions
- Preheat your oven to 375°F (190°C). Place the rack in the center position. Line your muffin pan with paper liners or grease it well with butter or nonstick spray.
- In a large bowl, whisk together the dry ingredients: 1 cup rolled oats, 1 cup all-purpose flour, 1/2 cup packed brown sugar, 1 teaspoon baking powder, 1/2 teaspoon baking soda, 2 teaspoons pumpkin pie spice, and 1/4 teaspoon salt.
- In a medium bowl, whisk together the wet ingredients: 1 cup pumpkin puree, 1/3 cup honey, 2 room-temperature eggs, 1/3 cup melted and slightly cooled butter, 1 teaspoon vanilla extract, and 1/4 cup milk. Whisk until smooth and fully combined.
- Pour the wet ingredients into the dry ingredients. Use a rubber spatula to fold them together gently. Stir just until you no longer see dry flour—about 10 to 12 strokes. A few lumps are fine.
- Let the batter rest for 5 minutes.
- Scoop the batter into the prepared muffin pan. Use a 1/4-cup scoop or a large spoon. Fill each cup about 3/4 full.
- Sprinkle the tops with extra rolled oats and turbinado sugar if using. Press the oats gently into the batter so they stick.
- Bake for 18 to 22 minutes. Start checking at 18 minutes. The muffins are done when a toothpick inserted into the center comes out clean or with a few moist crumbs. The tops should be golden brown and spring back when lightly touched.
- Cool in the pan for 5 minutes. After 5 minutes, transfer them to a wire rack to cool completely.
- Enjoy warm or at room temperature.
Notes
Don’t overmix the batter—mix just until the flour disappears. Use room temperature ingredients for best results. Measure flour using the spoon-and-level method. Let the batter rest for 5 minutes to allow oats to absorb liquid. Rotate the pan halfway through baking for even browning. Use a cookie scoop for even muffins. These muffins taste even better the next day.
Nutrition
- Serving Size: 1 muffin
- Calories: 195
- Sugar: 14
- Sodium: 180
- Fat: 8
- Saturated Fat: 4.5
- Carbohydrates: 28
- Fiber: 2
- Protein: 4
Keywords: pumpkin muffins, oat muffins, honey muffins, easy muffins, fall breakfast, pumpkin spice, healthy muffins


