My husband took one bite of these garlic herb butter roasted turkey legs, stopped chewing, and just looked at me. Then he asked if I’d make them again the next day. I’m not kidding—he never does that. I’d been messing around with a butter compound in the kitchen, trying to figure out what to do with the leftover herbs from a roast chicken, and I figured turkey legs were cheap enough to experiment on. Honestly, I wasn’t expecting much. Turkey legs can be tricky—they’re lean in spots and tough if you look at them wrong. But when that first leg came out of the oven, all golden and glistening, with little pools of herby butter sizzling in the pan, I knew I’d stumbled onto something good. The skin crackled when I cut into it. The meat underneath was so tender it practically fell off the bone. And the smell? Let’s just say my kitchen smelled like a holiday dinner crossed with a fancy steakhouse. That first bite was quiet. The second one came with a little laugh, the kind you let out when something tastes better than you thought it would. This recipe stuck because it’s simple enough for a Tuesday but impressive enough for company. And honestly? It’s the kind of meal that makes you feel like you really know what you’re doing in the kitchen—even if you’re just following directions like the rest of us.
Why You’ll Love This Recipe
These garlic herb butter roasted turkey legs aren’t just another dinner option. They’re the kind of recipe that makes you wonder why you don’t cook turkey legs more often. I’ve tested this method more times than I can count, tweaking the butter ratio, adjusting the temperature, and figuring out exactly how long to let them rest. Here’s why I think you’ll love them too:
- Simple Ingredients: You don’t need anything fancy. Butter, garlic, herbs, salt, pepper—that’s it. No weird specialty items, no trips to three different stores.
- One Pan Wonder: Everything happens in one dish. Less cleanup, more time sitting down and actually enjoying your meal.
- Perfect for Any Occasion: These work for Sunday dinner, holiday gatherings, game day snacks, or just because you’re tired of chicken.
- Foolproof Results: The herb butter keeps the meat moist while the high heat crisps up the skin. Even if you’re new to cooking turkey, this method is forgiving.
- Budget Friendly: Turkey legs are usually way cheaper than chicken breasts or thighs. You get that impressive presentation without the price tag.
What makes this recipe different from other turkey leg recipes out there is the technique. Most recipes either roast them low and slow (which gives you soggy skin) or blast them at high heat (which dries out the meat). This method uses a generous coating of herb butter to protect the meat while the oven does its thing. The butter bastes the legs as they cook, creating this incredible golden crust while keeping the inside impossibly tender. It’s not just another version—it’s the version I’ve settled on after weeks of testing. And if you’re looking for more crowd-pleasing mains, you might enjoy this copycat Texas Roadhouse ribs recipe for another impressive dinner option.
What Ingredients You Will Need
This recipe uses simple, wholesome ingredients to deliver bold flavor and satisfying texture without the fuss. Most of these are probably already in your kitchen, which is exactly how I like it.
- Turkey Legs (4 legs, about 3-4 pounds total): Look for legs that are roughly the same size so they cook evenly. I prefer ones with the skin still on—that’s where all the crispy magic happens. You can find them fresh or frozen in most grocery stores near the poultry section. If frozen, make sure to thaw them completely in the fridge before cooking.
- Unsalted Butter (½ cup, softened): I use unsalted so I can control the salt level. Let it sit out for about 30 minutes before you start mixing. If you’re in a hurry, you can microwave it in 5-second bursts—just don’t melt it completely.
- Garlic (6 cloves, minced): Fresh garlic makes a huge difference here. The jarred stuff works in a pinch, but it won’t give you that same punchy flavor. I use a microplane for the finest mince, but chopping by hand works too.
- Fresh Rosemary (2 tablespoons, chopped): The piney, earthy flavor pairs perfectly with turkey. Strip the leaves off the woody stems before chopping. You can substitute 1 teaspoon dried rosemary if that’s what you have.
- Fresh Thyme (1 tablespoon, leaves stripped): Thyme adds this subtle lemony note that brightens everything up. Run your fingers down the stem to remove the leaves easily. Dried thyme works too—use 1 teaspoon.
- Fresh Parsley (2 tablespoons, chopped): Parsley adds freshness and a little color. Flat-leaf Italian parsley has more flavor than the curly kind, but either works.
- Salt (1½ teaspoons): I use kosher salt for its clean taste and easy pinchability. Diamond Crystal is my go-to brand. If you’re using table salt, reduce to 1 teaspoon.
- Black Pepper (1 teaspoon, freshly ground): Freshly ground pepper has so much more flavor than pre-ground. Take the extra 30 seconds—it’s worth it.
- Olive Oil (2 tablespoons): A little oil in the pan helps the butter brown without burning. Use a good quality extra virgin if you have it.
- Chicken or Turkey Broth (½ cup): This goes in the bottom of the pan to create steam and keep everything moist. Low-sodium is best so you can control the salt. If you don’t have broth, water with a bouillon cube works fine.
Equipment Needed
You don’t need a fancy kitchen to make these turkey legs shine. Here’s what I use:
- Large Baking Dish or Roasting Pan: Something big enough to hold the legs without crowding them. A 9×13-inch dish works perfectly for four legs. If you have a cast iron skillet, that works great too—it holds heat beautifully and helps with even browning.
- Mixing Bowl: For combining the herb butter. Any medium-sized bowl will do.
- Chef’s Knife and Cutting Board: For mincing garlic and chopping herbs. A sharp knife makes this job so much easier.
- Meat Thermometer: This is non-negotiable for poultry. An instant-read thermometer takes the guesswork out of cooking. I use a Thermapen, but any reliable digital thermometer works.
- Basting Brush or Spoon: For spreading the butter mixture over the legs. A silicone brush is nice, but a regular spoon works just as well.
- Aluminum Foil: For tenting the legs while they rest. This helps redistribute the juices.
If you don’t have a meat thermometer, you can check doneness by piercing the thickest part of the leg—the juices should run clear. But honestly, a thermometer takes the stress out of cooking poultry, and they’re cheap. If you’re looking for another one-pan dinner idea, this easy BBQ chicken crockpot recipe is perfect for busy nights.
Preparation Method
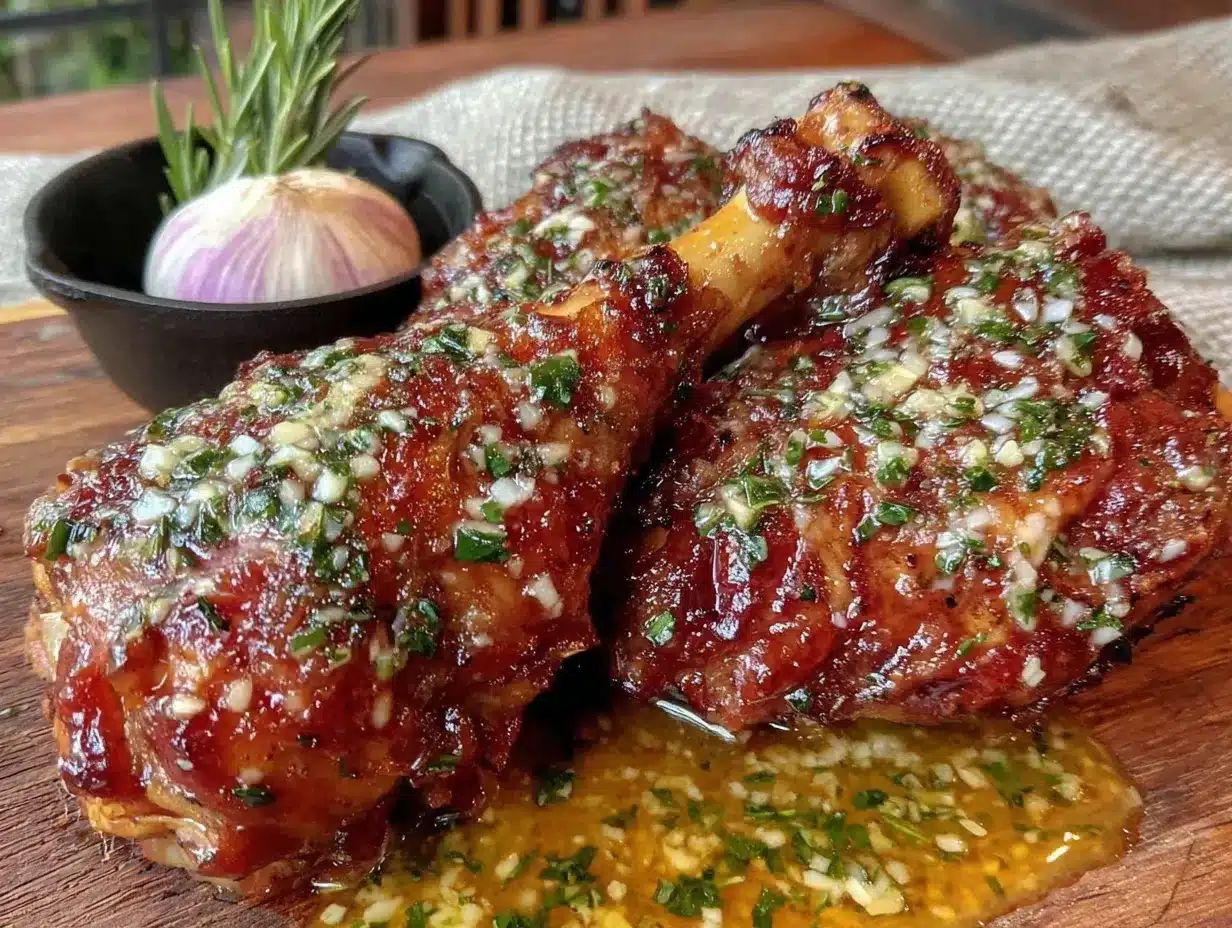
- Preheat and Prep: Preheat your oven to 400°F (200°C). Position the rack in the middle of the oven. Take your turkey legs out of the fridge and let them sit at room temperature for about 20 minutes—this helps them cook more evenly. Pat them completely dry with paper towels. This step is crucial for crispy skin. If the skin is even a little damp, it’ll steam instead of crisping.
- Make the Herb Butter: In a medium bowl, combine the softened butter, minced garlic, chopped rosemary, thyme, parsley, salt, and pepper. Mix everything together with a fork until it’s well combined. Taste a tiny bit—it should be flavorful and herby. If it tastes flat, add another pinch of salt. The butter should be soft enough to spread easily but not melted. If it’s too firm, let it sit out a few more minutes.
- Season the Legs: Place the turkey legs in your baking dish. Using your hands (yes, get in there), rub the herb butter all over each leg. Make sure you get under the skin too—gently loosen the skin with your fingers and push some butter underneath. This is the secret to flavorful meat. Don’t be shy with the butter; use it all. The legs should look generously coated.
- Add the Liquid: Pour the chicken broth into the bottom of the baking dish, being careful not to wash the butter off the legs. The broth should come up about ¼ inch. This creates steam in the oven, keeping the meat moist while the tops get crispy. Drizzle the olive oil over the tops of the legs—this helps with browning.
- Roast the Legs: Place the dish in the preheated oven and roast for 45-55 minutes. About halfway through, baste the legs with the pan juices using a spoon or brush. The legs are done when the skin is deep golden brown and crispy, and the internal temperature reaches 165°F (74°C) in the thickest part of the meat. Start checking at 40 minutes if your legs are on the smaller side.
- Rest Before Serving: Remove the dish from the oven and tent it loosely with aluminum foil. Let the legs rest for 10-15 minutes. I know it’s tempting to dig in right away, but this step is important. The rest allows the juices to redistribute throughout the meat. If you cut into them too soon, all those delicious juices will run out onto the plate instead of staying in the meat.
A few things to watch for: If the skin isn’t crispy enough at the end, you can pop the legs under the broiler for 2-3 minutes. Just keep an eye on them—broilers work fast. If the pan juices are drying up during cooking, add another ¼ cup of broth or water. You want that liquid in the bottom of the pan, not evaporated.
Cooking Tips & Techniques
I’ve made these turkey legs more times than I care to count, and I’ve learned a few things along the way. Here are the tips that actually make a difference:
Don’t Skip the Drying Step: This is the number one mistake I see people make. Wet skin = soggy skin. Take the extra minute to really pat those legs dry with paper towels. I even let them sit uncovered in the fridge for 30 minutes if I have time—it dries out the skin even more.
Room Temperature Matters: Cold turkey legs straight from the fridge will cook unevenly. The outside will be done while the inside is still cold. Letting them sit out for 20 minutes before roasting makes a noticeable difference. If you’re in a rush, you can skip this, but the results won’t be as consistent.
Get Under the Skin: This is the pro move. Use your fingers to gently separate the skin from the meat, then push some of that herb butter in there. The butter melts directly onto the meat, flavoring it from the inside out. The skin stays crispy on top because the butter isn’t sitting on it.
Use a Thermometer: I learned this the hard way after serving dry turkey one too many times. Poultry needs to reach 165°F (74°C) for safety, but if you cook it much past that, it gets dry. A thermometer takes the guesswork out. Insert it into the thickest part of the leg, avoiding the bone.
Let Them Rest: I know I said this already, but it’s worth repeating. Those 10 minutes of rest are when the magic happens. The meat relaxes, the juices settle, and everything comes together. If you’re serving these for a party, you can make them ahead and reheat gently in a 300°F oven for 10 minutes.
Variations & Adaptations
One of the best things about this recipe is how easy it is to change up. Here are some variations I’ve tried and loved:
Spicy Cajun Version: Replace the rosemary and thyme with 2 teaspoons of Cajun seasoning and add a pinch of cayenne pepper to the butter. This gives the legs a smoky, spicy kick that’s perfect with cornbread and collard greens. I made this version for a game day party and they disappeared in minutes.
Lemon Herb Twist: Add the zest of one lemon and 1 tablespoon of lemon juice to the herb butter. The acidity cuts through the richness of the dark meat beautifully. This version is lighter and brighter—great for spring or summer dinners.
Garlic Lovers Version: Double the garlic. Use 12 cloves instead of 6. Roast them slightly before mincing for a sweeter, mellower garlic flavor. I’ve done this when I had a cold and needed something comforting—the garlic flavor is intense but not overwhelming.
Dairy-Free Option: Substitute the butter with a good quality vegan butter or olive oil. If using olive oil, mix it with the herbs and brush it over the legs. The skin won’t be quite as crispy, but the flavor is still amazing. I’ve tested this with Miyoko’s vegan butter and it worked beautifully.
Herb Substitutions: Don’t have rosemary? Use sage or marjoram. No thyme? Try oregano or tarragon. The beauty of this recipe is its flexibility. Fresh herbs are best, but dried work in a pinch—just use about one-third the amount.
Serving & Storage Suggestions
These turkey legs are best served hot, right after that 10-minute rest. The skin should still be crispy and the meat steaming. I like to serve them on a large platter with the pan juices drizzled over the top. A sprinkle of fresh parsley adds a nice pop of color.
What to Serve With Them: These legs pair beautifully with almost any side dish. Mashed potatoes are a classic—the pan juices make an incredible gravy. Roasted vegetables like carrots, Brussels sprouts, or green beans work great. For a holiday-style meal, serve them with stuffing and cranberry sauce. If you’re going for a more casual vibe, coleslaw and cornbread are perfect. You might also enjoy this crispy cast iron cornbread skillet as a side.
Storage: Leftover turkey legs can be stored in an airtight container in the refrigerator for up to 4 days. The skin will lose its crispiness, but the meat will still be delicious. To reheat, place them in a 350°F oven for about 10-15 minutes, or until heated through. You can also reheat them in an air fryer at 375°F for 5-7 minutes—this helps crisp the skin back up.
Freezing: These legs freeze well. Let them cool completely, then wrap each leg tightly in plastic wrap and place them in a freezer bag. They’ll keep for up to 3 months. Thaw overnight in the refrigerator before reheating.
Flavor Development: Honestly, the leftovers might be even better the next day. The flavors have time to meld together, and the meat gets even more tender. I’ve been known to make extra just for cold turkey leg sandwiches the next day—shred the meat, pile it on crusty bread with some leftover pan juices, and you’ve got lunch sorted.
Nutritional Information & Benefits
Turkey legs are a fantastic source of protein, iron, and B vitamins. Dark meat is higher in fat than white meat, but it’s also more flavorful and stays moist during cooking. Here’s the approximate nutritional breakdown for one turkey leg (based on a ½ pound leg with skin):
- Calories: 380-420
- Protein: 35-40g
- Fat: 25-30g
- Carbohydrates: 1-2g
- Iron: 15% of daily value
- Vitamin B12: 20% of daily value
- Zinc: 25% of daily value
Health Benefits: Turkey is a lean protein source that supports muscle health and keeps you feeling full. The dark meat contains more iron than white meat, which is important for energy levels. Garlic has anti-inflammatory properties, and fresh herbs are packed with antioxidants. If you’re watching your sodium, you can reduce the salt in the recipe or use a salt-free herb blend.
Dietary Considerations: This recipe is naturally gluten-free, low-carb, and keto-friendly. It’s also Whole30 compliant if you use ghee instead of butter. The main allergens are dairy (butter) and potentially garlic (some people are sensitive).
Conclusion
These garlic herb butter roasted turkey legs have become a staple in my kitchen for good reason. They’re simple enough for a weeknight but impressive enough for company. The herb butter does all the heavy lifting—keeping the meat moist, flavoring every bite, and creating that golden, crispy skin we all crave. I love that I can make them with ingredients I usually have on hand, and that they always turn out exactly how I want them. Whether you’re cooking for a holiday gathering, a game day party, or just a regular Tuesday dinner, these turkey legs deliver. Try them once, and I think you’ll understand why my husband asked for them again the next day. If you make them, I’d love to hear how they turned out. Leave a comment below or tag me in your photos—I’m always looking for new ideas and variations. Happy cooking, friends!
Frequently Asked Questions
Can I use frozen turkey legs for this recipe?
Yes, but you need to thaw them completely in the refrigerator first. It usually takes 24-48 hours depending on the size. Don’t try to cook them from frozen—they’ll cook unevenly and the skin won’t crisp properly.
How do I know when the turkey legs are done?
The safest way is to use a meat thermometer. Insert it into the thickest part of the leg without touching the bone. The internal temperature should reach 165°F (74°C). If you don’t have a thermometer, pierce the leg with a fork—the juices should run clear, not pink.
Can I make this recipe in an air fryer?
Absolutely. Preheat your air fryer to 375°F (190°C). Rub the herb butter over the legs and place them in the air fryer basket in a single layer. Cook for 25-30 minutes, flipping halfway through. The skin gets incredibly crispy this way. Just make sure your air fryer is big enough to hold the legs without crowding.
What if my turkey legs are different sizes?
Try to buy legs that are roughly the same size for even cooking. If you end up with mixed sizes, check the smaller legs earlier and remove them from the pan while the larger ones finish cooking. You can keep the smaller ones warm under foil while you wait.
Can I use dried herbs instead of fresh?
Yes, dried herbs work in a pinch. Use about one-third the amount called for in the recipe. So instead of 2 tablespoons fresh rosemary, use 2 teaspoons dried. Keep in mind that dried herbs are more concentrated, so the flavor will be slightly different—still good, just not as bright.
Pin This Recipe!
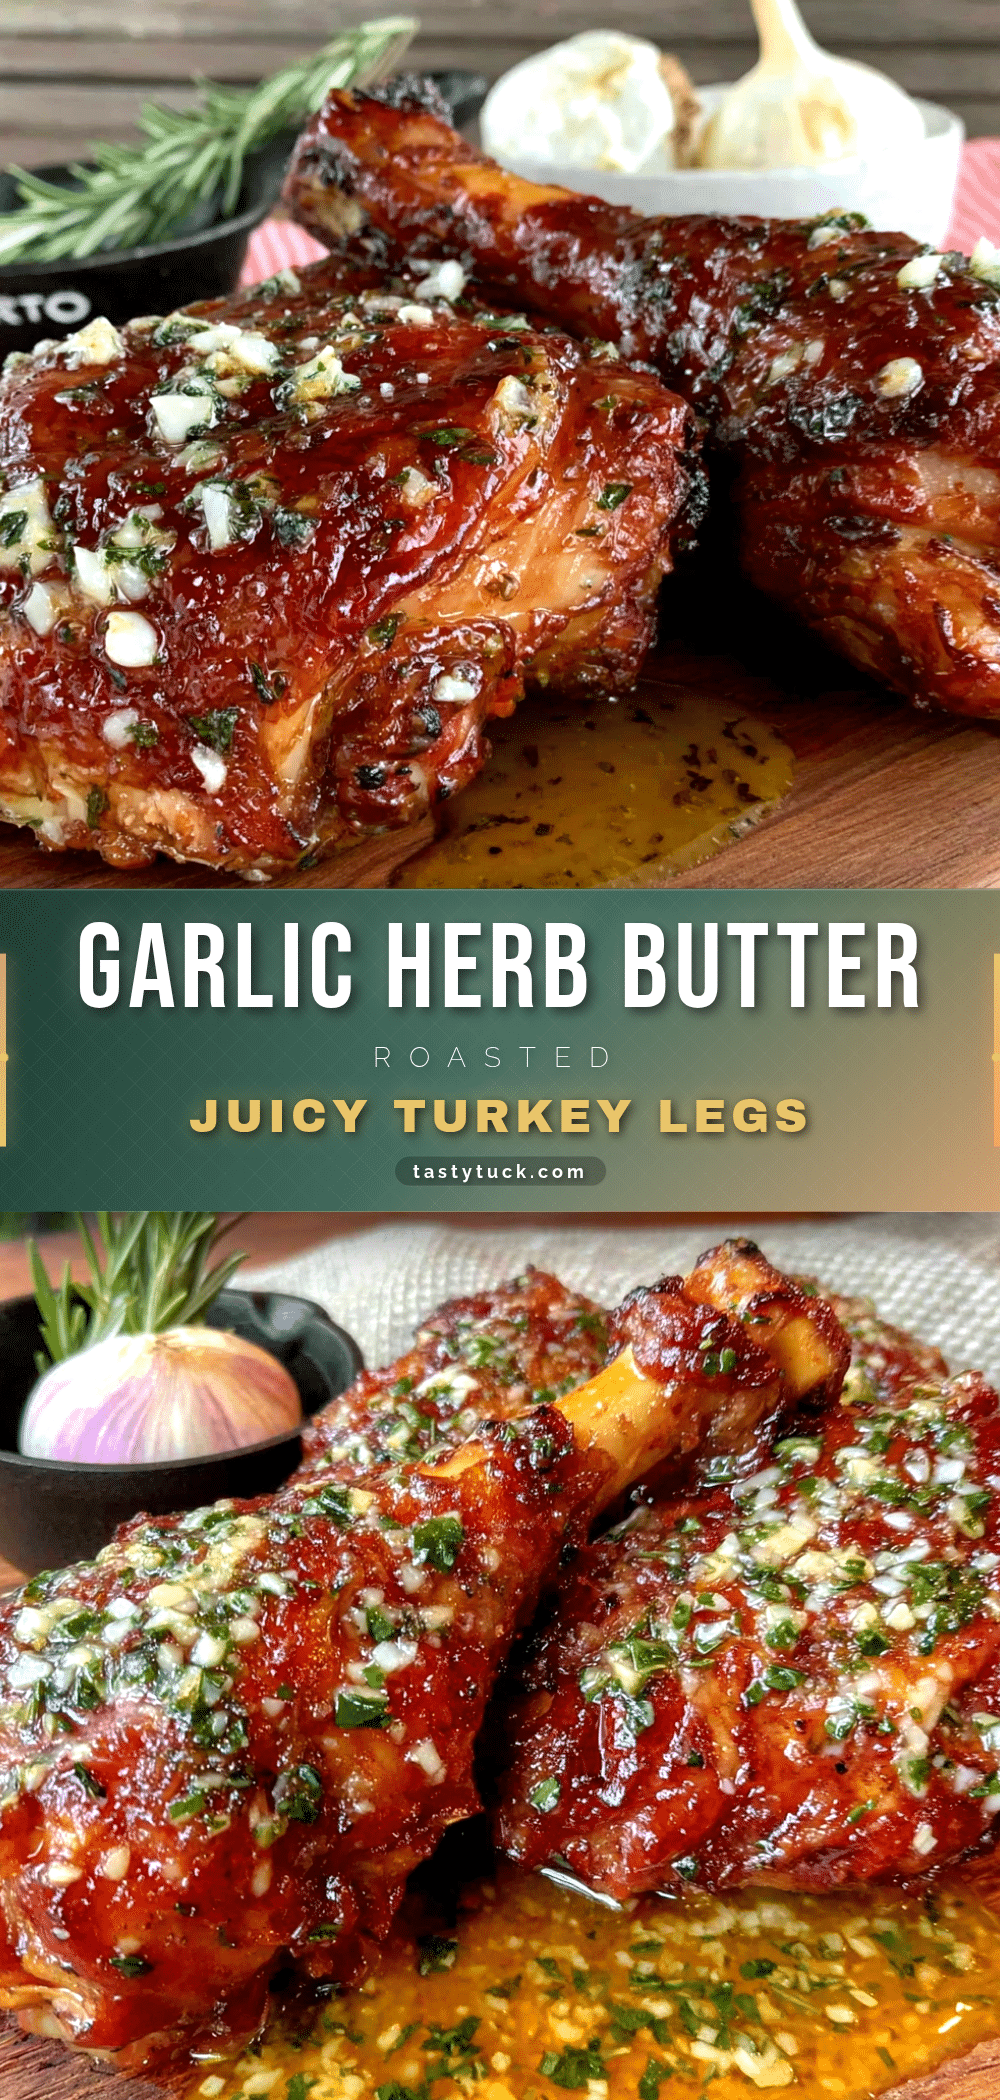
Best Garlic Herb Butter Roasted Turkey Legs Recipe
These garlic herb butter roasted turkey legs are simple enough for a Tuesday but impressive enough for company. The herb butter keeps the meat moist while the high heat crisps up the skin, creating an incredible golden crust and impossibly tender meat.
- Prep Time: 20 minutes
- Cook Time: 45-55 minutes
- Total Time: 1 hour 15 minutes
- Yield: 4 servings 1x
- Category: Main Course
- Cuisine: American
Ingredients
- 4 turkey legs (about 3–4 pounds total)
- ½ cup unsalted butter, softened
- 6 cloves garlic, minced
- 2 tablespoons fresh rosemary, chopped
- 1 tablespoon fresh thyme leaves
- 2 tablespoons fresh parsley, chopped
- 1½ teaspoons kosher salt
- 1 teaspoon freshly ground black pepper
- 2 tablespoons olive oil
- ½ cup chicken or turkey broth (low-sodium)
Instructions
- Preheat your oven to 400°F (200°C). Position the rack in the middle of the oven. Take the turkey legs out of the fridge and let them sit at room temperature for about 20 minutes. Pat them completely dry with paper towels.
- In a medium bowl, combine the softened butter, minced garlic, chopped rosemary, thyme, parsley, salt, and pepper. Mix together with a fork until well combined.
- Place the turkey legs in a large baking dish. Using your hands, rub the herb butter all over each leg, including under the skin. Use all the butter.
- Pour the chicken broth into the bottom of the baking dish, being careful not to wash the butter off the legs. Drizzle the olive oil over the tops of the legs.
- Roast for 45-55 minutes. About halfway through, baste the legs with the pan juices. The legs are done when the skin is deep golden brown and crispy, and the internal temperature reaches 165°F (74°C) in the thickest part.
- Remove the dish from the oven and tent it loosely with aluminum foil. Let the legs rest for 10-15 minutes before serving.
Notes
For extra crispy skin, you can pop the legs under the broiler for 2-3 minutes at the end. If the pan juices dry up during cooking, add another ¼ cup of broth or water. Letting the legs rest for 10-15 minutes is crucial for juicy meat.
Nutrition
- Serving Size: 1 turkey leg
- Calories: 400
- Sodium: 800
- Fat: 28
- Saturated Fat: 12
- Carbohydrates: 2
- Protein: 38
Keywords: turkey legs, roasted turkey, garlic herb butter, Thanksgiving, holiday dinner, easy turkey recipe, one pan meal


