Edges curled and charred just right, the crispy crust of the smashed burger is what I made this for — everything else is secondary. That crackling exterior, the way it shatters under your fork to reveal juicy, tender meat beneath, is honestly the highlight of the whole bowl. You can almost hear the sizzle as it hits the hot skillet, and the smell is so inviting it pulls you in before you even sit down. It’s a texture obsession, for sure, because the contrast between the crispy bits and the melty, gooey cheese that blankets the patty is pure magic. The pickled onions sit on top like a bright, tangy punctuation mark, balancing the richness perfectly. I remember the first time I made this smashed burger bowl, how I couldn’t stop poking at the edges to get every crispy fragment, and how that crunch kept me hooked bite after bite. It’s not just a meal; it’s tactile, almost meditative — you taste it with your fingers and eyes first, then your mouth follows.
What stuck with me, beyond the taste, is how this dish feels satisfying in every possible way. It’s a bowl full of contrasts — crunchy, soft, tangy, cheesy — and that’s why it’s become a go-to. No fuss, just layers of texture and flavor that don’t quit. If you want a burger that’s not just about heft or size but about that crispy, cheesy experience, this recipe is for you. And that tangy pickled onion? It’s like a little secret weapon that makes each bite pop. I trust you’ll find the same quiet joy in this dish as I do every time I make it.
Why You’ll Love This Recipe
Honestly, this Crispy Cheesy Smashed Burger Bowl with Tangy Pickled Onions is a bit of a kitchen win that I keep coming back to. It’s a recipe that feels fancy but really isn’t, which is perfect for those nights when you want something impressive without spending hours slaving away.
- Quick & Easy: You can have this bowl ready in about 30 minutes — perfect for busy weeknights or whenever you’re craving something hearty but don’t want to wait.
- Simple Ingredients: No exotic or hard-to-track-down items here. You probably already have most of what’s needed in your pantry and fridge.
- Perfect for Casual Dinners: Whether it’s a solo comfort meal or feeding a small group, this smashed burger bowl hits the spot without any stress.
- Crowd-Pleaser: The combination of crispy edges, melted cheese, and tangy pickled onions always gets nods of approval from friends and family alike.
- Unbelievably Delicious: The texture and flavor combo is next-level comfort food — think juicy, cheesy, with a bright zing that keeps you coming back for more.
What really sets this smashed burger bowl apart is the technique — smashing the patty thin creates that irresistible crust that’s almost addictive. Plus, layering it in a bowl with melty cheese and tangy pickled onions is a twist on traditional burgers that feels fresh. I find that this recipe is the kind that makes me close my eyes after the first bite — just pure satisfaction. It’s comfort food reimagined in a way that’s quick, fuss-free, but still feels a little special. I often pair it with simple sides or even toss it alongside a lighter dish like a fresh salad for balance.
What Ingredients You Will Need
This recipe uses simple, wholesome ingredients to deliver bold flavor and that satisfying crispy and cheesy texture without fuss. Most are pantry staples or easy to find at any grocery store.
- Ground beef (80/20 blend recommended): The fat content is key for juicy, flavorful patties with crispy edges.
- Salt and pepper: Basic seasoning to bring out the beef’s flavor.
- Cheese slices (American or cheddar): I prefer American for its meltability, but sharp cheddar works great for extra tang.
- Yellow mustard or burger sauce: Adds a subtle tang to the base layer in the bowl.
- Pickled red onions: Thinly sliced red onions soaked in a quick vinegar brine — they add that bright, sharp contrast.
- Lettuce or mixed greens: For a fresh, crunchy bed underneath the burger.
- Tomato slices: Adds juicy sweetness and color.
- Cooking oil (vegetable or canola): For the skillet to get that perfect sear.
Optional add-ons:
- Pickles for extra crunch
- Avocado slices for creaminess
- Jalapeños if you like a little heat
For the pickled onions, I use a simple mixture of apple cider vinegar, sugar, and salt. It’s quick and keeps well in the fridge for days. If you want to keep this gluten-free, all ingredients here are naturally free of gluten. For dairy-free, swap the cheese for a plant-based melty alternative. I often buy my ground beef from local butchers for freshness, but a trusted grocery brand like Pat LaFrieda or Trader Joe’s works just fine.
Equipment Needed
- Cast iron skillet or heavy-bottomed pan: This is ideal for getting that crispy crust on the burger. I’ve tried non-stick pans, but cast iron gives the best sear.
- Spatula: A sturdy metal spatula helps smash the burger properly and scrape up those crispy bits.
- Mixing bowl: For combining and seasoning the beef.
- Knife and cutting board: For slicing onions, tomatoes, and prepping greens.
- Small jar or bowl for pickling onions: Any container with a lid works for quick pickling.
If you don’t have cast iron, a stainless steel skillet can work, but heat retention won’t be quite the same. I keep my cast iron well-seasoned with regular oiling, which helps prevent sticking and keeps that crust extra crispy. For budget-friendly options, basic Lodge cast iron skillets are reliable and last forever.
Preparation Method
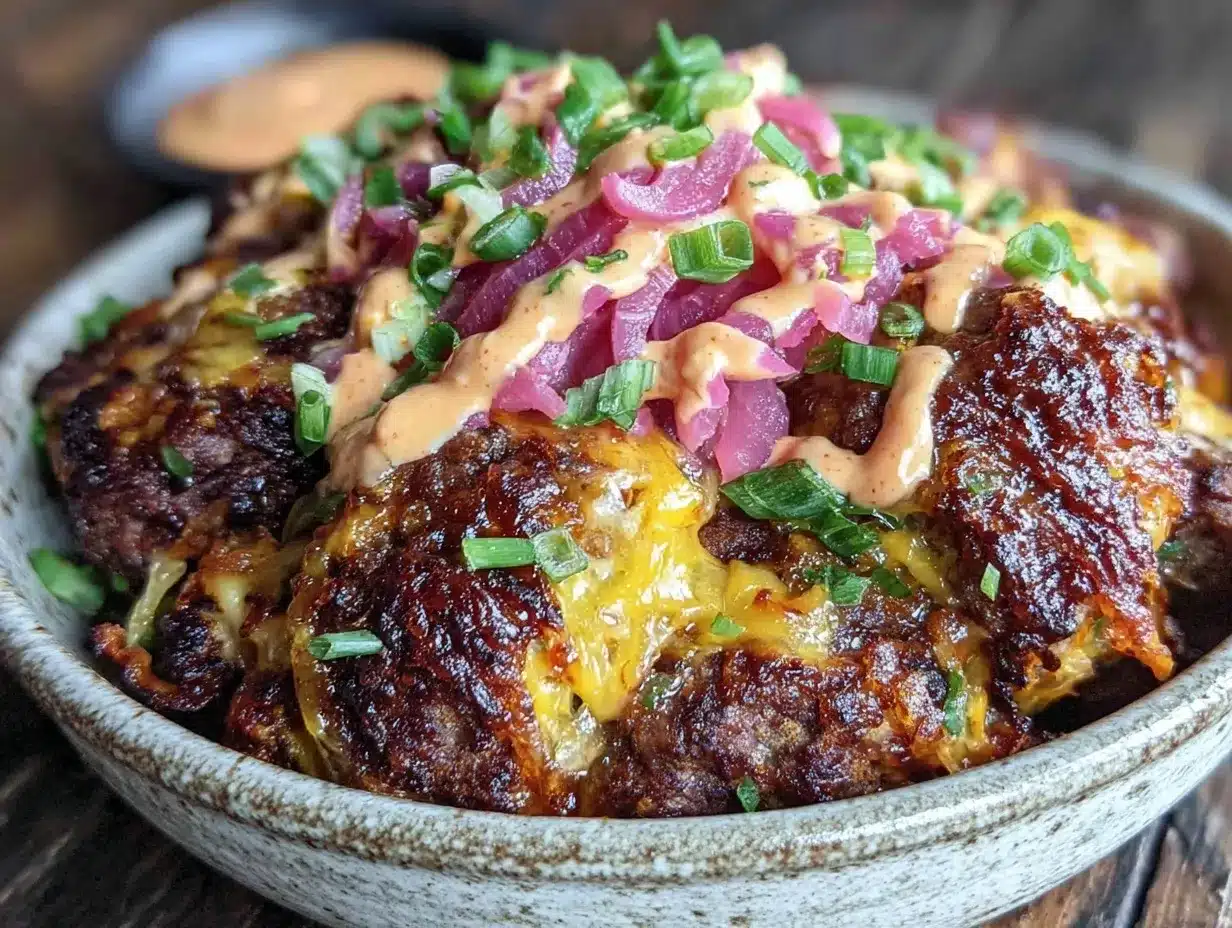
- Prepare the pickled onions: Thinly slice one medium red onion. In a small bowl or jar, mix ½ cup (120 ml) apple cider vinegar, 1 tablespoon sugar, 1 teaspoon salt, and ½ cup (120 ml) water until dissolved. Submerge the onion slices and refrigerate for at least 30 minutes (can be made ahead up to 3 days). This adds that essential tangy crunch topping.
- Form the burger patties: Take 1 pound (450 g) of ground beef and divide into 4 equal portions (about 4 ounces or 115 g each). Gently roll each portion into loose balls without overworking the meat — this keeps the texture tender.
- Heat the skillet: Place your cast iron pan over medium-high heat and add 1 tablespoon of oil. Wait until the oil shimmers and is just starting to smoke, which means it’s hot enough to get that crust.
- Cook the smashed burgers: Place one beef ball in the skillet and immediately press down firmly with a spatula to flatten into a thin patty (about ¼ inch or 6 mm thick). Hold pressure for 10 seconds to ensure a good crust forms. Repeat for each patty, cooking 2 at a time if your pan space allows. Cook for about 2-3 minutes until the edges are deeply browned and crispy.
- Flip and add cheese: Carefully flip the patties and immediately place a slice of cheese on each one. Cook another 1-2 minutes until the cheese melts and the burger is cooked through but still juicy inside.
- Assemble the bowl: In serving bowls, spread a layer of mustard or burger sauce. Add a bed of fresh greens, then place the cheesy smashed patties on top. Layer with fresh tomato slices and generous spoonfuls of the tangy pickled onions.
- Final touch and serve: Optionally, garnish with pickles, avocado, or jalapeños. Serve immediately for the best contrast between crispy edges and melty cheese.
Tip: If you want to keep patties warm while cooking batches, place them on a baking sheet in a 200°F (95°C) oven. This is especially helpful when cooking for a crowd. For perfect texture, don’t overcrowd the pan — it lowers the temperature and prevents that beautiful crust.
Cooking Tips & Techniques
To nail the crispy cheesy smashed burger bowl, a few tricks make all the difference. First, don’t skip the smashing step—pressing the patties thin against a hot skillet is what creates those addictive crispy edges. I learned the hard way that if you leave the patties thick, they won’t develop that iconic crust, and you end up with a more traditional burger texture instead.
Use a metal spatula with a sharp edge, preferably one designed for flipping burgers or pancakes, to really press down. Hold steady pressure for a solid 10 seconds — this helps the patty stick to the pan and sear properly. Also, resist the temptation to move the patty around while it’s cooking; patience here pays off.
Cheese choice matters too. American cheese melts beautifully and gives you that gooey, creamy layer that contrasts the crispy beef. Sharp cheddar adds a flavor kick but melts a bit less smoothly. I personally switch it up depending on my mood.
When making the pickled onions, let them sit at least 30 minutes before serving so the sharpness mellows but the crunch remains. Sometimes I make a batch in advance and keep it handy—it brightens up everything from sandwiches to salads. If you want a milder tang, add a little honey or reduce the vinegar slightly.
Finally, multitasking helps a lot here. While the pickled onions rest, prep your veggies and get the skillet hot. Cooking in batches keeps your kitchen organized and ensures every smashed patty gets the attention it deserves. Trust me, these little techniques add up to a restaurant-quality bowl at home.
Variations & Adaptations
While the classic crispy cheesy smashed burger bowl is a showstopper, I’ve played around with a few variations that keep things interesting:
- Low-carb or Keto: Skip the greens base and serve over cauliflower rice or spiralized zucchini. Swap cheese for a sharp blue for a bolder flavor profile.
- Vegetarian option: Use a black bean or lentil patty like in my flavorful loaded vegetarian black bean burgers. Add vegan cheese and pickled onions for a similar tang.
- Spicy twist: Add sliced pickled jalapeños or mix hot sauce into the burger sauce. You can also use pepper jack cheese instead of standard cheddar or American.
- Seasonal flair: Swap out the pickled onions with pickled shallots or quick-pickled radishes in spring for a fresh crunch.
- Cooking method: For a smoky note, finish the patties under a broiler for 1-2 minutes after cooking, or grill them smashed on a flat top if you have one.
One personal favorite variation is adding a fried egg on top for brunch vibes — runny yolk meets crispy cheese and tangy onions is a breakfast game-changer. If you try any twists, I’d love to hear how they turn out!
Serving & Storage Suggestions
This bowl is best enjoyed fresh and hot when the crispy edges and melted cheese are at their peak. Serve it right away, ideally on warm plates, so the contrasts in texture and temperature really shine. I like to pair it with a crisp, simple side salad or some crunchy sweet potato fries for a full meal.
If you have leftovers, store the components separately if possible — keep patties in an airtight container and pickled onions in their brine in the fridge. When reheating, use a skillet over medium heat to revive the crispiness; microwave reheating tends to leave the burger soggy, which, honestly, kills the whole vibe.
Flavors actually deepen overnight, especially the pickled onions, making this bowl a great option for meal prep lunches if you don’t mind losing some crispness. I’ve found wrapping the bowl components separately in foil helps keep the texture intact better than plastic containers.
For a fun twist, serve the bowl with a side of tangy coleslaw or even alongside a comforting walking taco casserole if you want a full BBQ spread!
Nutritional Information & Benefits
This crispy cheesy smashed burger bowl packs a satisfying punch of protein and fat, making it a filling option for lunch or dinner. A typical serving contains approximately 550-650 calories, with around 35-40 grams of protein, depending on the size of your patties and cheese amount.
The beef provides essential nutrients like iron and B vitamins, while the pickled onions add antioxidants and digestive benefits from their vinegar content. Using fresh greens adds fiber and vitamins A and C. For those mindful of carbs, this recipe is moderate, but can be easily lowered by limiting the sauce or breading sides.
If you’re managing allergens, this recipe contains dairy and beef, so swapping cheese for plant-based alternatives and using vegetarian patties can keep it inclusive. I personally appreciate that this bowl feels indulgent but balanced — a satisfying meal without unnecessary fillers.
Conclusion
At the end of the day, this Crispy Cheesy Smashed Burger Bowl with Tangy Pickled Onions is one of those recipes that feels both special and approachable. It’s a texture lover’s dream with that crunchy, melty, tangy combo that keeps me hooked. I love how it turns a classic burger into something a little different and more exciting without any complicated steps.
Feel free to tweak the toppings or cheese to suit your mood or pantry, because that’s part of the fun. Whether you’re cooking for yourself or sharing with friends, this bowl delivers on flavor and satisfaction every time. If you give it a try, I’d really love to hear your thoughts or any creative spins you put on it. Happy cooking and crispy crunching!
FAQs
How do I get the perfect crispy crust on smashed burgers?
Use a hot cast iron skillet and press the beef balls firmly and immediately after placing them in the pan. Hold the pressure for about 10 seconds to help the crust develop. Avoid moving the patty until it’s ready to flip.
Can I make the pickled onions ahead of time?
Absolutely. Pickled onions taste better after at least 30 minutes and can be stored in the fridge for up to 3 days. Just keep them submerged in the brine until ready to use.
What cheese melts best for this burger bowl?
American cheese melts the smoothest and gives that classic gooey texture. Sharp cheddar works too but can be a bit firmer when melted. Feel free to experiment with pepper jack or mozzarella.
Is this recipe suitable for meal prep?
Yes, but store components separately to keep textures fresh. Reheat patties in a skillet to regain crispiness and keep pickled onions chilled until serving.
Can I make this recipe gluten-free?
Yes, this recipe is naturally gluten-free as long as you check your condiments and cheese labels for any hidden gluten. Swap out any sauces that contain gluten with gluten-free versions.
Pin This Recipe!
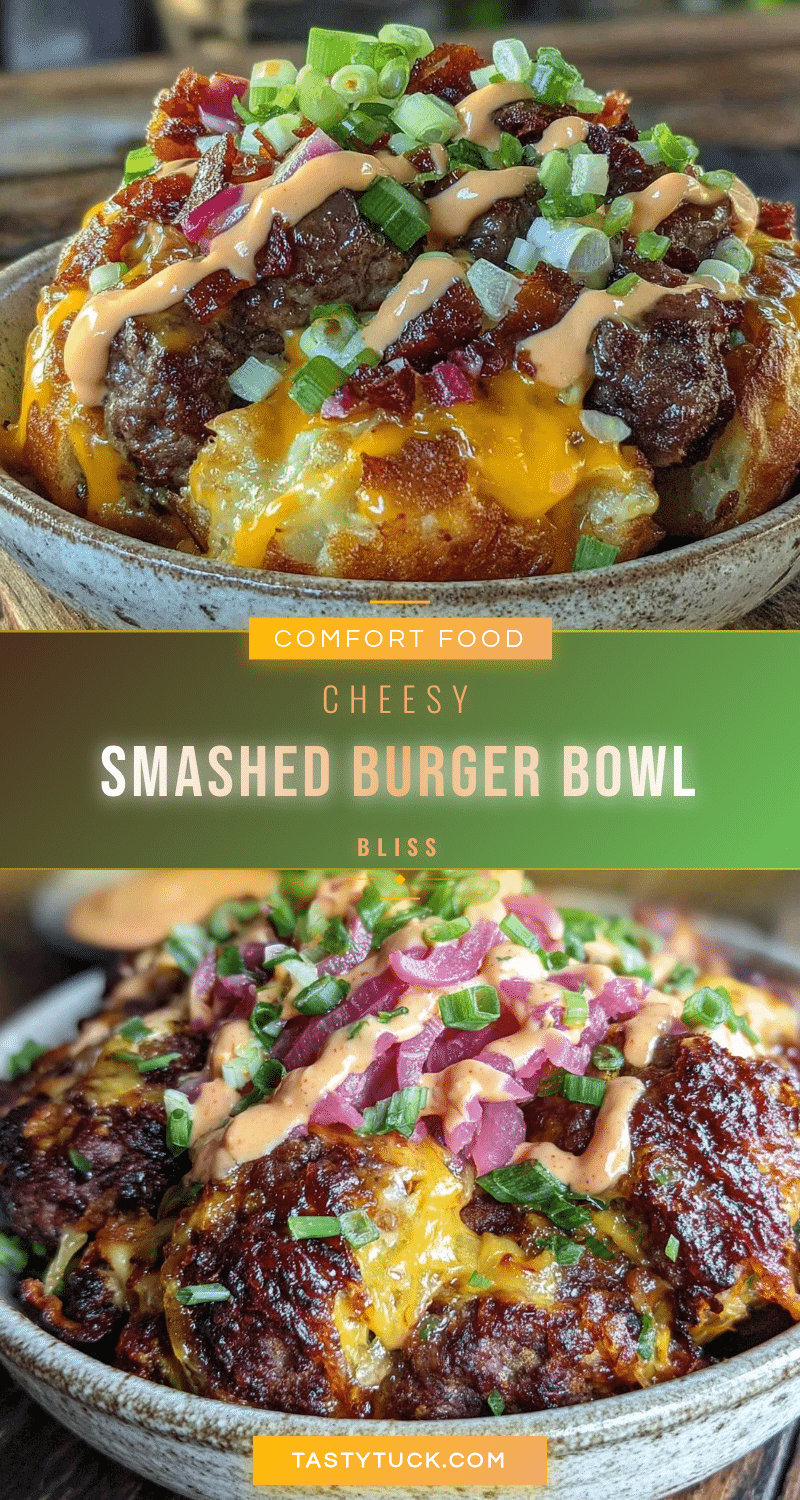
Crispy Cheesy Smashed Burger Bowl Recipe with Tangy Pickled Onions

A quick and easy smashed burger bowl featuring crispy edges, melty cheese, and tangy pickled onions for a satisfying and flavorful meal.
- Prep Time: 15 minutes
- Cook Time: 15 minutes
- Total Time: 30 minutes
- Yield: 4 servings 1x
- Category: Main Course
- Cuisine: American
Ingredients
- 1 pound ground beef (80/20 blend recommended)
- Salt and pepper to taste
- 4 slices cheese (American or cheddar)
- Yellow mustard or burger sauce
- Pickled red onions (thinly sliced red onions soaked in vinegar brine)
- Lettuce or mixed greens
- Tomato slices
- 1 tablespoon cooking oil (vegetable or canola)
- Optional: pickles, avocado slices, jalapeños
Instructions
- Prepare the pickled onions: Thinly slice one medium red onion. In a small bowl or jar, mix ½ cup apple cider vinegar, 1 tablespoon sugar, 1 teaspoon salt, and ½ cup water until dissolved. Submerge the onion slices and refrigerate for at least 30 minutes.
- Form the burger patties: Divide 1 pound ground beef into 4 equal portions (about 4 ounces each). Roll each into loose balls without overworking the meat.
- Heat the skillet: Place a cast iron pan over medium-high heat and add 1 tablespoon oil. Heat until oil shimmers and starts to smoke.
- Cook the smashed burgers: Place one beef ball in the skillet and press down firmly with a spatula to flatten into a thin patty (about ¼ inch thick). Hold pressure for 10 seconds. Cook 2-3 minutes until edges are browned and crispy. Repeat for remaining patties, cooking 2 at a time if possible.
- Flip and add cheese: Flip patties carefully and place a slice of cheese on each. Cook another 1-2 minutes until cheese melts and burger is cooked through.
- Assemble the bowl: Spread mustard or burger sauce in serving bowls. Add a bed of greens, then place cheesy smashed patties on top. Layer with tomato slices and pickled onions.
- Final touch and serve: Optionally garnish with pickles, avocado, or jalapeños. Serve immediately.
Notes
Use a hot cast iron skillet and press the patties firmly for 10 seconds to get a crispy crust. Prepare pickled onions at least 30 minutes ahead for best flavor. Reheat patties in a skillet to maintain crispiness. For dairy-free, swap cheese with plant-based alternatives. Store components separately for leftovers.
Nutrition
- Serving Size: 1 bowl (1 smashed bu
- Calories: 600
- Sugar: 5
- Sodium: 700
- Fat: 40
- Saturated Fat: 15
- Carbohydrates: 10
- Fiber: 2
- Protein: 38
Keywords: smashed burger, crispy burger, cheesy burger, pickled onions, quick dinner, easy recipe, comfort food


