I kept seeing people online complain about dry chicken breast. Comments sections were full of people who had given up on cooking it altogether. For a while, I just accepted that chicken breast was always going to be a little tough unless you pan-seared it and watched it like a hawk. That was fine for a Tuesday night, but it wasn’t working for my schedule. I needed chicken that was ready when I woke up, not something I had to cook at six in the evening after a long day.
My mom used to throw chicken breasts in a slow cooker with a can of cream of mushroom soup and call it dinner. It was fine — edible, even — but the texture was always a little… stringy. You know that feeling when the chicken shreds but it’s also somehow rubbery? That’s what we’re avoiding here. I wanted tender, juicy chicken that I could slice for sandwiches, shred for tacos, or just eat straight out of the bowl without feeling like I was chewing on a shoe.
So I started experimenting. I tried different liquids, different cook times, different starting temperatures for the chicken. I ruined a few perfectly good breasts (honestly, it was frustrating). But then I landed on this method, and it worked the first time. And the second time. And now it’s the only way I do it. This easy never-dry overnight crockpot chicken breast recipe became my secret weapon for meal prep, and I haven’t looked back since.
Why You’ll Love This Recipe
This isn’t just another slow cooker chicken recipe that promises juicy results and delivers dry disappointment. This is the real deal. I’ve tested this method more times than I can count, and it consistently produces chicken that’s tender enough to pull apart with a fork.
- Set It and Forget It: You literally throw everything in the crockpot before bed and wake up to perfectly cooked chicken. No babysitting, no stirring, no stress.
- Simple Pantry Ingredients: You probably have everything you need right now. No weird specialty items or expensive cuts of meat. Just chicken, broth, and a few seasonings.
- Perfect for Meal Prep: This is my go-to for weekly meal prep. I use it for salads, wraps, tacos, and even just as a quick protein addition to pasta. You can check out my healthy high-protein loaded grilled chicken meal prep for more ideas on how to use pre-cooked chicken throughout the week.
- Never Dry, Always Juicy: The low-and-slow overnight cooking, combined with the right liquid ratio, locks in moisture. I’m not exaggerating when I say this is the juiciest slow cooker chicken I’ve ever made.
- Endlessly Versatile: You can season it any way you like. Keep it plain for a neutral base, or go bold with spices. The method stays the same.
What makes this recipe different from all the other overnight chicken recipes out there? It’s the combination of a cold start and a very specific liquid-to-chicken ratio. Most recipes tell you to sear the chicken first or use hot broth. I found that starting with cold liquid and cold chicken in a cold pot creates the most even, gentle cooking environment. It’s not fancy, but it works. And honestly, that first bite of perfectly tender chicken after a full night of cooking — it’s the kind of thing that makes you feel like you’ve actually got this whole cooking thing figured out.
What Ingredients You Will Need
This recipe uses simple, wholesome ingredients to deliver that perfect, never-dry texture. The magic is more in the method than the ingredients, but choosing the right components definitely helps.
- Boneless, Skinless Chicken Breasts (2-3 pounds): Look for breasts that are roughly the same size so they cook evenly. I prefer using fresh chicken, but frozen works too (just add an extra hour or two to the cook time). If you can, avoid the “giant” chicken breasts; they tend to be less tender. Thinner, more uniform cuts are your friend here.
- Low-Sodium Chicken Broth (1 cup): This is your cooking liquid. The low-sodium version lets you control the salt level. I use Swanson or Kitchen Basics, but any brand works fine. You don’t need to drown the chicken — just enough to create steam and keep things moist.
- Olive Oil (2 tablespoons): A little fat helps carry flavor and keeps the chicken from sticking. You can use avocado oil or even melted coconut oil if you prefer.
- Salt (1 teaspoon): I use fine sea salt. Don’t skip this — it’s crucial for seasoning the meat from the inside out.
- Black Pepper (1/2 teaspoon): Freshly ground is always better, but pre-ground works in a pinch.
- Garlic Powder (1 teaspoon): Adds a gentle savory note without burning (which can happen with fresh garlic in a slow cooker).
- Onion Powder (1 teaspoon): Complements the garlic and adds depth.
- Dried Thyme (1/2 teaspoon): This is my secret weapon. It adds a subtle, earthy flavor that makes the chicken taste like it’s been simmering in a fancy stock. You can use dried rosemary or oregano instead.
- Optional: Fresh Lemon Slices (2-3): Placing a couple of lemon slices on top of the chicken before cooking adds a bright, fresh note. It’s not necessary, but I love it.
That’s it. Seven basic ingredients (eight if you count the lemon) and you’re on your way to the best overnight chicken of your life. I’ve made this with organic, free-range chicken and with the standard grocery store packs, and both work beautifully. The method is what does the heavy lifting.
Equipment Needed
You don’t need a lot of fancy gear for this recipe. Here’s what you’ll need:
- A Slow Cooker (5-6 quart): This is the star of the show. A 5 or 6-quart model is perfect for 2-3 pounds of chicken. I use a Crock-Pot brand slow cooker, but any brand works. If your slow cooker runs hot, you might need to adjust the cook time down a bit.
- Tongs: For handling the chicken. Silicone-tipped tongs are great because they won’t scratch your slow cooker insert.
- A Meat Thermometer: This is non-negotiable for me. An instant-read thermometer takes the guesswork out of cooking. Chicken is safe at 165°F (74°C), but for the best texture, I pull it at around 160°F (71°C) and let it rest.
- Cutting Board: A large, sturdy cutting board for shredding or slicing.
- Two Forks or a Hand Mixer: For shredding the chicken. Two forks work great, but if you’re doing a big batch, a hand mixer on low speed shreds it in seconds.
- Storage Containers: Airtight containers for storing the cooked chicken in the fridge or freezer.
I’ve made this recipe in an older, cheaper slow cooker and in a newer, more expensive one, and the results were the same. Don’t stress about having the perfect equipment. Just use what you’ve got.
Preparation Method
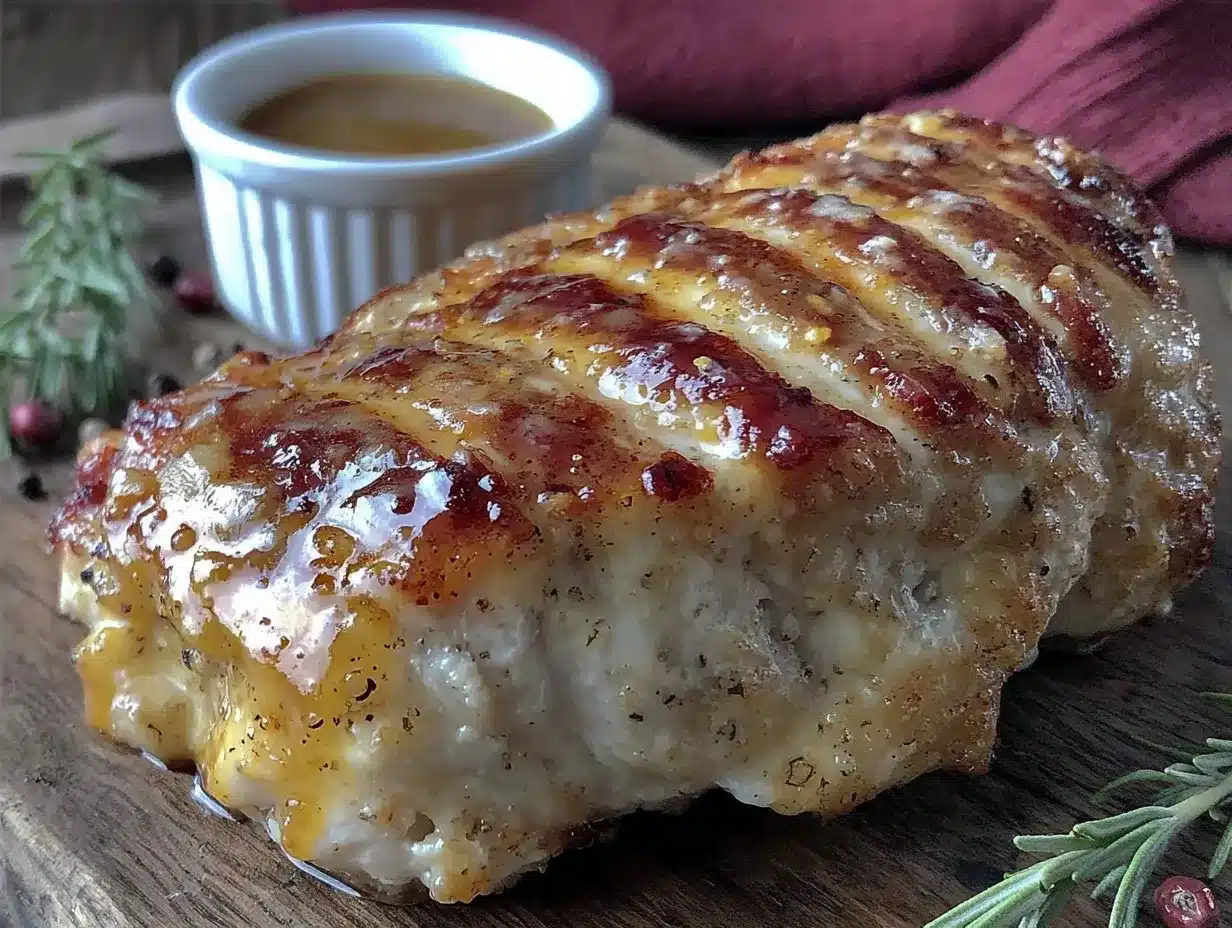
This is the part where it all comes together. Follow these steps, and you’ll have perfect chicken every single time.
- Prepare the Chicken (5 minutes): Pat the chicken breasts dry with paper towels. This helps the seasoning stick. Season both sides evenly with the salt, pepper, garlic powder, onion powder, and dried thyme. Don’t be shy — get the seasoning all over.
- Add Liquid to the Slow Cooker: Pour the 1 cup of low-sodium chicken broth into the bottom of your cold slow cooker insert. Add the 2 tablespoons of olive oil. Give it a quick stir.
- Place the Chicken in the Pot: Arrange the seasoned chicken breasts in a single layer in the broth. It’s okay if they overlap a little, but try to keep them as even as possible. If you’re using lemon slices, place them on top of the chicken now.
- The Critical Step — Cold Start: This is the part that makes this recipe different. Do NOT turn the slow cooker on yet. Place the lid on the pot and put the whole insert in the refrigerator. Let it sit for at least 30 minutes, or up to 2 hours. This allows the chicken and liquid to get cold together. I know it sounds weird, but trust me on this one.
- Start Cooking Before Bed: When you’re ready to go to sleep, take the slow cooker insert out of the fridge, place it in the base, and turn it on to LOW. Set the timer for 7-8 hours. Do NOT use the HIGH setting for this — the whole point is low, gentle heat.
- Wake Up to Perfection: In the morning, you’ll be greeted by the most amazing smell. The chicken will be cooked through and incredibly tender. Use your meat thermometer to check the internal temperature — it should be at least 165°F (74°C). If it’s slightly under, let it cook for another 30 minutes.
- Rest and Shred (5 minutes): Remove the chicken from the slow cooker using tongs and place it on a cutting board. Let it rest for 5 minutes. This lets the juices redistribute. Then, shred it with two forks or use a hand mixer. If you want to keep it moist, drizzle a little of the cooking liquid over the shredded chicken.
One thing I learned the hard way — don’t lift the lid during the night. Every time you open that lid, you let out heat and steam, and it messes with the cooking time. Just let it do its thing.
Cooking Tips & Techniques
I’ve made every mistake in the book with slow cooker chicken, so you don’t have to. Here are my best tips for guaranteed success.
Don’t Overcook It. This is the number one reason chicken dries out. Even on LOW, if you leave it for 10-12 hours, it will eventually get tough. Stick to the 7-8 hour window. If your slow cooker runs hot, start checking at 6 hours.
The Cold Start Method Works. I know it feels counterintuitive to put cold chicken in a cold pot and then turn it on. But here’s why it works: it prevents the outside of the chicken from cooking too fast while the inside stays raw. By starting cold, the entire piece of chicken heats up slowly and evenly, resulting in a much more tender texture. I ruined three batches before I figured this out.
Season Generously. Chicken breast is a blank canvas. Don’t be afraid to use more seasoning than you think you need. A lot of it will end up in the cooking liquid, so the chicken needs a good coating to actually taste flavorful.
Use a Meat Thermometer. I say this for every meat recipe, but especially for chicken. Doneness isn’t just about time — it’s about temperature. 165°F (74°C) is the safe zone, but I pull it at 160°F (71°C) because the carryover cooking during the rest period will bring it up the rest of the way. This prevents it from hitting 170°F (77°C) or higher, which is where dry chicken lives.
Save the Cooking Liquid. Don’t throw it away! That broth is packed with flavor. Use it as a base for soups, to cook rice, or just drizzle it over your shredded chicken to keep it extra moist. I like to use it in my comforting Olive Garden loaded pasta e fagioli soup for an extra layer of savory goodness.
Variations & Adaptations
This recipe is a fantastic base, but it’s also incredibly adaptable. Here are a few ways I’ve changed it up.
- Spicy Southwest: Add 1 teaspoon of chili powder, 1/2 teaspoon of cumin, and a diced jalapeño to the broth. Use the shredded chicken for tacos or burrito bowls.
- Lemon Herb: Increase the thyme to 1 teaspoon and add 2 sprigs of fresh rosemary and 3 slices of lemon. This is perfect for serving over pasta or with roasted vegetables.
- Garlic Lovers: Add 4-5 whole peeled garlic cloves to the broth. They’ll cook down and become soft and sweet, and you can mash them into the shredded chicken for an intense garlic flavor.
- Dietary Adaptations: This recipe is naturally gluten-free and dairy-free. For a low-sodium version, use unsalted broth and reduce the added salt to 1/2 teaspoon. You can also use bone broth for extra protein and nutrients.
- Different Cuts: You can use boneless, skinless chicken thighs with this same method. They’re even more forgiving and will be incredibly tender. Just reduce the cook time to 6-7 hours. For a whole chicken, this method won’t work as well; you’d need a different approach.
I once tried adding a can of diced tomatoes and green chiles to the pot before cooking. It was good, but the chicken took on a slightly acidic taste that I wasn’t crazy about. I’d recommend adding those types of ingredients after cooking if you want that flavor profile.
Serving & Storage Suggestions
This chicken is incredibly versatile, and how you serve it really depends on your mood. Here are some of my favorite ways to use it.
Serving Ideas: Serve it warm, straight from the slow cooker. It’s fantastic on sandwiches with a little mayo and lettuce, or piled high on a salad. I love it in tacos with some fresh salsa and avocado. For a quick dinner, toss it with some cooked pasta, a little of the reserved cooking liquid, and some Parmesan cheese. You can even use it as a topping for a loaded baked potato. If you’re looking for a fun party snack, try it in my easy dump and go loaded hot dogs crockpot recipe — just swap out the hot dogs for this shredded chicken!
Storage: Store the shredded chicken in an airtight container in the refrigerator for up to 4 days. Make sure to include a little bit of the cooking liquid to keep it from drying out. For longer storage, you can freeze it for up to 3 months. Portion it out into freezer-safe bags or containers, and label them with the date.
Reheating: The best way to reheat is gently. Add the chicken to a skillet with a splash of broth or water, cover, and warm over medium-low heat for 3-5 minutes. You can also reheat it in the microwave, but add a tablespoon of water and cover it with a damp paper towel to prevent it from drying out. The flavor actually gets better after a day or two in the fridge, as the seasonings have more time to meld.
Nutritional Information & Benefits
This is a lean, protein-packed meal that’s perfect for anyone watching their intake. Here’s the estimated nutritional breakdown per serving (based on 6 servings, using 3 pounds of chicken breast).
- Calories: Approximately 280
- Protein: 45g
- Fat: 8g
- Carbohydrates: 1g
- Sodium: 450mg (varies based on broth and added salt)
Chicken breast is an excellent source of lean protein, which is essential for muscle repair and keeping you feeling full. It’s also a good source of B vitamins, particularly B6 and niacin, which support energy metabolism. This recipe is naturally low in carbohydrates and can be easily adapted for keto, paleo, or Whole30 diets (just use compliant broth and oil). The main allergen to note is that this recipe is free from the top eight allergens, making it a safe choice for most people.
I personally love having this chicken on hand for busy weeks. It makes it so much easier to make healthy choices when the protein is already cooked and waiting for me.
Conclusion
This easy never-dry overnight crockpot chicken breast recipe has genuinely changed the way I approach meal prep. It’s one of those recipes that feels almost too good to be true — you put in minimal effort and get incredible results. The cold start method is the key, and once you try it, you’ll never go back to the old way of doing things.
I really encourage you to make this your own. Play around with the seasonings, use it in your favorite dishes, and don’t be afraid to experiment. The base method is solid, and it can handle just about any flavor profile you throw at it. Whether you’re a busy parent, a meal prep enthusiast, or just someone who loves good food without the fuss, this recipe is for you.
If you give this a try, I’d love to hear about it! Leave a comment below and let me know how you used your chicken. Did you make tacos? Sandwiches? Something totally unexpected? Share your wins — it’s my favorite part of doing this. Happy cooking, friend!
Frequently Asked Questions
Can I use frozen chicken breasts for this recipe?
Yes, you can! Add an extra 1-2 hours to the cook time. I recommend using smaller frozen breasts if possible. The cold start method still works, but the overall cooking time will be longer. Always check the internal temperature with a meat thermometer to be safe.
Why is my chicken still dry even after following this recipe?
The most common reason is overcooking. Even on LOW, if your slow cooker runs hot or you leave it for more than 8 hours, the chicken can dry out. Also, make sure you’re using enough liquid. The chicken should be sitting in the broth, not just touching it. If you’re using a very large slow cooker, you might need to increase the broth to 1.5 cups.
Can I cook this on HIGH instead of LOW?
I don’t recommend it. The whole point of this method is the low, gentle heat. Cooking on HIGH will cook the chicken faster, but it will also be much more likely to dry out. If you’re in a hurry, this isn’t the recipe for that day. Stick to LOW and plan ahead.
How do I store the leftover cooking liquid?
Strain it through a fine-mesh sieve to remove any solids, then store it in an airtight container in the refrigerator for up to 5 days, or freeze it for up to 3 months. It’s fantastic as a soup base, for cooking rice or quinoa, or for reheating the shredded chicken.
Can I add vegetables to the slow cooker with the chicken?
You can, but I don’t recommend it for this specific recipe. Vegetables like carrots, celery, and onions will release water as they cook, which can dilute the broth and affect the cooking environment. They also have different cook times than the chicken. If you want to add veggies, I’d suggest roasting them separately and adding them to the finished dish.
Pin This Recipe!
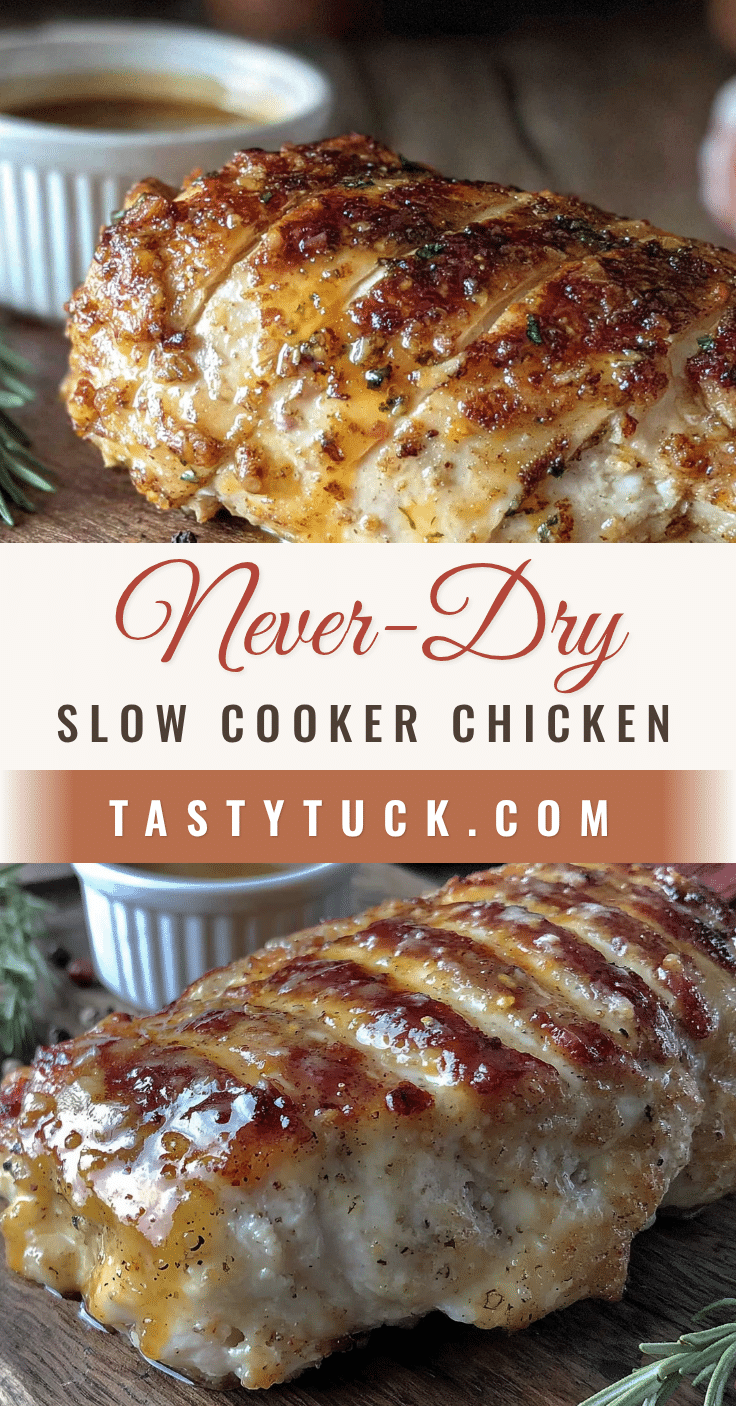
Easy Never-Dry Overnight Crockpot Chicken Breast Recipe

This easy never-dry overnight crockpot chicken breast recipe uses a cold start method and simple ingredients to produce tender, juicy chicken perfect for meal prep. Set it before bed and wake up to perfectly cooked chicken for sandwiches, tacos, salads, and more.
- Prep Time: 10 minutes
- Cook Time: 7 hours 30 minutes
- Total Time: 7 hours 40 minutes
- Yield: 6 servings 1x
- Category: Main Course
- Cuisine: American
Ingredients
- 2–3 pounds boneless, skinless chicken breasts
- 1 cup low-sodium chicken broth
- 2 tablespoons olive oil
- 1 teaspoon fine sea salt
- 1/2 teaspoon black pepper
- 1 teaspoon garlic powder
- 1 teaspoon onion powder
- 1/2 teaspoon dried thyme
- 2–3 fresh lemon slices (optional)
Instructions
- Pat the chicken breasts dry with paper towels. Season both sides evenly with salt, pepper, garlic powder, onion powder, and dried thyme.
- Pour the chicken broth and olive oil into the bottom of a cold slow cooker insert. Stir briefly.
- Arrange the seasoned chicken breasts in a single layer in the broth. If using, place lemon slices on top.
- Place the lid on the slow cooker and refrigerate the insert for at least 30 minutes, up to 2 hours (cold start).
- When ready to cook, place the insert in the slow cooker base, set to LOW, and cook for 7-8 hours. Do not lift the lid during cooking.
- In the morning, check the internal temperature with a meat thermometer; it should be at least 165°F (74°C). If slightly under, cook for another 30 minutes.
- Remove chicken from the slow cooker using tongs and let rest on a cutting board for 5 minutes. Shred with two forks or a hand mixer. Drizzle with a little cooking liquid to keep moist if desired.
Notes
The cold start method is key: refrigerating the chicken and liquid before cooking ensures even, gentle heat. Do not lift the lid during cooking. For best texture, pull chicken at 160°F (71°C) and let rest; carryover cooking will bring it to 165°F (74°C). Save the cooking liquid for soups or rice.
Nutrition
- Serving Size: 1 serving (about 1/6
- Calories: 280
- Sodium: 450
- Fat: 8
- Saturated Fat: 2
- Carbohydrates: 1
- Protein: 45
Keywords: overnight crockpot chicken, slow cooker chicken breast, never dry chicken, meal prep chicken, easy chicken recipe


