I figured a pumpkin cinnamon roll made with sourdough discard would be a dense, heavy brick of a thing. It took about one bite of the first test batch for that assumption to fall apart completely.
Honestly, I was just trying to use up my sourdough starter—you know the drill. It was mid-October, the kitchen smelled like a candle shop exploded, and I had a half-can of pumpkin puree staring at me from the fridge. I figured, why not? Toss it all together and see what happens. What happened was a pan of the fluffiest, most tender rolls I’ve ever pulled out of my oven. The sourdough tang played off the sweet pumpkin and warm spices in a way that made me pause mid-chew. I actually said out loud, “Wait, what?”
The texture was the real surprise. These weren’t just soft—they were pillowy, with that slight stretch you get from a well-fermented dough. The pumpkin didn’t make them heavy; it made them moist. And the sourdough? It added a depth that regular yeast rolls just can’t touch. I kept going back for “just one more” until the whole pan was gone.
That first batch taught me something. Sometimes the best recipes come from a place of “well, this probably won’t work.” There’s a freedom in low expectations. And these rolls? They earned a permanent spot in my fall baking rotation. They’re the kind of thing you make for a lazy Sunday morning and then find yourself thinking about on a random Tuesday afternoon.
Why You’ll Love This Recipe
These fluffy pumpkin sourdough cinnamon rolls are not your average breakfast pastry. They’re the result of several test batches, a few floury messes, and one very patient family who didn’t mind being taste-testers. Here’s why they keep coming back for more:
- Incredibly Fluffy Texture: The combination of pumpkin puree and a long, cold fermentation creates a dough that’s ridiculously soft and airy. You won’t believe it came from your own kitchen.
- Simple, Real Ingredients: No artificial pumpkin flavoring here. Just real pumpkin, butter, flour, and your active sourdough starter or discard. You probably have most of this in your pantry right now.
- Perfect for Fall Mornings: These are made for crisp October weekends when you want the house to smell like a bakery. They’re a showstopper for Thanksgiving brunch or a cozy Halloween morning treat.
- Crowd-Pleaser: I’ve served these to sourdough skeptics and pumpkin-pie purists, and they disappear every single time. The tangy cream cheese frosting seals the deal.
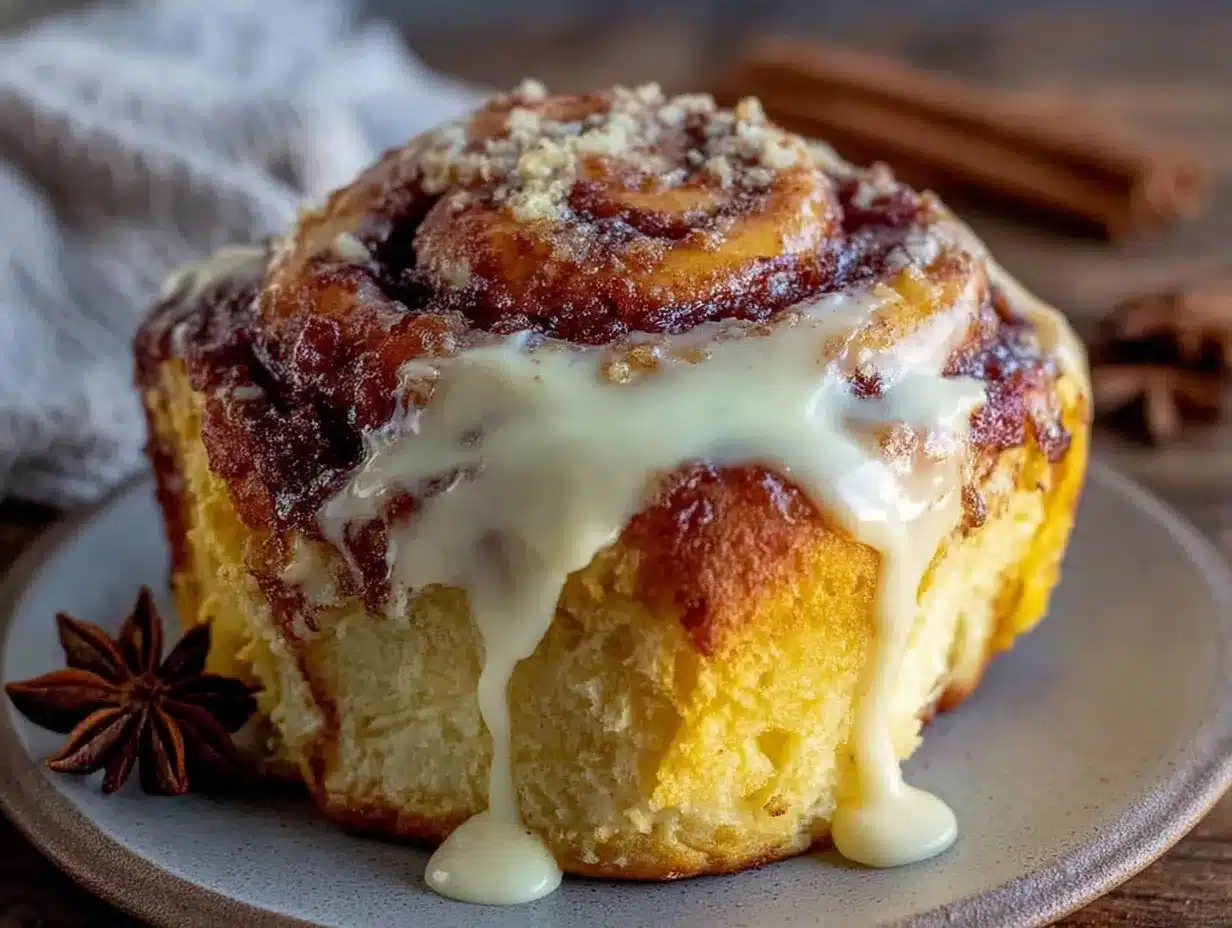
- Unbelievably Satisfying: That first bite—warm, soft, with the brown sugar-cinnamon filling melting into the dough—is pure comfort. It’s the kind of breakfast that makes you want to sit down and stay awhile.
What makes this version different? It’s not just another pumpkin roll recipe. The sourdough adds a subtle complexity that balances the sweetness, while the pumpkin ensures the dough stays moist without becoming gummy. I’ve tested the ratios to death so you don’t have to. This is the version I make for my own family, and it’s the one I’m most proud of.
What Ingredients You Will Need
This recipe relies on a handful of simple, high-quality ingredients. Each one plays a specific role in creating that signature fluffy texture and deep, spiced flavor. Here’s what you’ll need to gather:
For the Dough
- 1 cup (240g) pumpkin puree – Make sure it’s 100% pure pumpkin, not pumpkin pie filling. I prefer Libby’s for its consistent thickness. Pat it with a paper towel if it looks watery.
- 1/2 cup (120g) sourdough starter (active or discard) – Both work beautifully here. An active starter gives a bit more rise, but discard adds that signature tang without the fuss. I’ve used both and honestly, discard is my go-to for convenience.
- 1/4 cup (50g) brown sugar, packed – Adds moisture and a deeper flavor than white sugar.
- 1/4 cup (60ml) milk, warm – Whole milk works best, but 2% is fine. Warm it to about 100°F to help the dough come together.
- 3 tablespoons (42g) unsalted butter, melted – Adds richness and tenderness. I use Kerrygold for the flavor.
- 1 large egg, room temperature – Helps with structure and richness. Let it sit out for 30 minutes before starting.
- 1 teaspoon vanilla extract – Pure, not imitation. It brightens the pumpkin flavor.
- 2 1/2 cups (325g) all-purpose flour – Plus more for dusting. King Arthur Flour is my go-to for consistent results.
- 1 teaspoon salt – Fine sea salt, not table salt, to avoid any metallic taste.
- 1 teaspoon pumpkin pie spice – Or make your own with 1/2 tsp cinnamon, 1/4 tsp nutmeg, 1/4 tsp ginger, and a pinch of cloves.
For the Filling
- 1/2 cup (100g) brown sugar, packed – Light or dark works. Dark gives a more molasses-y flavor.
- 2 tablespoons (16g) all-purpose flour – Helps thicken the filling so it doesn’t leak out while baking.
- 1 tablespoon ground cinnamon – The star of the show. I use Saigon cinnamon for its bold, sweet heat.
- 1/4 teaspoon ground nutmeg – Freshly grated if you have it.
- 3 tablespoons (42g) unsalted butter, very soft – For spreading onto the dough.
For the Cream Cheese Frosting
- 4 ounces (113g) cream cheese, softened – Full-fat is non-negotiable here for the best texture and tang.
- 2 tablespoons (28g) unsalted butter, softened – Adds richness and helps the frosting hold its shape.
- 1 cup (120g) powdered sugar – Sifted to avoid lumps.
- 1/2 teaspoon vanilla extract – Pure vanilla, always.
- 1-2 tablespoons milk – To thin the frosting to your desired consistency.
Equipment Needed
You don’t need a professional bakery setup for these rolls, but a few key tools make the process much smoother. Here’s what I use every time:
- 9×13-inch baking dish – Glass or ceramic works best. Metal can cause the bottoms to brown too quickly. I love my Pyrex dish for even baking.
- Stand mixer with dough hook – A game-changer for kneading this slightly sticky dough. If you don’t have one, a large bowl and a strong arm will work—it just takes about 10 minutes of kneading.
- Rolling pin – A standard wooden one is perfect. If you don’t have one, a clean wine bottle works in a pinch!
- Sharp knife or bench scraper – For cutting the rolls cleanly. A serrated knife works well too. Dental floss (unflavored) is my secret weapon for perfect, squish-free cuts.
- Parchment paper – Lining the dish makes cleanup a breeze and prevents sticking.
- Plastic wrap or a clean kitchen towel – For covering the dough during its rise and cold fermentation.
If you’re new to sourdough, don’t overthink the equipment. A warm spot in your kitchen and a little patience are the most important tools you have.
Preparation Method
This recipe uses a cold fermentation method, which means the dough does most of its rising in the fridge overnight. This develops flavor and makes the rolls incredibly tender. Plan ahead—the total time includes at least 8 hours of chilling.
- Make the dough (Day 1, about 15 minutes): In the bowl of your stand mixer, combine the pumpkin puree, sourdough starter, brown sugar, warm milk, melted butter, egg, and vanilla extract. Whisk by hand until smooth. Add the flour, salt, and pumpkin pie spice. Mix on low speed with the dough hook until a shaggy dough forms, about 2 minutes. Increase to medium speed and knead for 6-8 minutes. The dough should be soft, slightly tacky, and pull away from the sides of the bowl. If it’s too sticky, add flour one tablespoon at a time. If it’s too dry, add milk one teaspoon at a time.
- Bulk fermentation (Day 1, about 1 hour): Shape the dough into a ball and place it in a lightly oiled bowl. Cover with plastic wrap and let it rest at room temperature for 1 hour. It will puff up slightly but won’t double—that’s okay. The real rise happens overnight.
- Cold ferment (Day 1, at least 8 hours): Place the covered bowl in the refrigerator. Let it chill for at least 8 hours, or up to 24. This slow fermentation is where the magic happens—the sourdough develops its tang, and the gluten relaxes for a tender crumb.
- Prepare the filling (Day 2, about 5 minutes): In a small bowl, whisk together the brown sugar, flour, cinnamon, and nutmeg for the filling. Set aside. Take the butter for the filling out of the fridge so it softens to room temperature.
- Assemble the rolls (Day 2, about 20 minutes): Lightly flour your work surface. Turn the cold dough out onto the floured surface. Roll it into a 12×16-inch rectangle, about 1/4-inch thick. Don’t stress about perfect edges—rustic is fine. Spread the softened butter evenly over the dough, leaving a 1/2-inch border on one long edge. Sprinkle the cinnamon-sugar mixture evenly over the butter. Starting from the long edge opposite the bare border, tightly roll the dough into a log. Pinch the seam to seal. Use a sharp knife or unflavored dental floss to cut the log into 12 equal rolls, about 1.5 inches thick each.
- Second rise (Day 2, about 2-3 hours): Place the rolls in a parchment-lined 9×13-inch baking dish, cut-side up. Cover with plastic wrap and let them rise at room temperature until they’re puffy and touching each other. This takes about 2-3 hours, depending on the warmth of your kitchen. They should look noticeably fuller and softer.
- Bake (Day 2, about 25-30 minutes): Preheat your oven to 350°F (175°C). Uncover the rolls and bake for 25-30 minutes, until the tops are golden brown and the centers are set. If the tops are browning too quickly, tent loosely with foil after 15 minutes. A toothpick inserted into the center of a roll should come out clean or with a few moist crumbs.
- Make the frosting (while rolls cool, about 5 minutes): In a medium bowl, beat the softened cream cheese and butter together until smooth. Add the sifted powdered sugar and vanilla extract, and beat until combined. Add milk one tablespoon at a time until the frosting reaches a spreadable consistency. It should be thick but pourable.
- Frost and serve: Let the rolls cool in the pan for about 10 minutes. They need to be warm, not hot, so the frosting doesn’t melt into a puddle. Spread the cream cheese frosting generously over the tops. Serve immediately while they’re still warm and gooey.
Cooking Tips & Techniques
I’ve made these rolls more times than I care to count, and I’ve learned a few things the hard way. Here are my best tips for guaranteed success:
- Don’t skip the cold ferment. I know it’s tempting to rush, but that overnight chill is what gives these rolls their incredible texture and tang. I once tried to speed things up with a warm rise only, and the rolls were flat and dense. Patience pays off here.
- Use a kitchen scale. Measuring flour by volume can be wildly inconsistent. A cup of flour can weigh anywhere from 120 to 150 grams depending on how you scoop it. For the best results, weigh your ingredients. It’s the single biggest upgrade you can make to your baking.
- Watch the dough, not the clock. The second rise time is a guideline, not a rule. On a cold day, it might take 3 hours. On a warm day, maybe 2. Look for visual cues—the rolls should be puffy, doubled in size, and gently spring back when you poke them.
- Cut with dental floss. This is the best trick I’ve learned. Slide a long piece of unflavored floss under the log, cross the ends over the top, and pull. You get a clean, squish-free cut every time. No more flattened rolls.
- Don’t overbake. Pull the rolls out when they’re just golden. They’ll continue to cook from the residual heat in the pan. Overbaked rolls are dry, and nobody wants that.
Variations & Adaptations
This recipe is a great base for experimentation. Here are a few ways I’ve adapted it over the years:
- Dairy-Free Version: Substitute the butter with a high-quality vegan butter (I like Miyoko’s) and use a dairy-free cream cheese for the frosting. Oat milk works well in place of whole milk. The texture is slightly less tender, but still delicious.
- Gluten-Free Adaptation: Use a 1-to-1 gluten-free flour blend that contains xanthan gum. The dough will be stickier and harder to roll, so wet your hands and work quickly. The cold ferment is still essential for texture. Expect a slightly denser, but still tasty, roll.
- Pumpkin Spice Latte Twist: Add 1 tablespoon of instant espresso powder to the dough along with the flour. It deepens the pumpkin flavor and adds a subtle coffee note that pairs beautifully with the cream cheese frosting. I tried this on a whim and it’s now my husband’s favorite version.
- Nutty Addition: Sprinkle 1/2 cup of chopped pecans or walnuts over the filling before rolling. The crunch adds a wonderful contrast to the soft dough. Toast the nuts first for extra flavor.
- Maple Glaze Option: Swap the cream cheese frosting for a simple maple glaze. Whisk together 1 cup powdered sugar, 2 tablespoons maple syrup, and 1-2 tablespoons milk. It’s less tangy but wonderfully sweet and autumnal.
Serving & Storage Suggestions
These rolls are best enjoyed warm, straight from the oven, with a generous swoop of frosting. But they’re also fantastic at room temperature the next day—if they last that long.
- Serving Temperature: Serve warm for the ultimate experience. Pop individual rolls in the microwave for 10-15 seconds to reheat. The frosting gets slightly melty and the dough becomes impossibly soft.
- What to Serve With: A hot cup of coffee or a tall glass of cold milk is the perfect companion. For a full brunch spread, pair them with scrambled eggs and crispy bacon. The savory-sweet combo is unbeatable.
- Storage: Store leftover rolls in an airtight container at room temperature for up to 2 days. For longer storage, refrigerate them for up to 5 days. The frosting will firm up in the fridge, so let them sit at room temperature for 20 minutes before serving.
- Freezing: These freeze beautifully. Bake the rolls without frosting, let them cool completely, and wrap tightly in plastic wrap and foil. Freeze for up to 3 months. To serve, thaw overnight in the fridge, then warm in a 300°F oven for 10 minutes before frosting.
- Flavor Development: The sourdough tang actually mellows and becomes more harmonious after a day in the fridge. I sometimes make these a day ahead, refrigerate them after baking (unfrosted), and then warm and frost them the next morning. The flavors are even better.
Nutritional Information & Benefits
Let’s be real—these are a treat, not a health food. But there are a few redeeming qualities worth noting. The pumpkin puree is packed with vitamin A and fiber, and the sourdough fermentation process can make the grains easier to digest for some people.
Per roll (with frosting), estimated values are:
- Calories: ~320
- Fat: 12g
- Carbohydrates: 48g
- Protein: 6g
- Fiber: 2g
- Sugar: 24g
These numbers are estimates and will vary based on your specific ingredients and portion sizes. If you’re looking to lighten them up, you can reduce the frosting amount or use a lighter cream cheese. But honestly, sometimes you just need the full-fat, full-sugar version. Life is short. Eat the cinnamon roll.
Conclusion
These fluffy pumpkin sourdough cinnamon rolls are more than just a recipe—they’re a weekend project that pays off in the most delicious way possible. The combination of tangy sourdough, sweet pumpkin, and warm spices is something you have to taste to believe. They’re the kind of bake that makes your kitchen feel like a cozy fall haven.
I love this recipe because it’s forgiving. It doesn’t demand perfection. My first batch was lopsided and the frosting was a little thin, but they were still the best thing I’d eaten all week. That’s the beauty of sourdough—it rewards patience and practice.
I’d love to hear how yours turn out. Did you try a variation? Did you use a different frosting? Drop a comment below and let me know. And if you’re looking for another cozy fall bake, you should definitely check out my cozy cracker barrel loaded peach cobbler copycat recipe for another comforting dessert. Or, if you’re in the mood for something equally indulgent for breakfast, this easy one-bowl loaded strawberry cake mix recipe is a quick and delicious option. Happy baking, friends. I hope these rolls bring a little warmth to your table.
Frequently Asked Questions
Can I use sourdough discard instead of an active starter?
Yes, absolutely. I actually prefer using discard for this recipe because it adds a more pronounced tang without the fuss of feeding your starter first. The cold fermentation overnight will still give you plenty of rise and flavor.
Why did my rolls turn out dense?
Dense rolls usually mean one of two things: either the dough wasn’t kneaded enough to develop the gluten, or the second rise was too short. Make sure you knead for the full 6-8 minutes, and let the rolls rise until they’re visibly puffy and touching each other. A cold kitchen can slow down the rise significantly.
Can I make these without a stand mixer?
Definitely. You’ll need a bit of elbow grease, but it’s totally doable. Mix the dough with a wooden spoon until it comes together, then turn it out onto a floured surface and knead by hand for about 10 minutes. The dough will be slightly sticky, so keep your hands and surface lightly floured.
How do I know when the rolls are fully baked?
The tops should be golden brown, and the center of the rolls should feel firm to the touch. A toothpick inserted into the center of a roll should come out clean or with a few moist crumbs. If the tops are browning too quickly, tent the pan with foil for the last 10 minutes of baking.
Can I freeze the unbaked rolls?
Yes! After cutting the rolls and placing them in the baking dish, cover tightly with plastic wrap and foil, and freeze for up to 3 months. When you’re ready to bake, thaw them in the refrigerator overnight, then let them come to room temperature and complete the second rise before baking as directed.
Pin This Recipe!
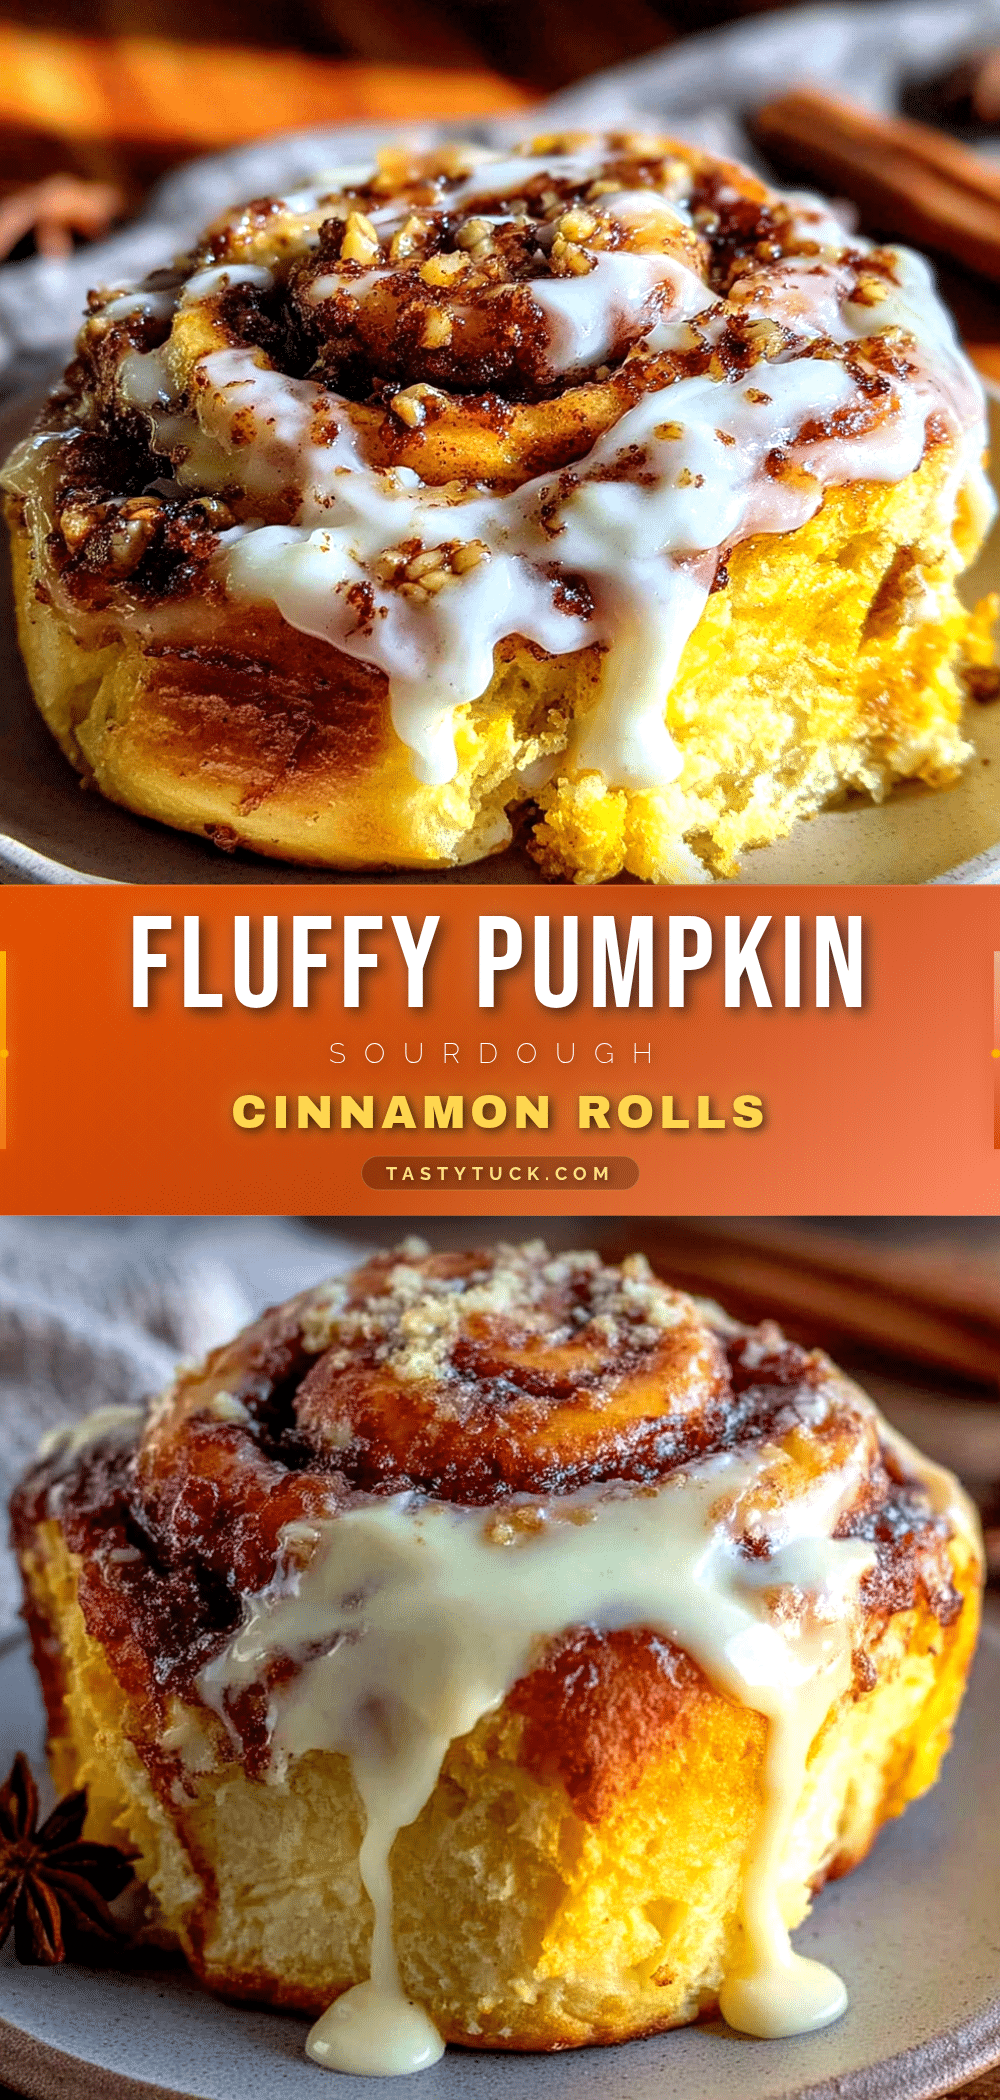
Fluffy Pumpkin Sourdough Cinnamon Rolls
These fluffy pumpkin sourdough cinnamon rolls are incredibly soft and tender, with a subtle tang from the sourdough that balances the sweet pumpkin and warm spices. They’re the perfect fall breakfast treat, made with real ingredients and a cold fermentation method for maximum flavor.
- Prep Time: 20 minutes
- Cook Time: 25-30 minutes
- Total Time: 12 hours 30 minutes (includes overnight cold ferment)
- Yield: 12 servings 1x
- Category: Breakfast
- Cuisine: American
Ingredients
- 1 cup (240g) pumpkin puree
- 1/2 cup (120g) sourdough starter (active or discard)
- 1/4 cup (50g) brown sugar, packed
- 1/4 cup (60ml) milk, warm
- 3 tablespoons (42g) unsalted butter, melted
- 1 large egg, room temperature
- 1 teaspoon vanilla extract
- 2 1/2 cups (325g) all-purpose flour
- 1 teaspoon salt
- 1 teaspoon pumpkin pie spice
- 1/2 cup (100g) brown sugar, packed (for filling)
- 2 tablespoons (16g) all-purpose flour (for filling)
- 1 tablespoon ground cinnamon (for filling)
- 1/4 teaspoon ground nutmeg (for filling)
- 3 tablespoons (42g) unsalted butter, very soft (for filling)
- 4 ounces (113g) cream cheese, softened (for frosting)
- 2 tablespoons (28g) unsalted butter, softened (for frosting)
- 1 cup (120g) powdered sugar (for frosting)
- 1/2 teaspoon vanilla extract (for frosting)
- 1–2 tablespoons milk (for frosting)
Instructions
- Make the dough (Day 1, about 15 minutes): In the bowl of your stand mixer, combine the pumpkin puree, sourdough starter, brown sugar, warm milk, melted butter, egg, and vanilla extract. Whisk by hand until smooth. Add the flour, salt, and pumpkin pie spice. Mix on low speed with the dough hook until a shaggy dough forms, about 2 minutes. Increase to medium speed and knead for 6-8 minutes. The dough should be soft, slightly tacky, and pull away from the sides of the bowl. If it’s too sticky, add …
- Bulk fermentation (Day 1, about 1 hour): Shape the dough into a ball and place it in a lightly oiled bowl. Cover with plastic wrap and let it rest at room temperature for 1 hour. It will puff up slightly but won’t double—that’s okay. The real rise happens overnight.
- Cold ferment (Day 1, at least 8 hours): Place the covered bowl in the refrigerator. Let it chill for at least 8 hours, or up to 24. This slow fermentation is where the magic happens—the sourdough develops its tang, and the gluten relaxes for a tender crumb.
- Prepare the filling (Day 2, about 5 minutes): In a small bowl, whisk together the brown sugar, flour, cinnamon, and nutmeg for the filling. Set aside. Take the butter for the filling out of the fridge so it softens to room temperature.
- Assemble the rolls (Day 2, about 20 minutes): Lightly flour your work surface. Turn the cold dough out onto the floured surface. Roll it into a 12×16-inch rectangle, about 1/4-inch thick. Don’t stress about perfect edges—rustic is fine. Spread the softened butter evenly over the dough, leaving a 1/2-inch border on one long edge. Sprinkle the cinnamon-sugar mixture evenly over the butter. Starting from the long edge opposite the bare border, tightly roll the dough into a log. Pinch the seam to se…
- Second rise (Day 2, about 2-3 hours): Place the rolls in a parchment-lined 9×13-inch baking dish, cut-side up. Cover with plastic wrap and let them rise at room temperature until they’re puffy and touching each other. This takes about 2-3 hours, depending on the warmth of your kitchen. They should look noticeably fuller and softer.
- Bake (Day 2, about 25-30 minutes): Preheat your oven to 350°F (175°C). Uncover the rolls and bake for 25-30 minutes, until the tops are golden brown and the centers are set. If the tops are browning too quickly, tent loosely with foil after 15 minutes. A toothpick inserted into the center of a roll should come out clean or with a few moist crumbs.
- Make the frosting (while rolls cool, about 5 minutes): In a medium bowl, beat the softened cream cheese and butter together until smooth. Add the sifted powdered sugar and vanilla extract, and beat until combined. Add milk one tablespoon at a time until the frosting reaches a spreadable consistency. It should be thick but pourable.
- Frost and serve: Let the rolls cool in the pan for about 10 minutes. They need to be warm, not hot, so the frosting doesn’t melt into a puddle. Spread the cream cheese frosting generously over the tops. Serve immediately while they’re still warm and gooey.
Notes
Don’t skip the cold ferment; it’s essential for texture and tang. Use a kitchen scale for accurate measurements. Watch the dough during the second rise, not the clock. Cut rolls with unflavored dental floss for clean cuts. Don’t overbake; pull them out when just golden.
Nutrition
- Serving Size: 1 roll
- Calories: 320
- Sugar: 24
- Sodium: 280
- Fat: 12
- Saturated Fat: 7
- Carbohydrates: 48
- Fiber: 2
- Protein: 6
Keywords: pumpkin sourdough cinnamon rolls, sourdough discard cinnamon rolls, pumpkin cinnamon rolls, fall breakfast, sourdough pumpkin rolls


