My phone buzzed at 9:17 on a Tuesday morning. It was my sister-in-law, and she wasn’t asking how I was. She was asking if I had any of those pumpkin rolls left in the freezer. That was three weeks after Thanksgiving.
I had tucked a small pan of them away, more out of habit than hope. I figured we’d be sick of pumpkin by then. But she’d remembered them. She’d thought about them while driving to work. She said the maple glaze was still haunting her dreams, and honestly, I knew exactly what she meant.
These cinnamon rolls weren’t born from a family recipe or some grand baking tradition. They came from a very specific craving on a rainy October afternoon when I wanted something that tasted like the smell of a candle shop, but I could actually eat. I wanted the soft, pillowy texture of a classic cinnamon roll, but with that unmistakable warmth that only pumpkin spice brings. And I wanted a glaze that didn’t just sit on top—it had to sink into every crevice and make the whole thing taste like the first day of sweater weather.
So I started messing around in the kitchen. I added pumpkin puree to the dough—not just for flavor, but for that incredible, tender crumb it creates. I swapped some of the butter for pumpkin in the filling to keep things from getting too heavy. And the maple glaze? That was the happy accident. I was out of powdered sugar one day and used maple syrup to thin a cream cheese glaze instead. It was so good I never went back.
These rolls have become my fall baking secret weapon. They’re the thing I bring to brunches when I want people to think I spent all morning in the kitchen (I didn’t—the dough does most of the work). They’re the breakfast that makes a rainy Saturday feel like a celebration. And they’re the recipe that, once you try them, you’ll start getting texts from your family asking if you have any stashed away.
Let me show you how to make them.
Why You’ll Love This Recipe
I’ve tested this recipe more times than I care to admit. I’ve made them with too much pumpkin (dense and gummy) and not enough (dry and sad). I’ve let the dough rise in a cold kitchen and wondered why they came out flat. I’ve burned the maple glaze more than once—don’t ask. But these rolls? They’re the result of all those mistakes, and they’re absolutely worth it.
- Incredibly Soft & Tender: The pumpkin puree keeps the dough moist and pillowy for days. These rolls don’t dry out by the next morning—they actually get better.
- Perfectly Spiced: Not just a sprinkle of cinnamon here. We’re using a full pumpkin spice blend that warms every bite without overwhelming the pumpkin flavor.
- That Maple Cream Cheese Glaze: This is the star. It’s tangy, sweet, and deeply maple-y. It seeps into the warm rolls and creates a gooey, irresistible top layer.
- Make-Ahead Friendly: You can prep these the night before and bake them fresh in the morning. Perfect for holiday mornings or when you want to impress without the early alarm.
- Crowd-Pleasing: I’ve served these to pumpkin lovers and pumpkin skeptics alike. The skeptics always ask for seconds. The texture and the glaze win everyone over.
What makes these different from other pumpkin cinnamon roll recipes is the balance. Some are too pumpkin-heavy and taste like bread with a gourd problem. Others skimp on the spice and end up bland. These rolls have just enough pumpkin to add moisture and a subtle earthy sweetness, while the pumpkin pie spice blend does the heavy lifting. The maple glaze ties it all together with a flavor that’s rich but not cloying. It’s the kind of roll that makes you close your eyes after the first bite.
What Ingredients You Will Need
This recipe uses simple, wholesome ingredients to create something that tastes far more complicated than it is. Most of these are pantry staples in the fall, but I’ve included notes on substitutions so you can make them work no matter what you have on hand.
For the Dough
- 3 ½ cups all-purpose flour (plus more for dusting) — I prefer King Arthur Flour for its consistent protein content, but any good all-purpose flour works.
- ¼ cup granulated sugar — Just enough to feed the yeast and add a touch of sweetness to the dough.
- 1 packet (2 ¼ tsp) active dry yeast — Or instant yeast if that’s what you have. If using instant, you can skip the proofing step.
- ½ cup whole milk, warmed to 110°F — Whole milk gives the richest dough, but 2% works fine too.
- ¼ cup unsalted butter, melted and slightly cooled — Adds richness and tenderness.
- 1 large egg, room temperature — A cold egg will shock the warm milk and slow the rise.
- ½ cup pumpkin puree — Not pumpkin pie filling! Make sure you grab 100% pure pumpkin. Libby’s is my go-to for consistent texture and flavor.
- 1 teaspoon vanilla extract — Enhances the warm spices.
- ½ teaspoon salt — Balances the sweetness and strengthens the gluten.
For the Pumpkin Spice Filling
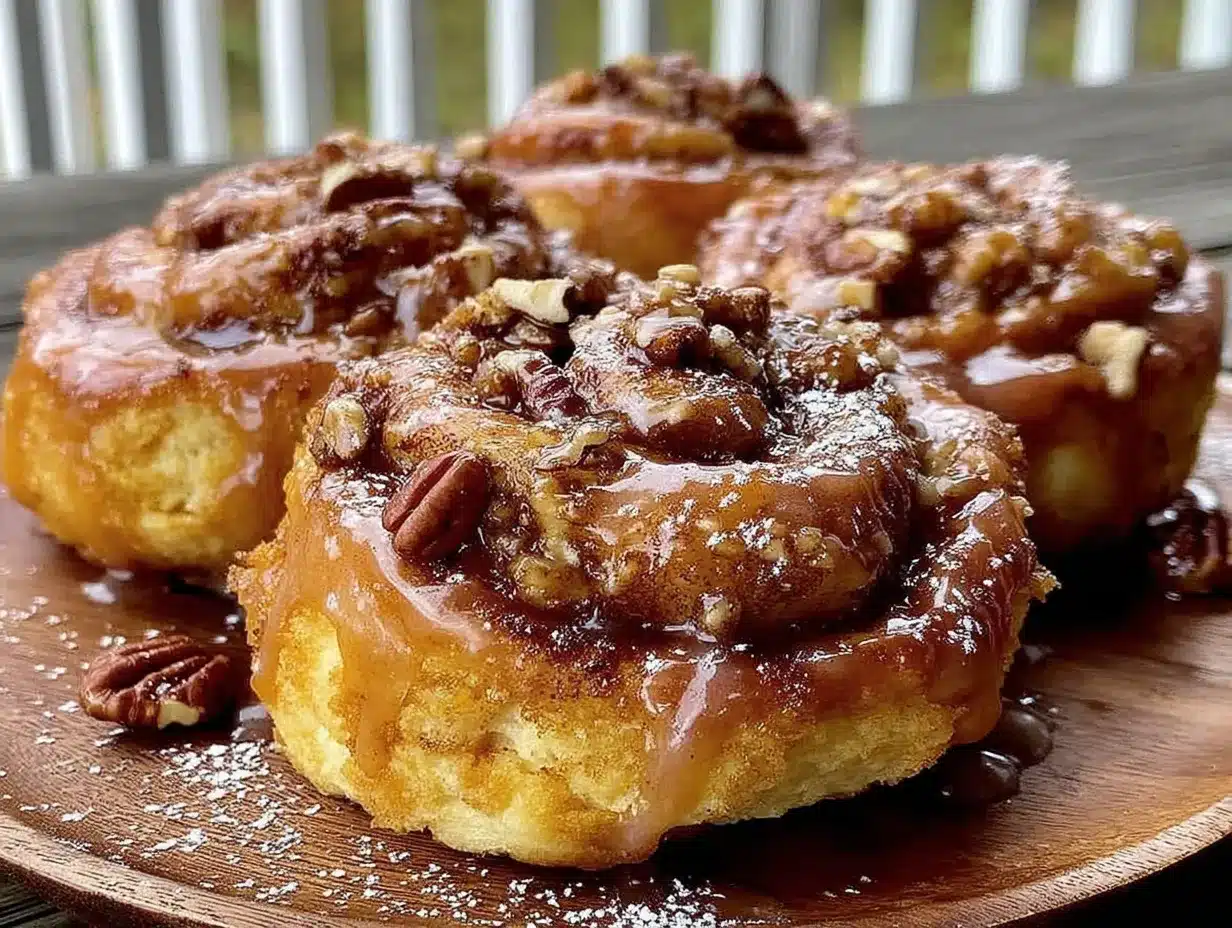
- ½ cup unsalted butter, softened to room temperature — Don’t melt it; we want it spreadable.
- ¾ cup packed brown sugar — Light or dark works. Dark brown sugar adds more molasses depth.
- 2 tablespoons pumpkin puree — A little extra pumpkin in the filling keeps it moist and flavorful.
- 2 tablespoons pumpkin pie spice — I use a store-bought blend, but you can make your own with cinnamon, ginger, nutmeg, allspice, and cloves.
- 1 teaspoon ground cinnamon — Because you can never have too much cinnamon in a cinnamon roll.
For the Maple Cream Cheese Glaze
- 4 oz cream cheese, softened — Full-fat is best for that thick, luscious texture.
- ¼ cup unsalted butter, softened
- ¼ cup pure maple syrup — Not pancake syrup! Use the real stuff. Grade A dark amber has a stronger maple flavor that stands up to the spices.
- 1 ½ cups powdered sugar, sifted — Sifting prevents lumps and gives a silky smooth glaze.
- 1 teaspoon vanilla extract
- Pinch of salt — Brings all the flavors together.
Equipment Needed
You don’t need a fancy bakery setup to make these rolls. Here’s what I use and what you can substitute if you don’t have it.
- Stand mixer with dough hook: This makes kneading effortless, but you can absolutely knead by hand. It’ll take about 10 minutes of arm work.
- Large mixing bowl: For the dough to rise. Glass or ceramic works best because they hold warmth.
- 9×13-inch baking dish: Glass or metal both work. I prefer glass because I can see the browning on the bottom. If you want thicker, taller rolls, use a 9-inch square pan.
- Rolling pin: A standard rolling pin is fine. If you don’t have one, a wine bottle works in a pinch—just make sure it’s clean and dry.
- Sharp knife or bench scraper: For cutting the rolls. Dental floss (unflavored!) also works beautifully for clean cuts without squishing the dough.
- Kitchen scale: Not required, but it makes dividing the dough into even rolls much easier.
- Plastic wrap or a clean kitchen towel: For covering the dough while it rises.
I’ve made these rolls in a tiny apartment kitchen with a hand-me-down rolling pin and a Pyrex dish that’s older than I am. The equipment matters less than the technique. If you have a warm spot for the dough to rise and a working oven, you’re good to go.
Preparation Method
Step 1: Proof the Yeast
In a small bowl, combine the warm milk (about 110°F—warm but not hot to the touch) with 1 tablespoon of the granulated sugar. Sprinkle the yeast on top and let it sit for 5-10 minutes until it’s foamy and smells like bread. If it doesn’t foam, your yeast might be dead. Start over with fresh yeast—it’s worth it.
Step 2: Make the Dough
In the bowl of your stand mixer, whisk together the remaining 3 tablespoons of sugar, the melted butter, egg, pumpkin puree, and vanilla extract. Add the yeast mixture and stir until combined. Add 2 cups of the flour and the salt, and mix on low with the dough hook until a shaggy dough forms. Gradually add the remaining 1 ½ cups of flour, ½ cup at a time, until the dough pulls away from the sides of the bowl. You might need a little more or less flour depending on the humidity and the moisture content of your pumpkin. The dough should be soft and slightly tacky but not sticky.
Step 3: Knead the Dough
Knead on medium-low speed for 6-8 minutes, or by hand on a lightly floured surface for 8-10 minutes. The dough should be smooth, elastic, and spring back when you poke it. If it tears easily, knead for another minute or two. Don’t over-knead, or the rolls will be tough.
Step 4: First Rise
Place the dough in a lightly greased bowl, turning once to coat. Cover with plastic wrap or a clean kitchen towel and let it rise in a warm, draft-free place for 1 to 1 ½ hours, until doubled in size. I like to put it in my oven with the light on—it’s the perfect cozy spot. If your kitchen is cold, it might take closer to 2 hours. Be patient. This is where the magic happens.
Step 5: Make the Filling
While the dough rises, beat together the softened butter, brown sugar, pumpkin puree, pumpkin pie spice, and cinnamon in a medium bowl until smooth and spreadable. Set aside at room temperature.
Step 6: Roll and Fill
Turn the risen dough out onto a lightly floured surface. Roll it into a 12×18-inch rectangle—about ¼-inch thick. Don’t stress about perfect measurements; just aim for a roughly even thickness. Spread the filling evenly over the dough, leaving a ½-inch border on one long edge. This bare edge will help seal the roll.
Step 7: Roll and Cut
Starting from the long edge opposite the bare border, tightly roll the dough into a log. Pinch the seam to seal. Use a sharp knife or unflavored dental floss to cut the log into 12 even rolls, about 1 ½ inches thick each. If using dental floss, slide it under the log, cross the ends over the top, and pull tight. It makes the cleanest cuts without squishing the dough.
Step 8: Second Rise
Place the rolls in a greased 9×13-inch baking dish, cut side up, spacing them evenly. Cover with plastic wrap and let them rise for another 30-45 minutes, until they’re puffy and touching each other. At this point, you can also refrigerate them overnight. Just cover tightly and pop them in the fridge. In the morning, let them sit on the counter for 30 minutes while the oven preheats.
Step 9: Bake
Preheat your oven to 350°F. Bake the rolls for 22-28 minutes, until they’re golden brown on top and the centers are cooked through. If the tops are browning too quickly, tent them with foil halfway through. The rolls should feel firm but spring back slightly when touched. A toothpick inserted into the center should come out clean or with just a few moist crumbs.
Step 10: Make the Glaze
While the rolls bake, beat together the softened cream cheese and butter until smooth. Add the maple syrup, vanilla, and salt, and beat until combined. Gradually add the powdered sugar, beating on low until the glaze is smooth and pourable. If it’s too thick, add a teaspoon of milk. If it’s too thin, add a little more powdered sugar.
Step 11: Glaze and Serve
Let the rolls cool in the pan for 5-10 minutes—just long enough that the glaze doesn’t melt into a puddle but still warm enough to soak in a little. Pour the glaze over the warm rolls, spreading it evenly. Serve immediately.
Cooking Tips & Techniques
I’ve made every mistake in the book with these rolls. Here’s what I’ve learned so you don’t have to.
Don’t over-flour the dough. It’s tempting to keep adding flour when the dough feels sticky, but a slightly tacky dough makes softer rolls. If it’s sticking to everything, lightly oil your hands instead of adding more flour.
Temperature matters. Cold ingredients will kill your yeast’s vibe. Make sure your milk is warm (not hot), your egg is room temperature, and your butter is melted but not steaming. If you forget to take the egg out of the fridge, place it in a bowl of warm water for 5 minutes.
The filling should be spreadable. If your butter is too cold, the filling will tear the dough when you try to spread it. Let the butter sit out for at least 30 minutes before mixing the filling. If you’re in a hurry, microwave it in 5-second bursts until it’s soft but not melted.
Cut cleanly. A dull knife will squish the rolls and ruin their shape. Use a sharp serrated knife or dental floss for the best results. If you use a knife, saw gently rather than pressing down.
Watch the bake time. Every oven runs differently. Start checking at 22 minutes. The rolls should be golden brown, and the filling should be bubbly. If you tap the top of a roll, it should feel firm but not hard. Over-baked rolls are dry, and no amount of glaze can fix that.
Let them rest before glazing. I know it’s hard to wait, but if you glaze them straight out of the oven, the glaze will melt into a puddle and run off the rolls. Five minutes is enough time for the rolls to set without cooling completely.
Variations & Adaptations
One of the best things about this recipe is how flexible it is. Here are a few ways I’ve adapted it over the years.
Gluten-Free Version: Substitute a 1:1 gluten-free baking flour blend for the all-purpose flour. I’ve had good luck with Bob’s Red Mill 1:1 Baking Flour. The dough will be a little stickier, so don’t be afraid to lightly flour your hands and surface. The texture won’t be exactly the same—slightly more crumbly—but the flavor is still incredible.
Dairy-Free Version: Use oat milk or almond milk instead of whole milk, and substitute vegan butter for the butter in the dough, filling, and glaze. For the cream cheese, use a dairy-free cream cheese alternative like Kite Hill or Miyoko’s. The glaze will be a little thinner but still delicious.
Pumpkin Spice Latte Twist: Add 1 tablespoon of instant espresso powder to the dough along with the flour. It deepens the pumpkin spice flavor and gives the rolls a subtle coffee kick that pairs beautifully with the maple glaze. I tried this on a whim one morning, and now it’s my secret weapon for fall brunches.
Nutty Addition: Sprinkle ½ cup of chopped pecans or walnuts over the filling before rolling. The nuts add a wonderful crunch and a toasty flavor that complements the pumpkin and maple. Toast the nuts first for extra depth.
Make It a Skillet: Instead of a 9×13 dish, bake the rolls in a 10-inch cast iron skillet. The cast iron gives the bottoms a beautiful, slightly crisp edge while keeping the centers soft and gooey. If you’re a fan of cast iron apple pie skillet recipes, you’ll love the texture these rolls develop in the same pan.
Serving & Storage Suggestions
These rolls are best served warm, right after the glaze has been poured. The contrast between the soft, pillowy dough and the cool, creamy glaze is pure magic. I like to serve them on a large platter so everyone can grab their own, but they’re also lovely plated individually with an extra drizzle of maple syrup.
For a full fall breakfast spread, pair these rolls with scrambled eggs and fresh fruit to balance the sweetness. A hot cup of coffee or spiced chai latte is the perfect drink companion. If you’re serving them for dessert (no judgment here), a scoop of vanilla ice cream or a dollop of whipped cream takes them over the top.
Storage: Leftover rolls can be stored in an airtight container at room temperature for up to 2 days, or in the refrigerator for up to 5 days. The glaze will soften and soak into the rolls over time, which honestly makes them even better the next day. If you’re planning to keep them longer, store the rolls and glaze separately and glaze them just before serving.
Freezing: These rolls freeze beautifully. You can freeze them before the second rise (bake directly from frozen, adding a few extra minutes to the bake time) or after baking and cooling. To freeze baked rolls, wrap them tightly in plastic wrap and then foil, and freeze for up to 3 months. To reheat, thaw in the refrigerator overnight and warm in a 300°F oven for 10-15 minutes. Add fresh glaze after reheating.
Reheating: The microwave works in a pinch (15-20 seconds per roll), but the oven gives you that fresh-baked texture. Place the rolls on a baking sheet and warm at 300°F for 5-8 minutes. If they’re already glazed, cover loosely with foil to prevent the glaze from burning.
Nutritional Information & Benefits
Let’s be real—these are cinnamon rolls, not health food. But they do have some redeeming qualities, and knowing what’s in them helps you enjoy them mindfully.
Estimated per roll (with glaze): Approximately 380-420 calories, 18g fat, 55g carbohydrates, 6g protein, 2g fiber, 30g sugar. These values will vary based on exact ingredients and portion sizes.
Pumpkin puree is packed with vitamin A (over 200% of your daily needs per cup), fiber, and antioxidants. It’s also low in calories and adds moisture without extra fat. So yes, these rolls have vegetables in them. That counts for something, right?
Maple syrup contains antioxidants and minerals like zinc and manganese. While it’s still sugar, it’s a less processed sweetener than refined white sugar, and the flavor is so rich that you can use less of it than you might think.
Dietary Considerations: This recipe contains dairy, eggs, and gluten. For dairy-free and gluten-free adaptations, see the Variations section above. These rolls are not low-carb or keto-friendly, but they are a wonderful occasional treat that fits into a balanced lifestyle.
I believe in enjoying food without guilt. These rolls are a celebration of fall flavors, and they’re meant to be shared and savored. One roll with a cup of coffee is a beautiful way to start a cool morning. Three rolls is a statement, and I respect that too.
Conclusion
These pumpkin spice cinnamon rolls with maple glaze are everything I want fall to taste like. They’re soft, warm, and deeply comforting, with just the right amount of spice and a glaze that makes every bite feel special. They’ve become my go-to for holiday mornings, cozy weekends, and any time I want to make the house smell like a bakery.
What I love most about this recipe is how forgiving it is. The dough is easy to work with, the filling is simple, and the glaze comes together in minutes. Even if you’ve never made cinnamon rolls from scratch before, I promise you can make these. And once you do, you’ll understand why my sister-in-law was texting me in December about a pumpkin roll she ate in November.
I’d love to hear how these turn out for you. Did you add nuts? Did you try the espresso twist? Did you eat three in one sitting? (No judgment here.) Leave a comment below and let me know how you made these rolls your own. And if you’re looking for more fall baking inspiration, don’t miss our easy one-bowl peach bars or this cozy cast iron peach cobbler for when you want a taste of summer in the middle of autumn.
Happy baking, friends. Your kitchen is about to smell amazing.
Frequently Asked Questions
Can I use canned pumpkin pie filling instead of pumpkin puree?
No, please don’t. Pumpkin pie filling is pre-sweetened and spiced, which will throw off the entire recipe. The rolls will be overly sweet, the texture will be gummy, and the spice balance will be all wrong. Always use 100% pure pumpkin puree. If you accidentally grab the wrong can, save it for making a quick pumpkin pie or mix it into oatmeal.
Why didn’t my dough rise?
There are a few common culprits. Your yeast might be expired—always check the date on the packet. Your milk might have been too hot (over 115°F kills yeast) or too cold (under 100°F won’t activate it). Your kitchen might be too cold for the dough to rise. Try placing the bowl in a warm spot, like your oven with the light on or on top of the refrigerator. If none of that works, your yeast might have been dead from the start. It happens. Try again with fresh yeast.
Can I make these rolls ahead of time for a holiday morning?
Absolutely. This is one of my favorite things about this recipe. After you’ve cut the rolls and placed them in the baking dish (Step 8), cover them tightly with plastic wrap and refrigerate for up to 12 hours. In the morning, take them out of the fridge and let them sit at room temperature for 30 minutes while the oven preheats. Then bake as directed. They might need an extra 2-3 minutes in the oven since they’re starting from cold.
My glaze is too runny. What did I do wrong?
This usually happens when the cream cheese or butter is too soft, or when you’ve added too much maple syrup. To fix it, add more powdered sugar, 1 tablespoon at a time, until the glaze reaches a thick, pourable consistency. If it’s still runny, pop the glaze in the refrigerator for 10 minutes to firm up before pouring. Alternatively, make sure your cream cheese and butter are softened but not melted next time.
Can I skip the pumpkin in the dough?
You can, but the rolls won’t be the same. The pumpkin puree adds moisture, tenderness, and a subtle earthy flavor that makes these rolls unique. Without it, you’ll have a standard cinnamon roll with pumpkin spice seasoning. If you want to try it, increase the milk by 2 tablespoons to compensate for the lost moisture. But honestly? The pumpkin is what makes these rolls so soft and special. I wouldn’t skip it.
Pin This Recipe!
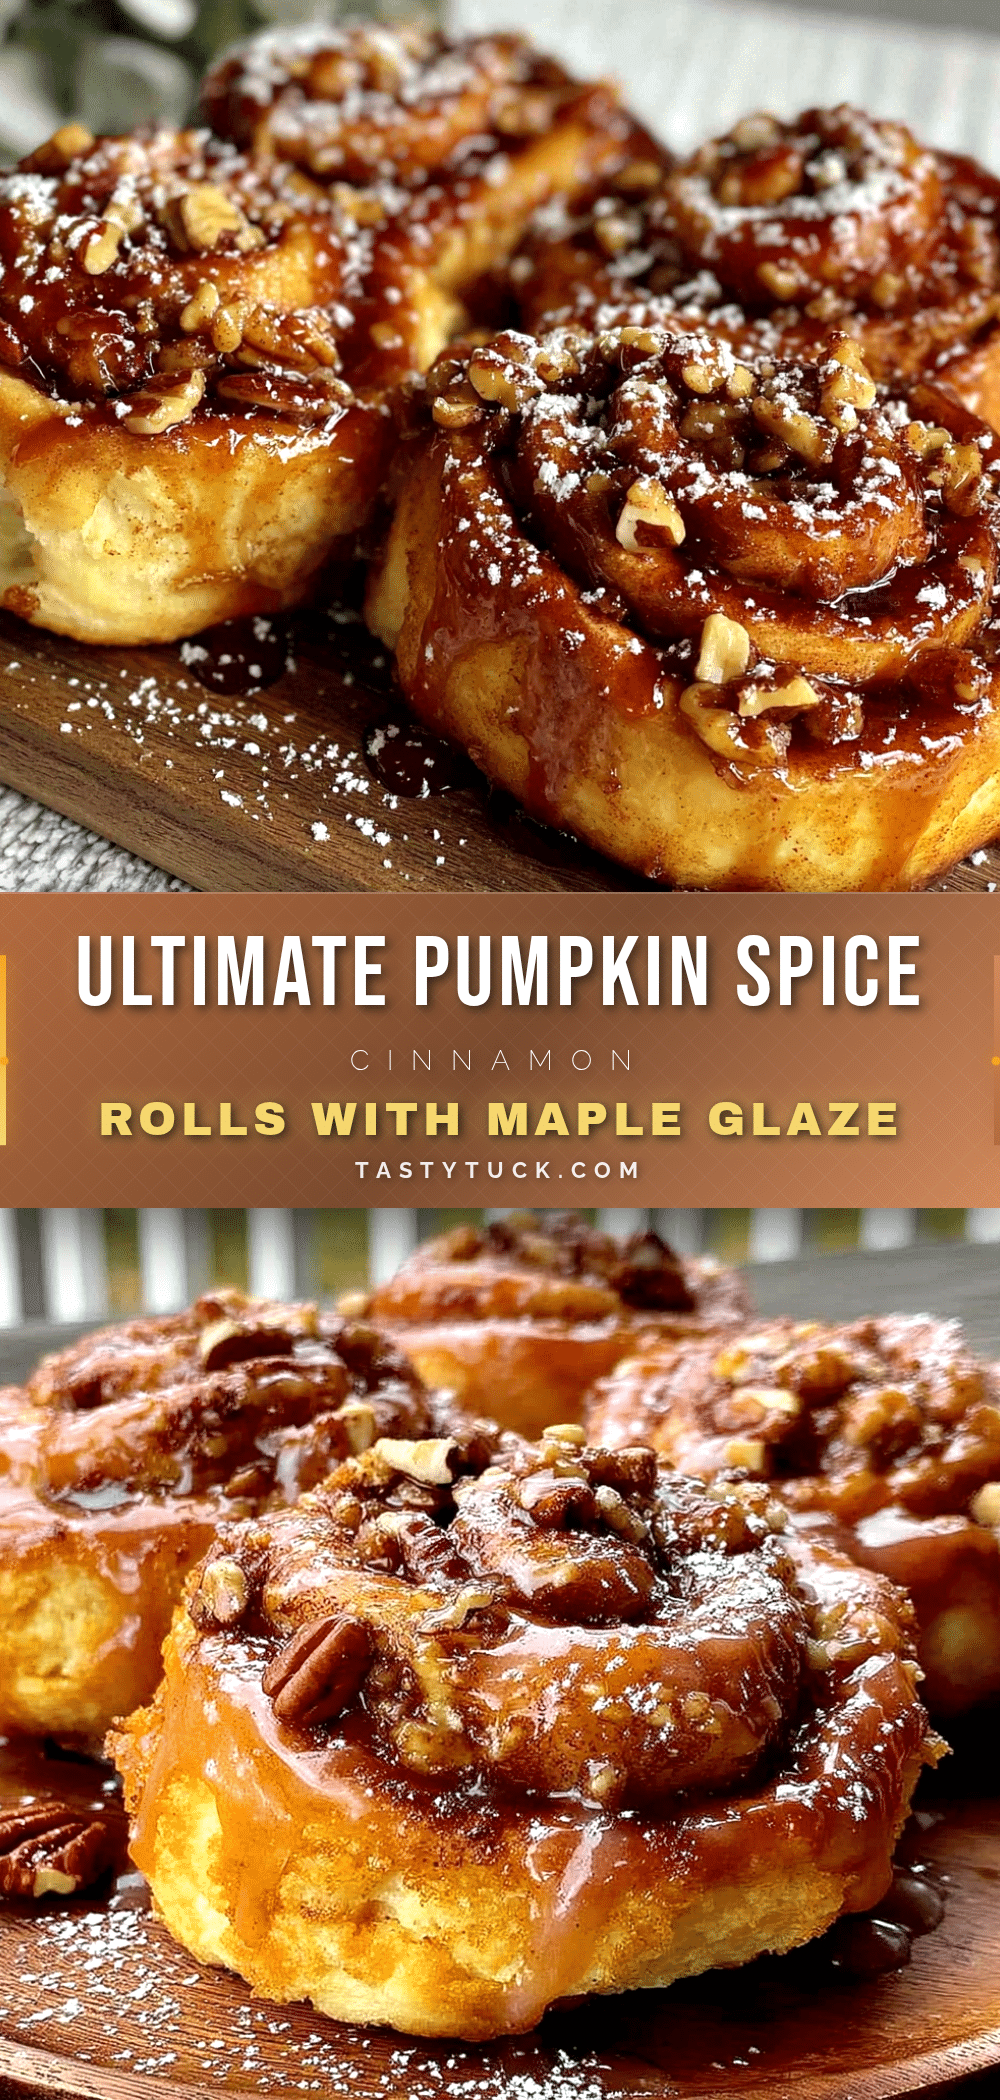
The Best Pumpkin Spice Cinnamon Rolls with Maple Glaze
These pumpkin spice cinnamon rolls are incredibly soft and tender, filled with a pumpkin spice butter filling and topped with a luscious maple cream cheese glaze. Perfect for fall mornings, holiday brunches, or any time you want a cozy, crowd-pleasing treat.
- Prep Time: 30 minutes
- Cook Time: 25 minutes
- Total Time: 2 hours 30 minutes (includes rising time)
- Yield: 12 servings 1x
- Category: Breakfast, Dessert
- Cuisine: American
Ingredients
- 3 ½ cups all-purpose flour (plus more for dusting)
- ¼ cup granulated sugar
- 1 packet (2 ¼ tsp) active dry yeast
- ½ cup whole milk, warmed to 110°F
- ¼ cup unsalted butter, melted and slightly cooled
- 1 large egg, room temperature
- ½ cup pumpkin puree
- 1 teaspoon vanilla extract
- ½ teaspoon salt
- ½ cup unsalted butter, softened (for filling)
- ¾ cup packed brown sugar (for filling)
- 2 tablespoons pumpkin puree (for filling)
- 2 tablespoons pumpkin pie spice (for filling)
- 1 teaspoon ground cinnamon (for filling)
- 4 oz cream cheese, softened (for glaze)
- ¼ cup unsalted butter, softened (for glaze)
- ¼ cup pure maple syrup (for glaze)
- 1 ½ cups powdered sugar, sifted (for glaze)
- 1 teaspoon vanilla extract (for glaze)
- Pinch of salt (for glaze)
Instructions
- Proof the yeast: In a small bowl, combine the warm milk (about 110°F) with 1 tablespoon of the granulated sugar. Sprinkle the yeast on top and let it sit for 5-10 minutes until foamy.
- Make the dough: In the bowl of a stand mixer, whisk together the remaining 3 tablespoons of sugar, melted butter, egg, pumpkin puree, and vanilla extract. Add the yeast mixture and stir. Add 2 cups of flour and salt, mix on low until a shaggy dough forms. Gradually add the remaining 1 ½ cups flour, ½ cup at a time, until the dough pulls away from the sides.
- Knead the dough: Knead on medium-low speed for 6-8 minutes (or by hand for 8-10 minutes) until smooth and elastic.
- First rise: Place dough in a greased bowl, cover, and let rise in a warm place for 1 to 1 ½ hours until doubled in size.
- Make the filling: Beat together softened butter, brown sugar, pumpkin puree, pumpkin pie spice, and cinnamon until smooth.
- Roll and fill: Turn dough onto a floured surface and roll into a 12×18-inch rectangle. Spread filling evenly, leaving a ½-inch border on one long edge.
- Roll and cut: Tightly roll the dough into a log, pinch the seam to seal. Cut into 12 even rolls (about 1 ½ inches thick).
- Second rise: Place rolls in a greased 9×13-inch baking dish, cover, and let rise for 30-45 minutes until puffy and touching. (Can refrigerate overnight.)
- Bake: Preheat oven to 350°F. Bake for 22-28 minutes until golden brown and cooked through. Tent with foil if browning too quickly.
- Make the glaze: Beat together softened cream cheese and butter until smooth. Add maple syrup, vanilla, and salt. Gradually beat in powdered sugar until smooth and pourable.
- Glaze and serve: Let rolls cool for 5-10 minutes, then pour glaze over warm rolls and spread evenly. Serve immediately.
Notes
For make-ahead: After cutting rolls and placing in dish, cover and refrigerate up to 12 hours. In the morning, let sit at room temperature 30 minutes while oven preheats, then bake as directed. For freezing: Freeze baked rolls (without glaze) tightly wrapped for up to 3 months. Thaw overnight and reheat before glazing.
Nutrition
- Serving Size: 1 roll
- Calories: 400
- Sugar: 30
- Sodium: 200
- Fat: 18
- Saturated Fat: 10
- Carbohydrates: 55
- Fiber: 2
- Protein: 6
Keywords: pumpkin spice cinnamon rolls, maple glaze, fall baking, pumpkin rolls, cinnamon rolls with maple cream cheese glaze


